Handmade Beaded Rod, Wire Wrap Cross
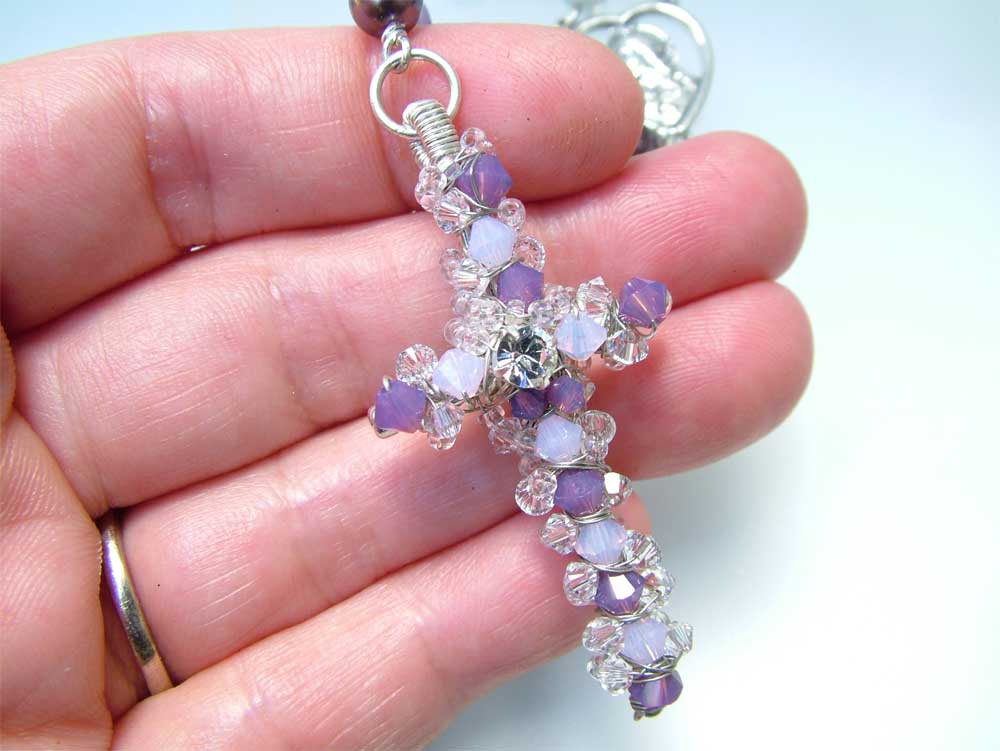
This is one of my favourite crosses. Was used in Rosary for Mom.
Though it looks a bit complex, it is not very hard to make at all.
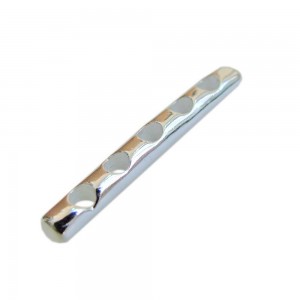
For the horizontal arm, I used one of my favourite findings – the 5-hole Spacer rod. (I used to sell them so I had my own private stash 😀 )
They are very strong, versatile, shiny, with useful large holes. They are A-Grade Silver plated over Brass rods.
In this instance, the large holes in the rod were very useful for the making of this cross.
Upright Vertical
To create the upright section, I used a thick wire (1mm) folded in half.
With the fold at the bottom, insert the folded wire through the center hole in the 5-hole spacer rod. You will have to more or less hold this vertical rod in place as we move to the beading for the body of the cross.
Beading the Cross
The beading is done in two stages.
Stage I
Foundation Beads
- Swarovski 5328 XILION bicone crystals (4mm – Cyclamen Opal, Violet Opal)
Using a thin (0.25mm diameter) wire, I attached that to the base of the cross (at the folded end of the thick wire).
Next, string the beads onto the thin wire, up along the vertical section until you reach an appropriate height you desire for the lower section of the cross. Then make sure the beading wire goes through the center hole of the horizontal 5-hole spacer bar. This will set the height of the bottom section of the cross.
Carry on randomly stringing beads for both arms of the cross. Make use of the holes in the spacer bar, where appropriate, to start securing the beads to the arms of the cross.
Carry on stringing beads to the top of the cross. Once you have enough beads to make the cross look balanced, starting tightly coiling the thin wire around the thicker double wires (the vertical section). Keep wire wrapping neatly (to form wire coils) around the thicker wires until you have enough to make a loop large enough to use as a bail.
Cut off any excess thick wire. Using round nose pliers, make a loop (of the wire coiled section) to create an appropriate loop/bail. Use any of the remaining thin wire to carefully secure the bail and make it “merge” back into the body of the wire wrap cross.
Stage II
- Swarovski 5328 XILION crystal beads – 2.5mm, Clear
- Miyuki seed beads – clear
We will be wire wrapping the foundation beads from above so that they are all securely attached to the horizontal space bar and the vertical section of the cross.
Start with a new long length of thin wire (0.25mm dia). Attached this to the bottom of the cross. Randomly thread with the small Swarovski crystals and Miyuki seed beads. You want to have the Swarovski crystals to the front and the Miyuki seed beads to the back.
Wire wrap the beaded wire around the cross, securing the first layer of beads to the cross structure. Carry on till you have fully covered the cross.
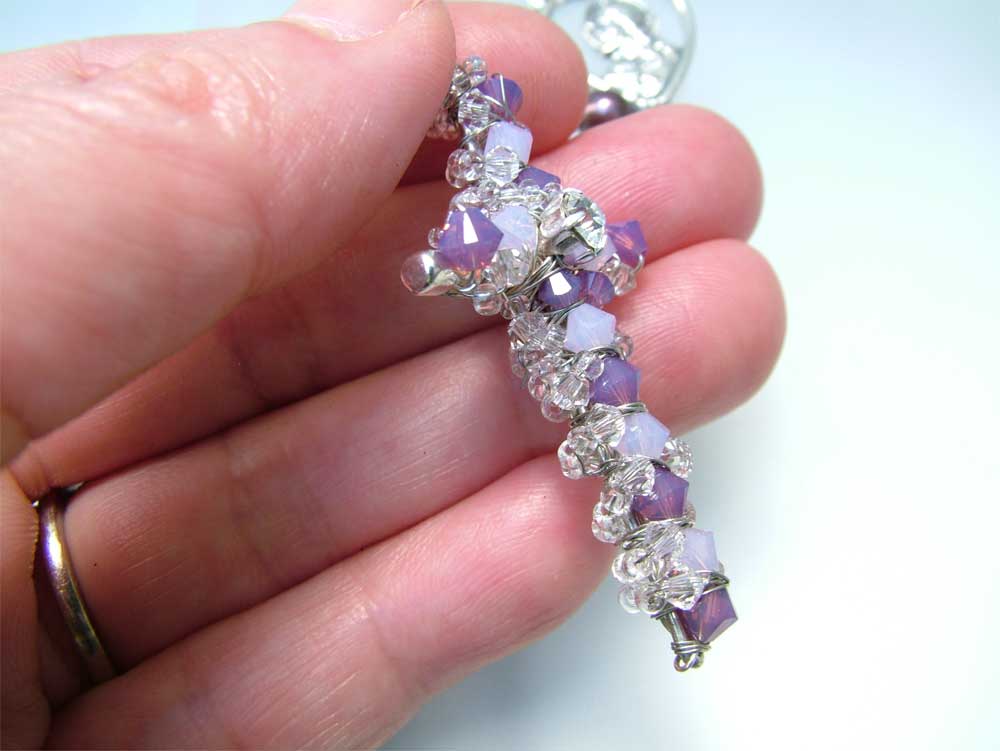
Click on the photos below for even more details. You will see that the back of the cross looks a bit messy. However in real life, it actually looks rather charming. It has a rustic elegance – both in appearance and feel.
You can see this wire wrap cross incorporated in to a full rosary in Rosary for Mom.
Related Articles:
As always, if you spot any errors or typo, please feel free to comment below. Or if you wish to share something similar, I am always all ears!


