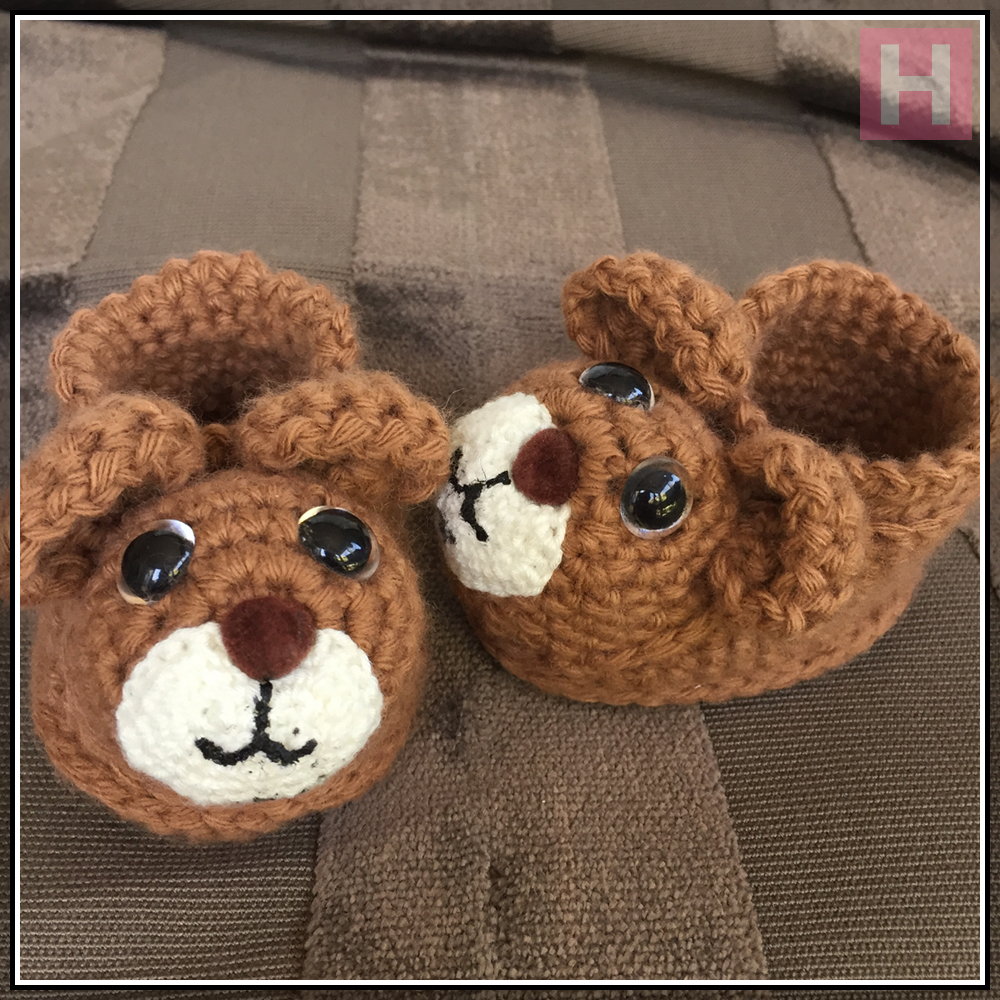
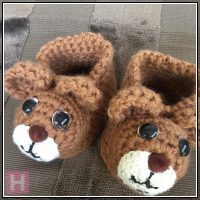
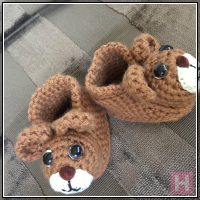
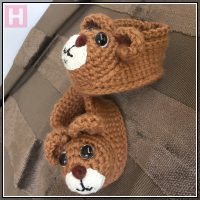
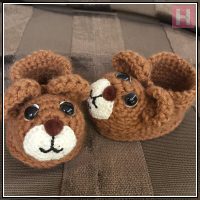
Teddy Bear booties is a brown, soft and cuddly pair of baby booties. Crochets steps and tips follows.
- Teddy Bear Baby Booties – CHO429 (SOLD)
Size: approx. 9cm long (Appropriate for ages 0-6 months)
Materials
- soft yarn (20% wool, 80% acrylic)
- safety eyes & nose
- 3.5mm crochet hook
Status: g– 0ML (SOLD) (Gifted to Margaret Smith, Mar 2017)
How To Make Teddy Bear Baby Booties
This is not a complete tutorial. But I hope that there will be enough how-to steps to give you the core and basis of how to make your own cute teddy bear baby booties
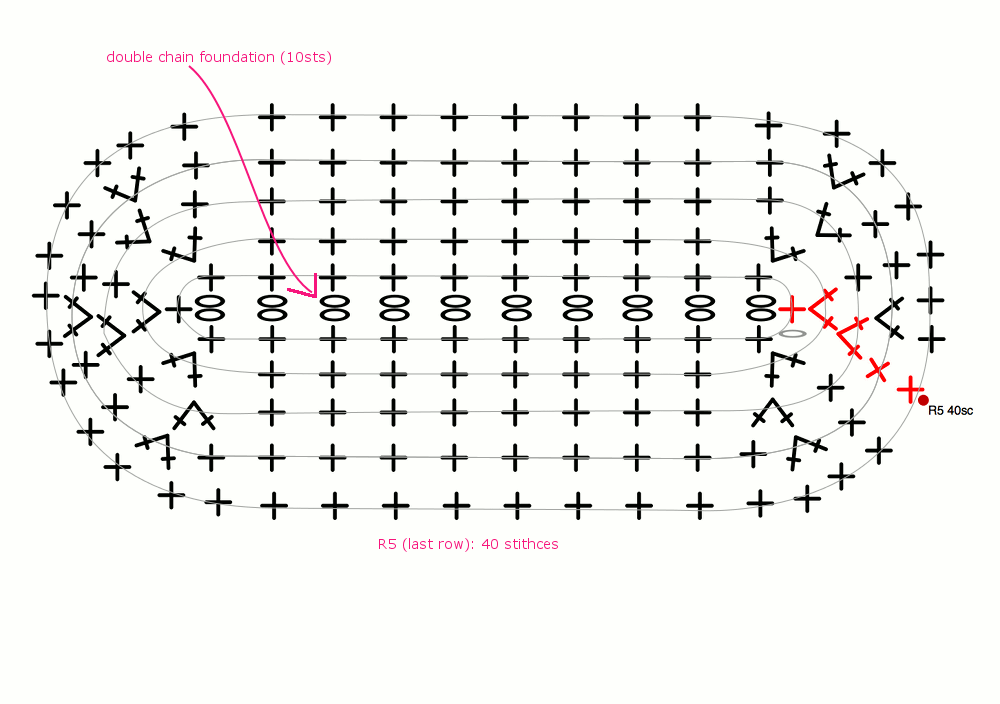
Soles
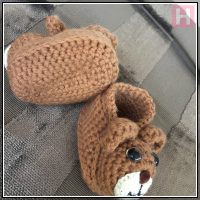
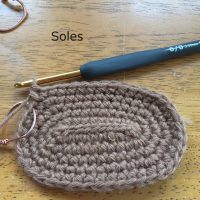 I used single crochet (sc) stitches for the soles. This gives a much closer and firmer set of soles.
Start with 10 stitches. 5 Rows. End with 40 stitches.
(The Double Chain Foundation start provides a much firmer start. And is less holey.)
Body – Sides
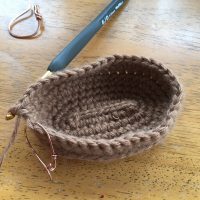 Work 3 rounds in single crochet
Body – Top of Shoe
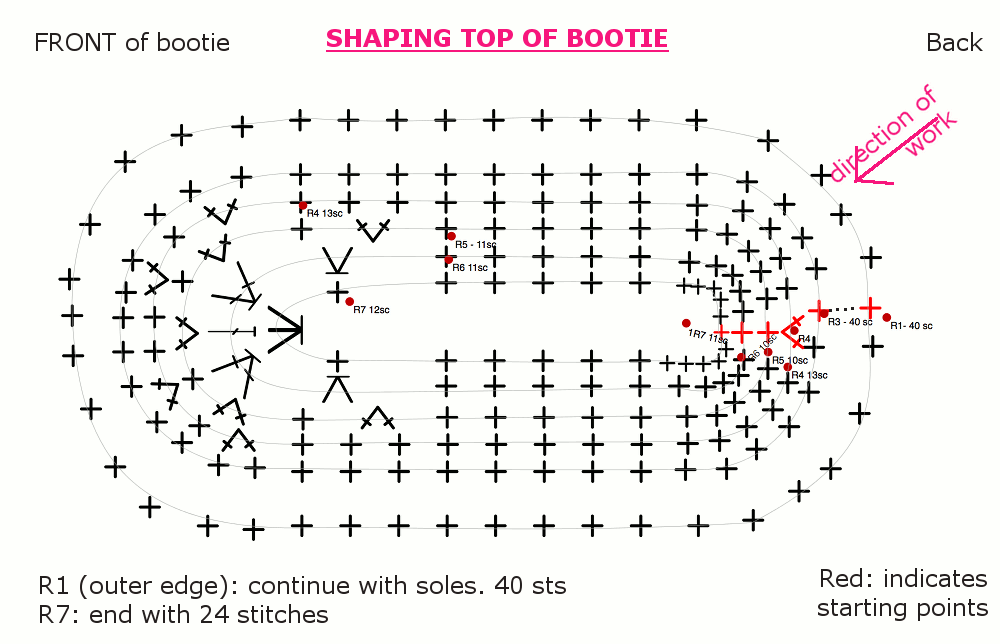
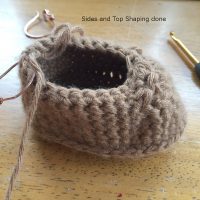 This is where you will do the decreased to shape the top of bootie.
Instructions are in the form of a crochet chart. Why? Coz I find them so much easier than text only instructions.
The chart below shows R1 to R7.
Do not cut off yarn after R7. We will be continuing to the band.
After R7, crochet 3 rows of sc to create band. Each row is 24 stitches. I did my sc in front loops only to create the horizontal ribbing. I also decorated the edging. You can use any decorative stitches you like.
Face for Teddy Bear Booties
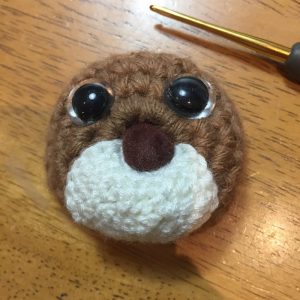
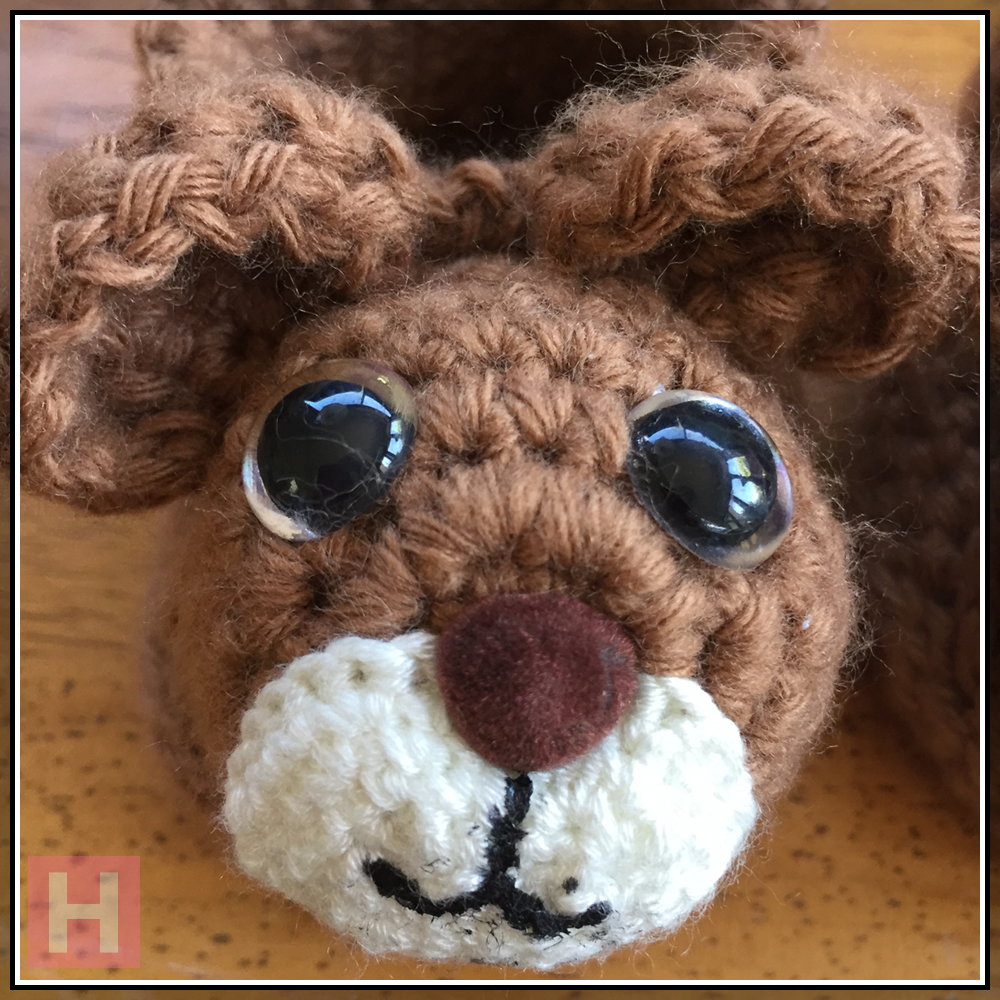
This is what Teddy’s face (minus the ears & mouth lines) should look like when done.
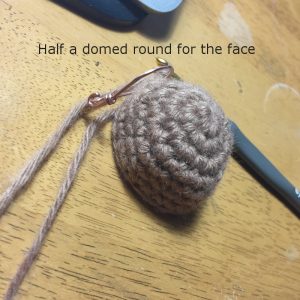 Sorry. I am going to assume that you are an experienced crocheter and know how to make a crochet round ball. Well this face is half a ball.
I started with magic circle of 6sc. Then worked each row with an increase of 6 stitches per row. There should be a total of 4 (increase) rows.
- R2: 12 sc
- R3: 18 sc
- R4: 24 sc
Then work R5-6: sc (no increase). Cut yarn.
This domed shape for the face needs a backing. To make the backing for the face, as per above, work R1-4 (24 sc). End.
White Mouth Part
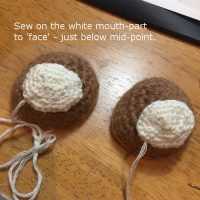 To make the white oval shape for the mouth-part, I relied on the soles chart above. Instead of starting on a foundation of 10 chains, you only need 4 stitches. The increases for both (rounded) ends are as per chart for the soles.
Then sew on the oval, white mouth-part to the face.
Next, apply the eyes and nose securely. (Note: Before stuffing the face).
Sew the corresponding circular back part (which you made earlier) to the back of the face. Leave a small gap. Into that gap, stuff in some soft stuffing. Sew up the gap.
Ears
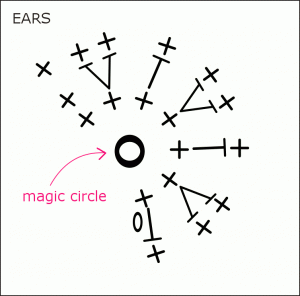
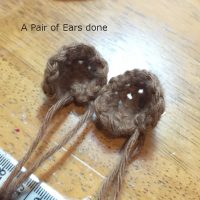 The ears are quite easy. Just make a more-than-half semi-circle. Here is what I did.
I started with a magic circle. (Just don’t join the first to last stitch). But you can also start the with a chain and work the 7sc into that chain.
Putting Teddy Bear Booties Together
Once all your bits and pieces are done, you can sew them up.
Position the (stuffed) face onto the bootie and sew on. Then sew the ears on. You are done! 😀
I hope you enjoyed that. Do share your experience if you make your own teddy bear booties or have your own special tips and techniques. Be Crafty!
Credit:
Teddy Bear Booties came about during a lull in my crocheting phases. So I would like to thank Olivia from Hopeful Holly and her free pattern “Ellie Elephant Booties, Crochet Pattern” for providing the idea and inspiration for this adapted crochet version.

[…] Aren’t these booties adorable? Free pattern from Helena Asmu Lim at http://www.clearlyhelena.com/teddy-bear-booties/ […]