I am sure there are various ways of achieving ruffles or frills with peyote stitch. This is but one of them.
Ruffled peyote is a very useful addition as it can be used to create texture, structure, interest.
Ruffled Peyote Stitch – Characteristics
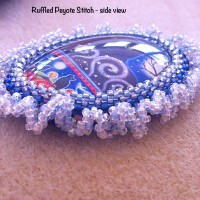
The ruffles produced are solid, firm, and strong. They stand up on their own. Not floppy. Not flimsy.
Tips on Weaving Ruffled Peyote
- Knowing how to do peyote stitch helps!
- Each bead must be pulled taut as you work the ruffles.
- Advisable to use different colours in the ruffles (even if colours are slightly differentiated) because the first 3 rows of the ruffles can get very confusing (hard to distinguish one bead from another).
- Once the ruffled peyote is complete, do not try to bend it. (I once snapped off the entire ruffle strip: the stitching, as needs be, is so taut that they can break off that way.)
- 3 foundation rows of increases to create the ruffles. Use beads smaller than main body of work.
How to Create the Ruffled Peyote
I am using a beaded bezel cab to show this. I won’t show how to do a beaded bezel here. I am assuming you already know how to do that. Please note that you can use the ruffled peyote stitch on any beaded project – not just around a cab.
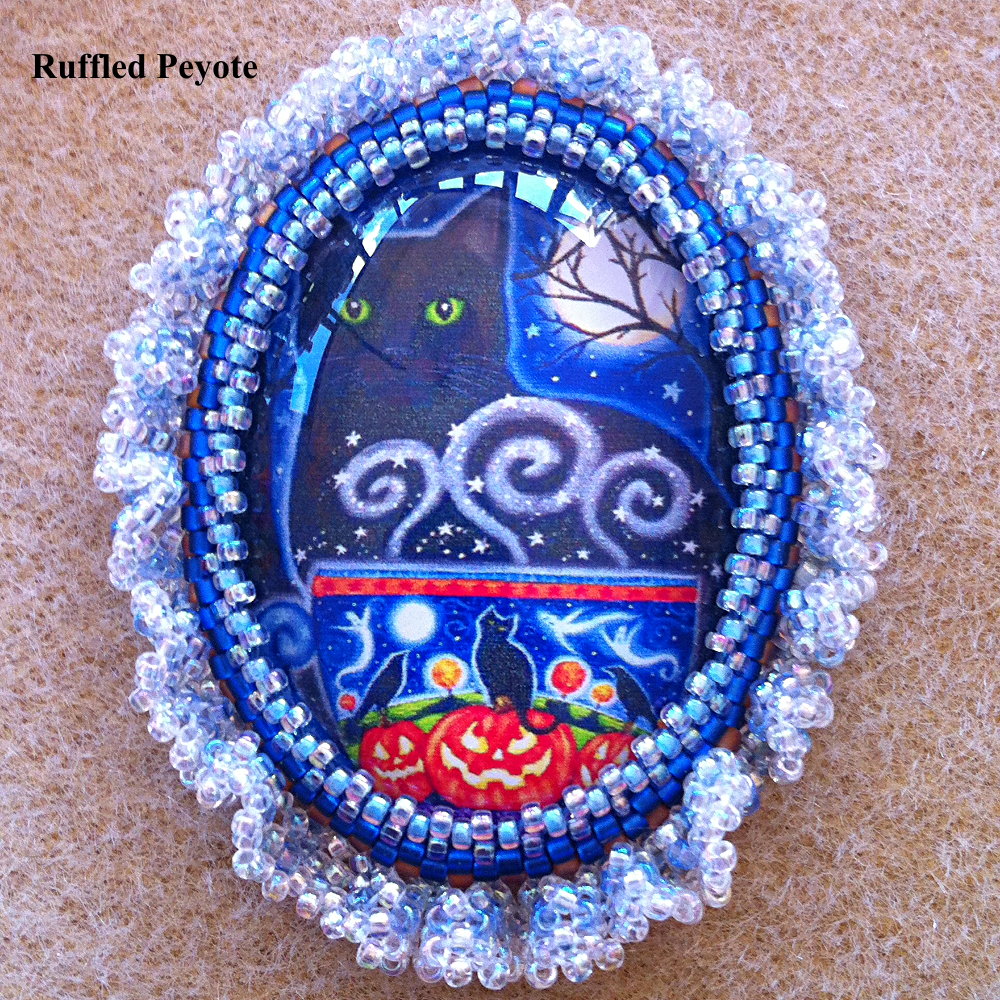
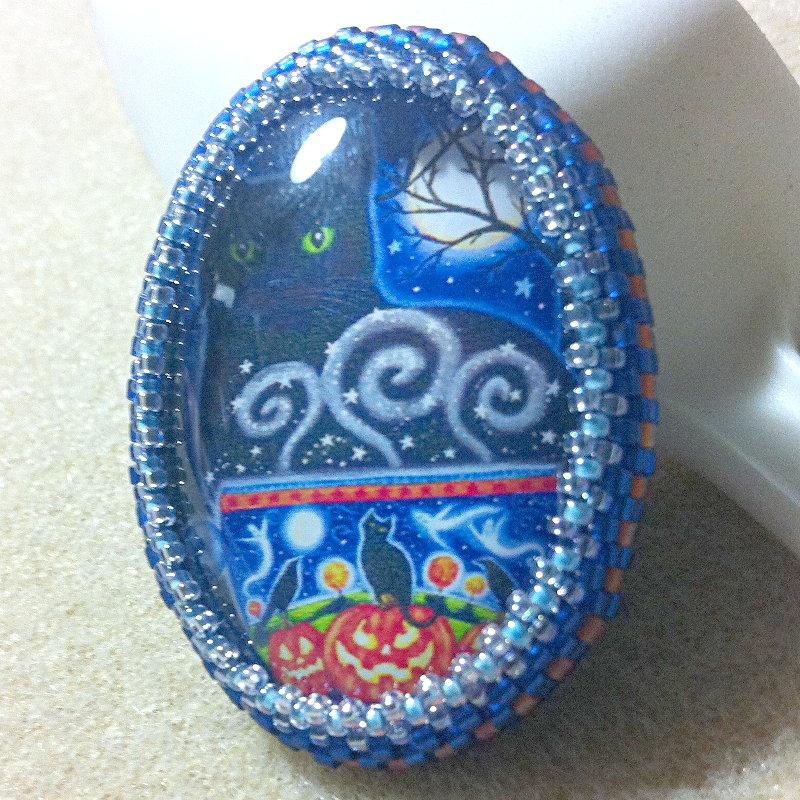
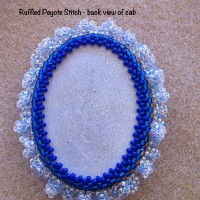
Here you see the complete but plain beaded bezel cab. No ruffles.
Let’s start creating the ruffled peyote stitch. We will need 3 (foundation) rows to create the ruffles.
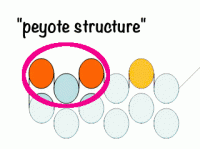
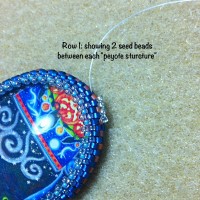
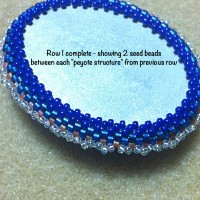
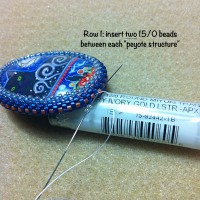
Row 1: Insert 2 beads between each “peyote structure”. (Here the cab was bead bezelled mainly with 11/0 seedbeads. The ruffled peyote is done with 15/0 size seed beads.) Carry along this way around the cab.
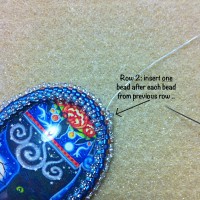
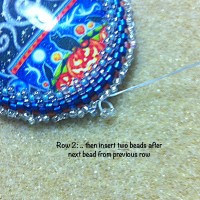
Row 2: In this row, you will be inserting [1 bead – 2 bead] after each bead from previous row. That means, insert 1 bead after a bead from previous row; then insert 2 beads after next bead from the previous row. Continue on in this sequence of insertion till the end.
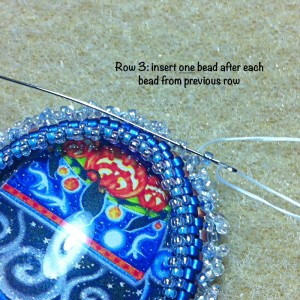
Row 3: In this row, you just insert 1 bead after each bead from previous row.
Once you have completed Row 3 .. you will start to see the peyote structure. That means you can continue adding rows of (standard) peyote stitch till you get the depth you desire.
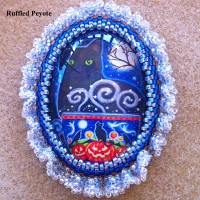
- Cab with Ruffled Peyote Stitch
Example of Ruffled Peyote Stitch
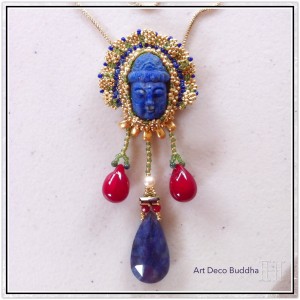
This is another example of the use of the ruffled peyote stitch: Art Deco Buddha with Ruffled Peyote Stitch (CH0334)

I appreciate your how to on ruffled peyote enormously. I just discovered it, and you and just wanted you to know that it is wonderful when people share generously.
Your Art Deco Buddha necklace is astonishing!
After my beloved husband was murdered, I began working on a memorial bead embroidery piece for him and, after more than 3.5 years, have just completed it. Now I need to find the right edging for it before I have it framed.
I would love to have your input on that.
Is there some way I could send you some photos of the piece?
It is quite complex, about 17.5 x 15.5″
I do hope I hear back from you.
Rima Laibow