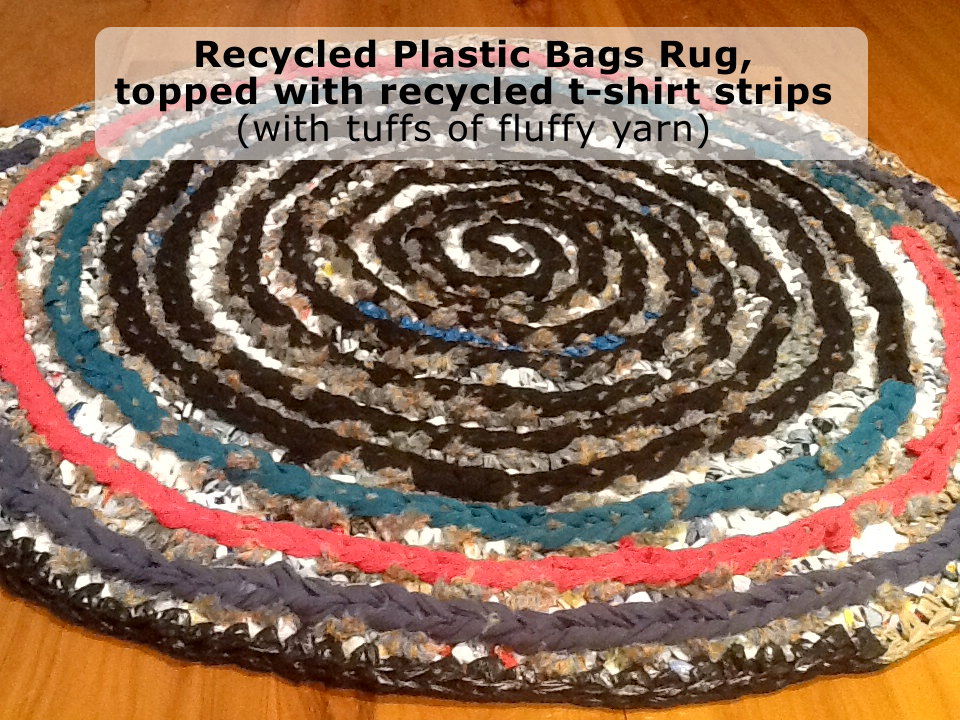
Now that I have used up all the spare plastic bags in the house and have made the first of my recycled plastic rugs, I feel almost shy to show it to you. Only after I had already made my rug, did I go looking for examples on Google. I found a plethora of beautiful plastic rugs. But never mind, I will still you my humble one as it is a good starting point for generation of further ideas and to get some of the basics in hand.
Before settling down to crocheting my rug, for a bit of change, I tried to make it from Tunisian (Crochet) stitch. I didn’t like the effect nor the curling of the resultant fabric. After many more unsatisfactory experiments, I was resigned to just crocheting it in the round. At that stage, I was still not quite sure how to make regular increases so as to produce recycled plastic rugs that would lie flat. But let me go back to the beginning … a bag of spare plastic bags.
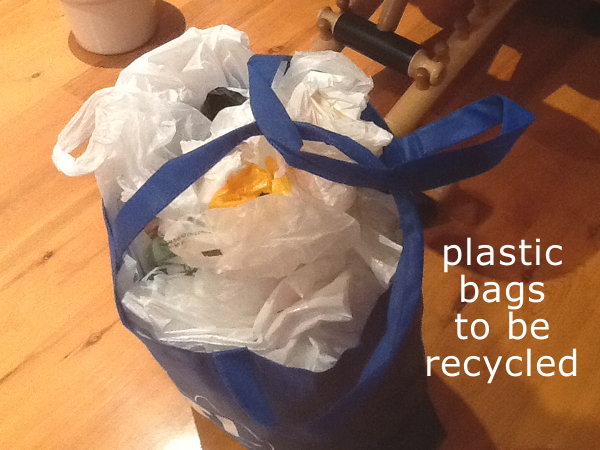
No matter how many unwanted plastic bags you think you have, you might eventually find yourself out of them. Like I did. This bag shown was not the full lot of plastic bags I had to use in the making of recycled plastic rugs. I had to resort to scrounging around the house to find even more plastic bags.
So be prepared and get as many plastic bags as you can lay your hands on.
Even if you are overly eager, take the time to smooth out and remove rough creases and air from your plastic bags. Fold them, multiple times, length-wise. Fold only enough to make cutting easy without making it too thick for your scissors to handle.
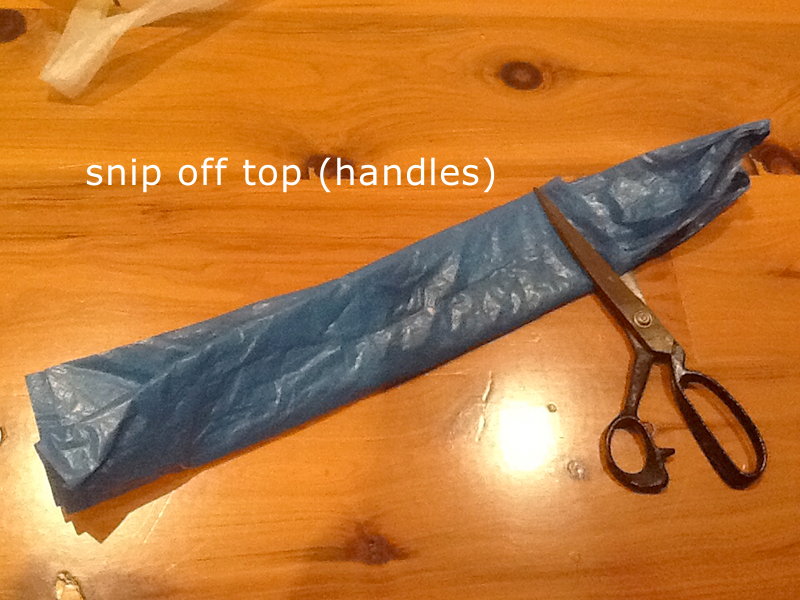
Your aim here is to cut stirps of the plastic bags in the round. So cut off the top where the handles are.
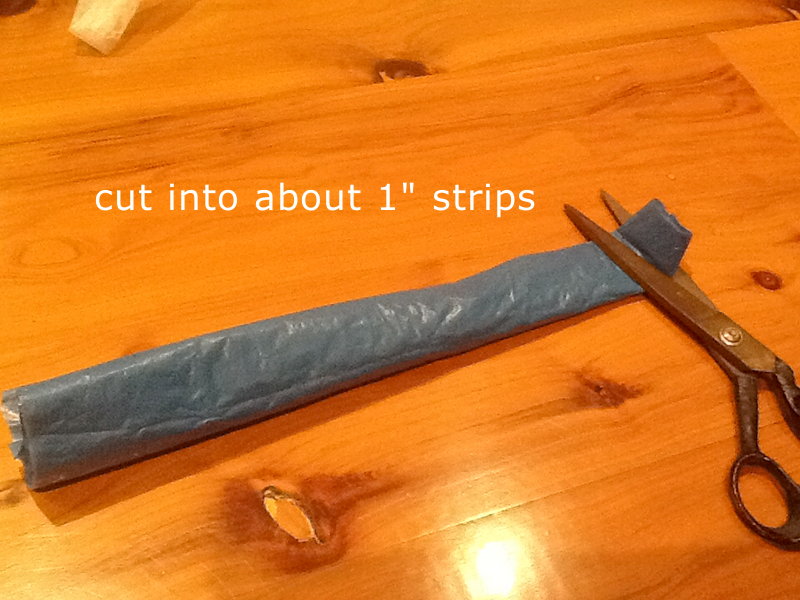
Next cut strips of plastic about an inch in width. (The softer your plastic, the thicker the width and vice versa.)
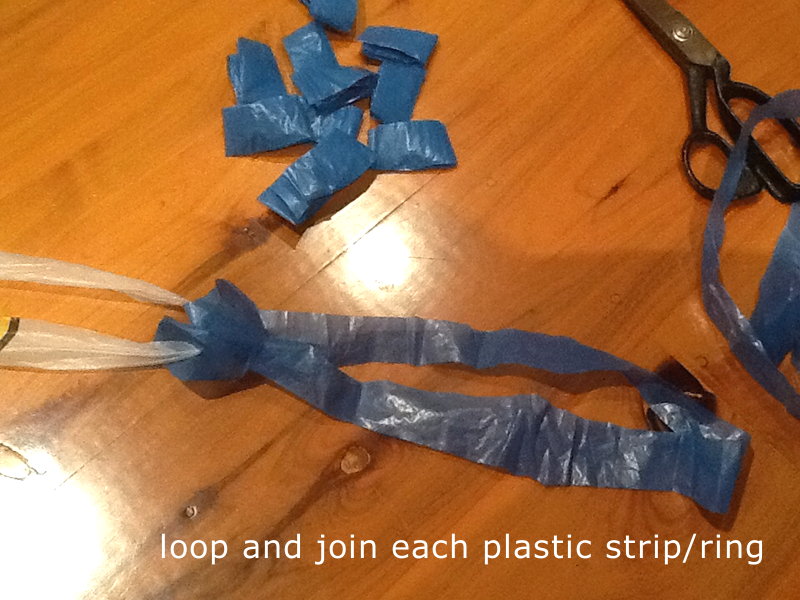
Each of your plastic strips should really be a loop, based on the body of the plastic bag.
When ready, join the loops of the plastic together. You do this by looping one round over the other. Make sure that each preceding piece is straightened so that when attached, the “knot” is exactly in the middle of the preceding loop.
Click on images to view more details.
You can repeat this whole process to increase your plastic “yarn” even as your work.
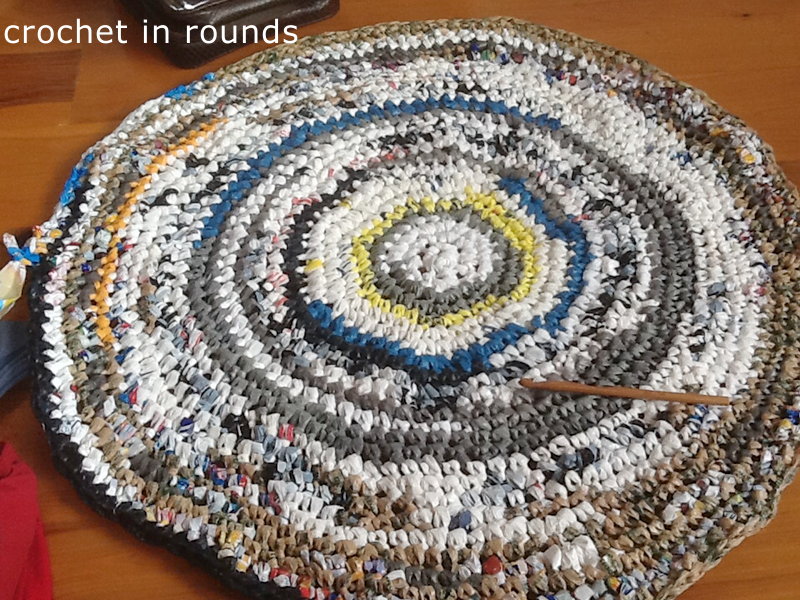
Crocheting Recycled Plasctic Rugs in the Round
I am assuming you already know how to do the basic crochet stitches. Here I am merely using the double crochet stitch (usually represented by a “x” in most graphical patterns). And a large crochet hook (7mm).
The challenge is to increase the number of stitches in a consistent way, round by round, to end up with a flat rug.
I can only give you my rough rule of thumb guide. You will have to pause and check, preferably after each round, to ensure that your crochet rug is turning out flat.
I started with 7 basic stitches in a round (using the magical crochet round though you can use any starting crochet technique you have). That is row one.
For R2 (row two): I increased 1 stitch in every stitch. That is by dc (double crochet) twice into each previous stitch. In other words, there is 0 (zero) plain dc between each increase. At the end of R2, you will have 14 stitches.
Then in R3, I had one plain dc stitch between each increase. (Increase means dc-ing twice into one stitch from previous row).
Then in R4, I had two plain dc stitch between each increase.
Then in R5, I had three plain dc stitch between each increase.
As you can see, the pattern is to have one more plain dc stitch between increases in each subsequent row.
Once your work is to the desired size, you can finish off. You will be pleasantly surprised (as I was) to find that recycled plastic rugs do not feel plasticky at all. In fact, no one can really tell for sure unless you enlighten them!
The next steps – the embellishments, are optional to the making of recycled plastic rugs.
I added the embellishments for various reasons:
- recycled plastic rugs are surprisingly VERY light. It might easily fly away if used as an outdoor rug. (This was meant for our dog so it was going to be an outdoor rug). So here, I wanted to add some weight to the rug
- I am kind of bored if a project is a bit too conventional. I always have an urge to add something “extra” and different to most of my projects.
Being in the recycling mode, and after various (unsuccessful) experimentations, I decided to embellish the top with strips of recycled old t-shirts, interwoven with fluffy yarn.
Embellishing Recycled Plastic Rugs
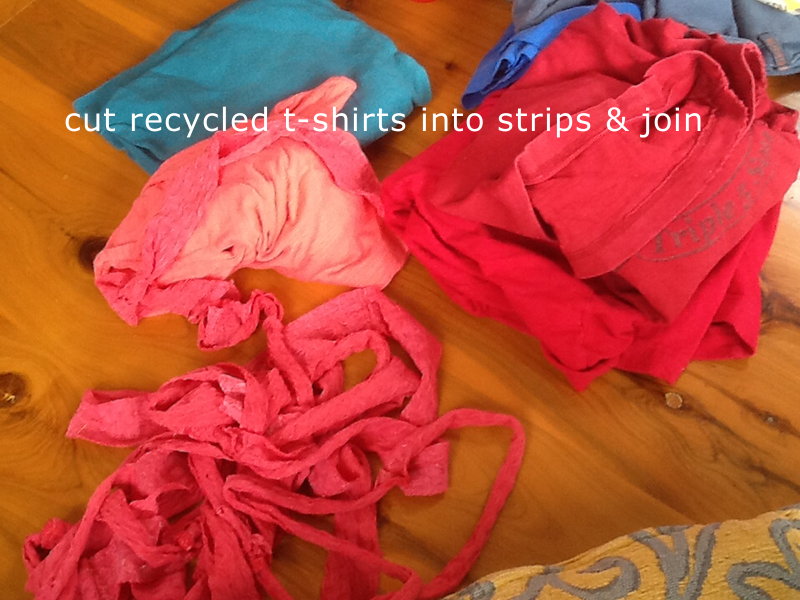
Here I am using strips cut from old t-shirts as my fabric strips. You can use any other type of fabric or suitable material (e.g. rope).
Cut strips of the fabric. Mine are about 1 inch wide.
As I don’t have the equipment (yet) on how to make a video for you, I have included a video below that shows how you can join fabric strips without knots or sewing.
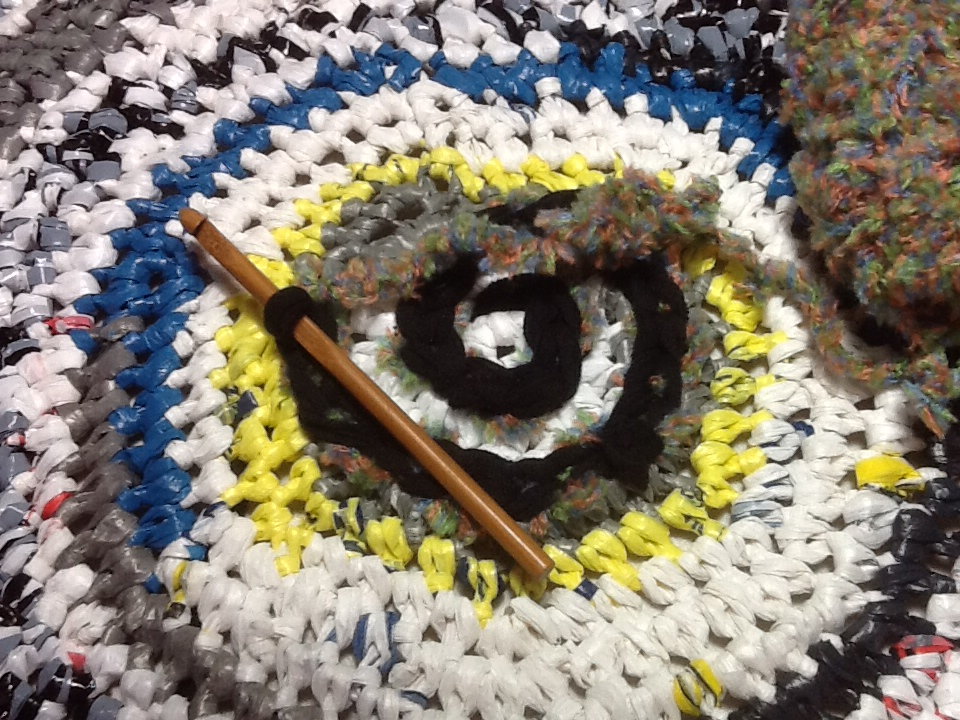
Once my fabric “yarn” is ready, I crochet (chain stitch) above the plastic crochet rug. And for extra texture to make it more interesting, I wove a fluffy yarn inbetween each chain stitch (from right to left on one stitch and left to right on the next).
Click for larger image to see more details.
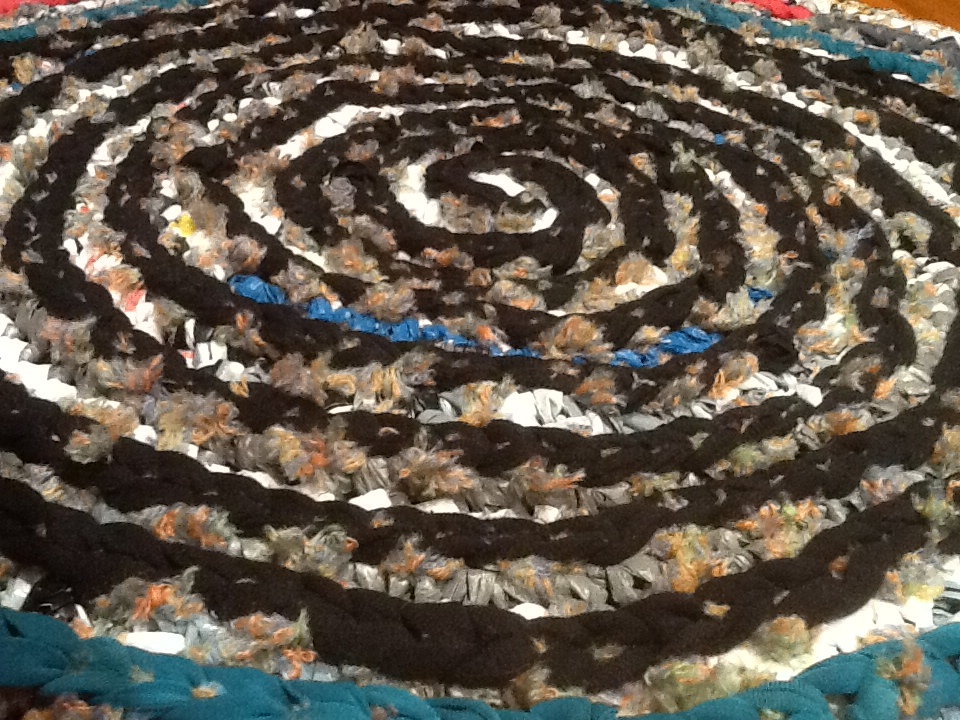
This photo here shows the underside/back of the plastic rug.
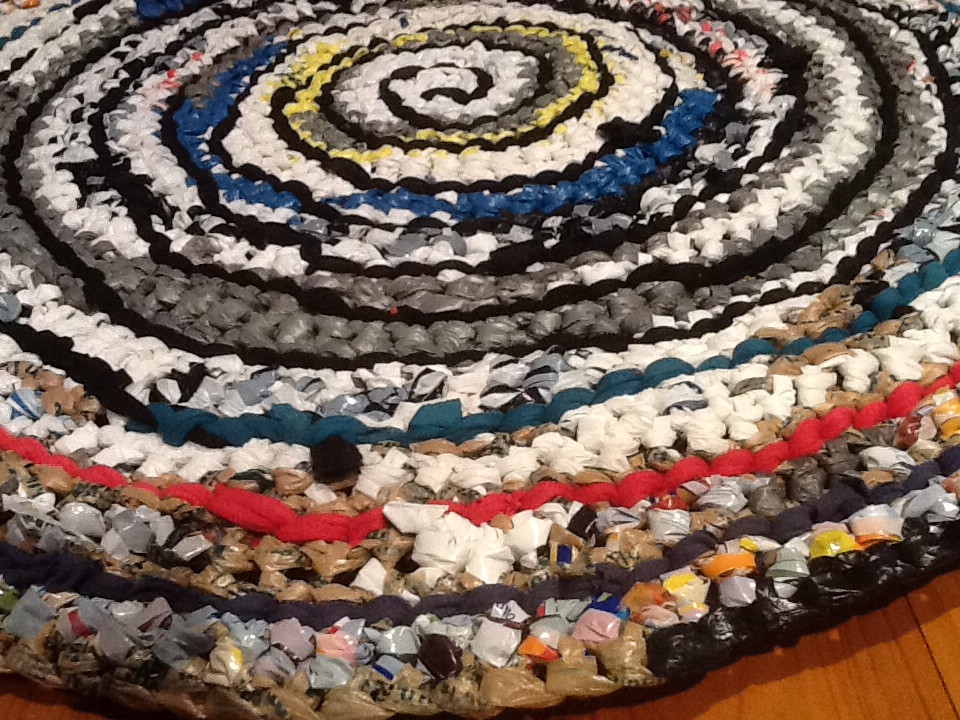
And finally, here is a close up of the finished recycled plastic rug. I hope this pictorial guide on how to make recycled plastic rugs has infused you with new ideas on ways to recycle those plastic bags that gather faster than you can use them 😉
If you have ideas to share on the making of various recycled plastic rugs, please don’t be shy to use the comments box below.

Recycled plastic bag basket. Original photo from “Hip Cycle“
Here is another project I might want to try. As soon as I have more plastic bags again!

Lovely. The planet thanks you:)
Weeew! Thank you. And if your mama likes my article on recycling plastics into rugs, you might find a dearth of plastic bags in your own house!!! 😀