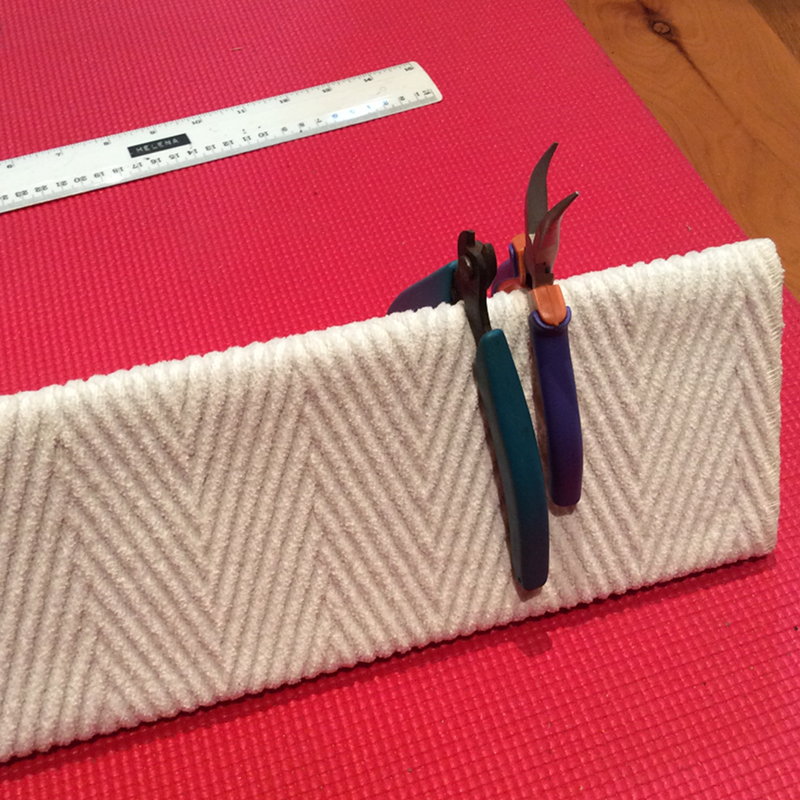
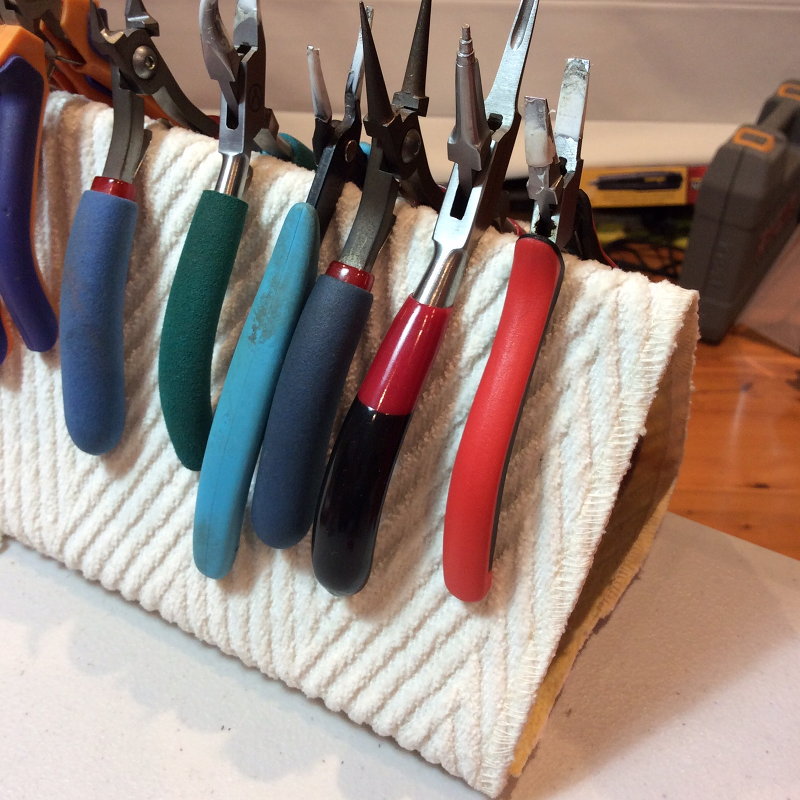
I decided to make my own pliers stand (alternatively called “pliers holder” or “pliers rack”). It was easier than I expected. And sturdier.
I have been driven nosy and crazy with my various make-do pliers stands. First it was buckets, then whatever wooden canister holder, then just plonking them into a tools bucket. But as many know, the more you have need of your tools – the more specialized and plentiful they get. And in the middle of a project, to be able to lay your hands quickly on the right tool, is a heaven-sent. And then to be able to store them, visually accessible and safely – that is another god sent.
But pliers stands or pliers holders are not cheap. Plus, even after paying the price, they have limited capacity. (You know your collection will continue to grow despite your best restraint). So being able to make your own pliers stand – easily, is a big bonus.
How to Make your own Pliers Stand Easily
This is a very short how-to on making your own pliers stand. Very easy. And quick. So not a lot of photos.
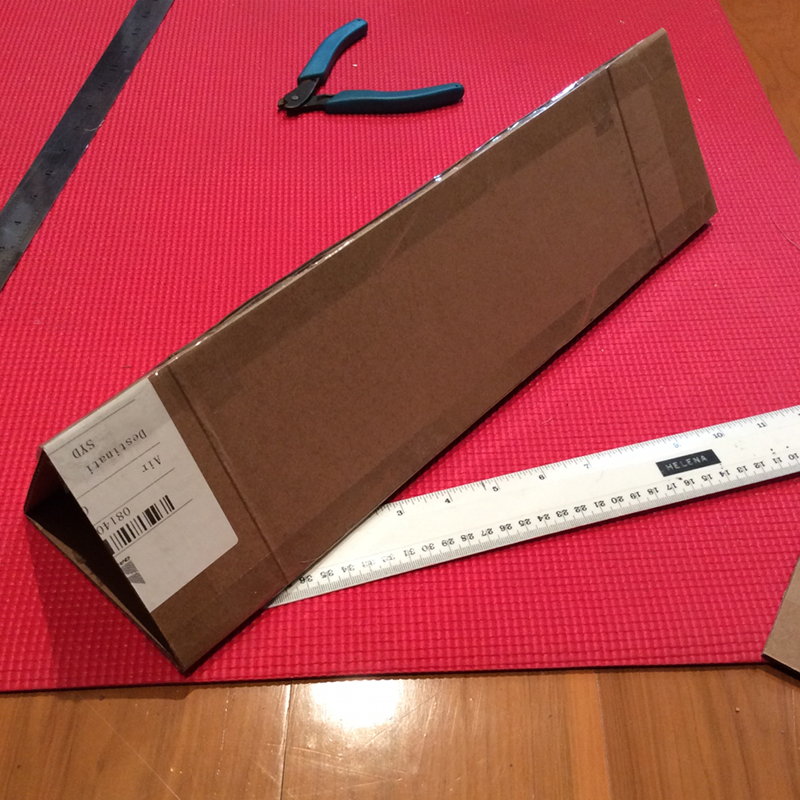
I got a piece of cardboard (old packing case) and made a 3-sided triangle (equilateral triangle tube). I taped the edges (even though 2 of the edges are just scored and not cut through) for extra strength. I found suitable strong fabric to glue onto all the sides. (Just one piece of fabric. Fabric-overlap is at the bottom).
And that is it!
Additional Notes on how to make your own pliers stand
- Originally I thought I would have to weigh down the base of the pliers stand. But as this triangle tube forms and equilateral triangle (equal sides), it is already very firm and will not tip over.
- However I did find that some of my specialty and/or smaller pliers did not open wide enough (at the handles) to sit properly on an equilateral triangle pliers stand. For that, I created an isosceles triangle tube (2 equal sides and the base of a shorter length). Don’t make this too high as it has a tendency to tip over. (I will have to experiment with another one or weigh it down).
I have been using my new pliers stand for some days now. And it is great! (And cheap!!!) 😀


Thanks Helena! After looking at purchasing a rack and being anxious about how it wold fit, I found your simple and ingenious idea. Now I have a built to fit solution that is simple and free!