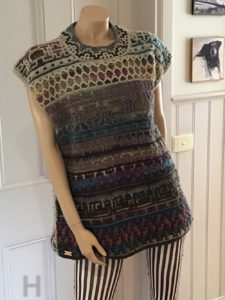
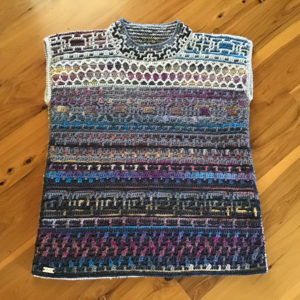
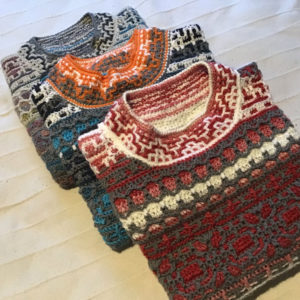
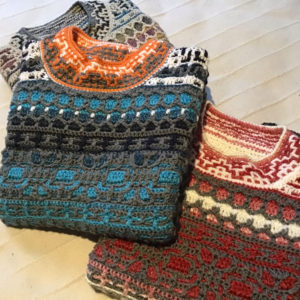
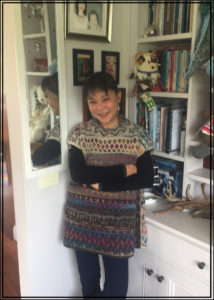
A warm, easy, oversize top in CMC: It is winter, I am feeling fat but cold. I wanted an easy to put on top/vest that I can wear anywhere. Something that would hide my fatty bits while hopefully, look a bit flattering. All I can say is that I was so pleased with this pattern that (so far), I have made three 😀
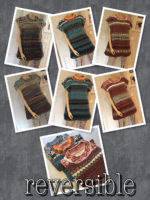
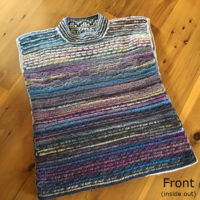
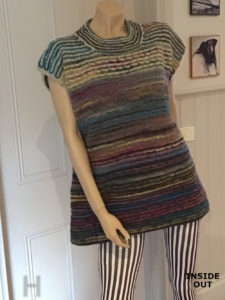
And for a bonus, it is reversible! (Just as long as your joining seams are pretty neat).
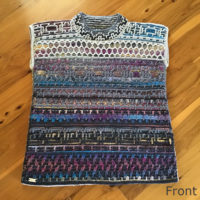
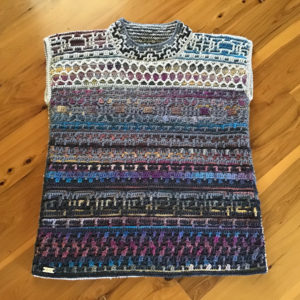
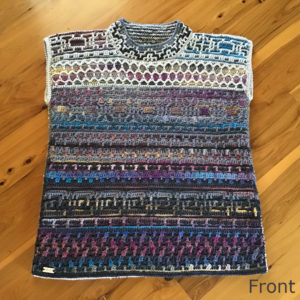
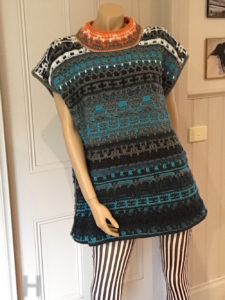
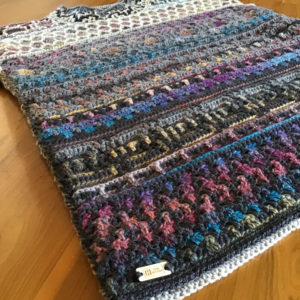
- First top – Front
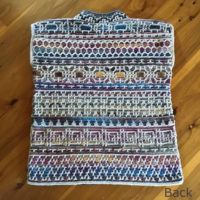
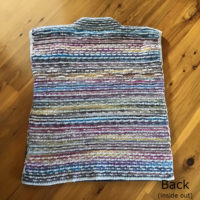
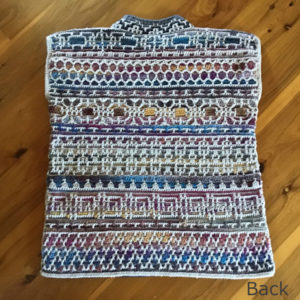
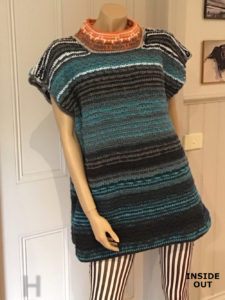
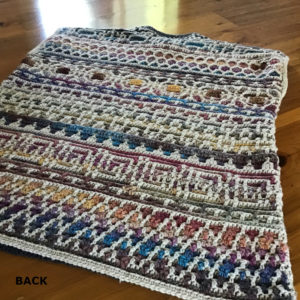
- First top – Back
Pattern Availability
 WHERE TO BUY/DOWNLOAD THIS PATTERN
- Oversize Top/Vest in CMC – PDF download, graph pattern (ClearlyHelena store)
- Oversize Top/Vest in CMC – PDF pattern, graph pattern on Ravelry
Status: n/a (mine)
Basic Pattern Info
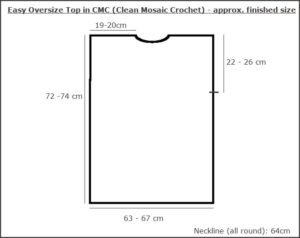
| Size: | Loose Fit. Australian Sz 8-12. (Please see FAQ below for suggestions on other sizes) |
| Crochet Terminology: | American and/or pictorial crochet symbols |
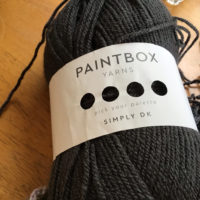
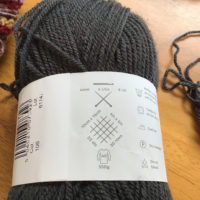
| Yarn: | DK (Double Knit) / 8ply – from a variety of brands incl. • Paintbox Simply DK • ICE Dora • Dazzle Heirloom 8ply • Patons Sierra |
| Manufacturer’s Recommended Needle Size: | 3-4mm |
| Hook(s) Used: | • 2.2mm (for opt. Crab Stitch edging) • 3mm (for MM foundation row, and opt. Top-chaining) • 4mm (MAIN. For body) |
| No. of Cols: | 4 colours. 5 colours if using different contrast colour for Collar (opt) |
| Crochet Technique(s): | CMC (Clean Mosaic Crochet) |
| Final Nett Wt (approx): | 0.5 – 0.6 kg |
| Work Time: | (lost count!) |
| Level: | Intermediate to Advanced, Or anyone familiar with Mosaic Crochet, specifically CMC. Need to be comfortable working off charted/graphed patterns. |
GAUGE
| Yarn: | any DK yarn |
| Hook: | 4mm hook |
| Technique: | CMC (Clean Mosaic Crochet) |
| GAUGE: | 10x10cm == 16.9 sts x 21.1 R i.e. 22 sts x 19 R == 13 x 9 cm |
MEASUREMENTS
FAQ
Q. Size – this is too small for me. How do I make a bigger size?
Important that you make samples to check your gauge. Many people don’t bother making a gauge sample but, while it only gives you an approximation, it will still give you the best guess as to whether you are going to end up with something that is way too small, way too large, or just right … ask Goldilocks!!!
Q. Size – can I use other Mosaic Crochet techniques with the graphs?
While I do not show how to here, it is definitely possible to semi-redesign these tops to be worked mostly in the round (with whatever MC technique you want to use). That would be one way to solve the cut tails issue.
Behind the Scenes
The oversize top looks so simple now that it is done, but it took me days to play around with the colours because it just would not work!! But all bad things come to an end! 😀
CMC Oversize Top – WIP Photos
Some of these photos will be of especial interests to anyone who gets the pattern – especially as an additional visual confirmation of their work progress. Additionally, while I don’t dictate how the pieces are to be joined in the pattern, I do show how I did it here in the photos below.
Sequence of Work
This is just a guide to how I did it. It is not essential that you do it in the same sequence.
- Front
- Back
- Top-chain around 3 sides (excl. bottom) – preparing for joining and collar
- Join shoulder seams
- Make neckband / collar (worked in the round)
- Side seams – sew/crochet up to armholes
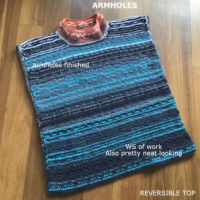
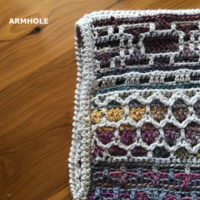
- Finish/Neaten armholes (how, is up to you but some pics of how I chose to do mine are included below)
The Pattern
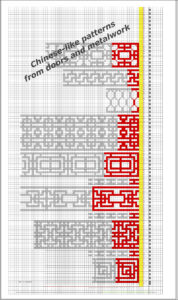
The front and back are all worked off the graphs in the paid pattern.
The graph for the collar is also included. The collar is optional. You can forego it and neaten off edges. Or you can make other collars/neckbands, as you desire.
Differing Colors – Different Tops/Samples
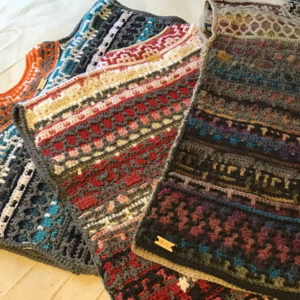
I ended up making 3 of these tops (so far). The photos I use here depict WIP (work in progress) of parts of these 3 tops – which is why the colours may vary.
Note: you may notice that the colours in the photos below do not always correspond to the finished tops. That is because I had to do so many trial runs with various yarns that some of the photos here reflect this fact. However the method/technique/step is identical so it is for that reason that they are included here, despite the colour differences.
.
Concentrate on the techniques/notes in the photos; not the inconsistent colours.
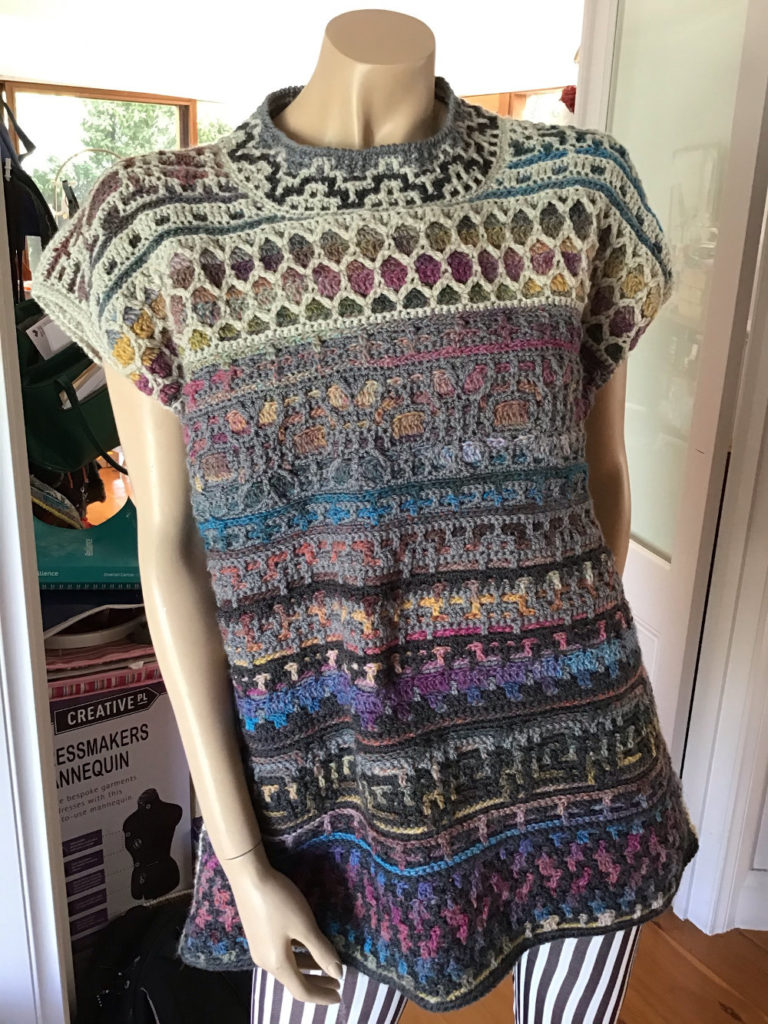
For my first top, you can see that the front vs the back is quite different. However both are worked with the same graphed pattern, except for the neckline.
Note: I primarily worked the back here with just the cream yarn because I wanted to see how it would look. The paid graphed-patterns will be utitilising the 3-yarn technique, as per the front.
- First top – Front
- First top – Back
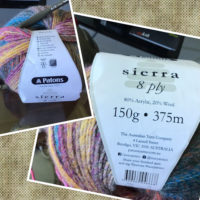 For both front and back, I used only one colour of yarn for the background (represented by white squares in the graph). This happened to be a gradient/ombre yarn: Patons Sierra 8ply Correction:
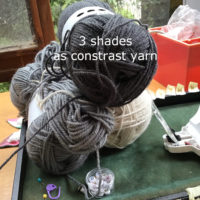
For the front, I had 3 different shades of yarn (dk gray, med gray, cream) as contrast yarn, to create the light-to-dark look. How and where to change yarn colours are all noted in the charted graphed patterns.
Start Work – Front or Back
Begin with either Front or Back and work from graph.
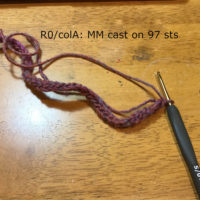
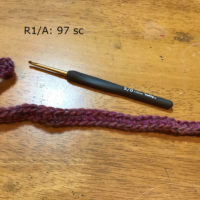
How to Start: Rows 0 – 1
Mini-Tutorial: Diagonal Lines in CMC When Working from the Back
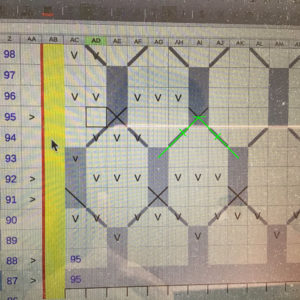
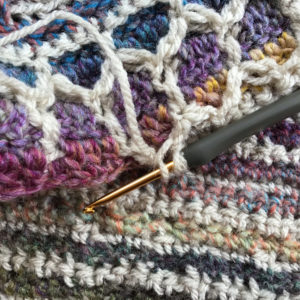
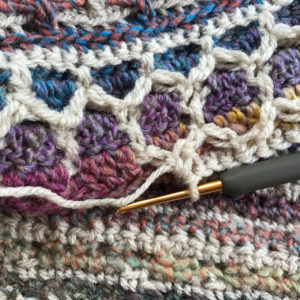
There are quite a number of diagonal lines in this pattern. While I have already explained the basics of working CMC slanted/diagonal lines in the CMC Tutorial, I will add a bit more details here – specifically when you have to work diagonal lines from the WS (Wrong Side) of your work.
Let’s say you are working on R95 with the WS facing you. I have indicated the specific diagonal stitches in green in the photo.
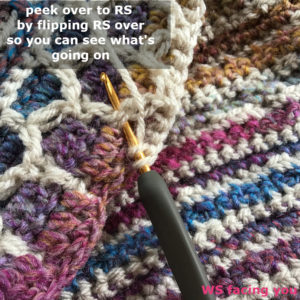
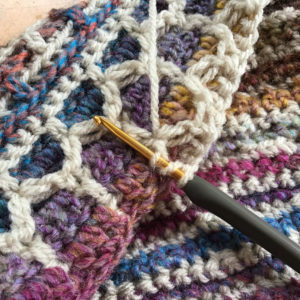
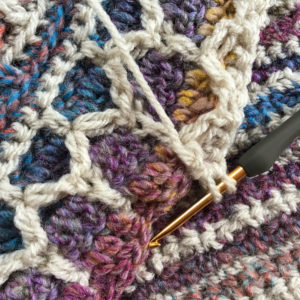
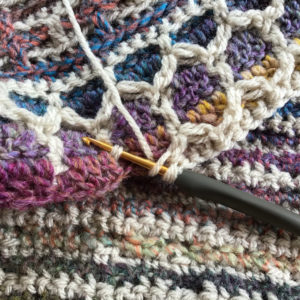
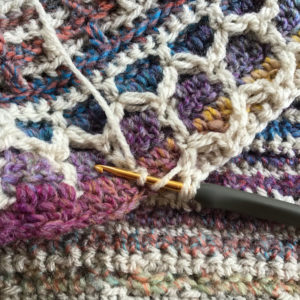
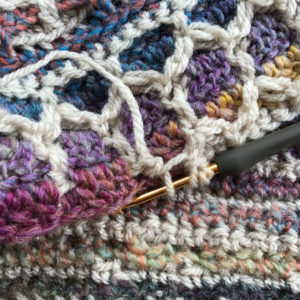
We will be making a dc2tog to create the diagonal lines indicated, from the WS of the work. This is illustrated in the photos below.
- insert hook into dc from 2 rows down and 2 stitches back (as per graph)
- yo and pull through =>3 loops on hook
- yo and pull through 2 => 2 loops on hook
- yo, hook into dc 2 rows down and 2 stitches fwd, as per graph.
- yo, pull through. => 4 loops on hook.
- yo, pull through 2 => 3 loops on hook
- yo, pull through 2 => 2 loops on hook
- yo, pull thru 2 => 1 loop on hook
Collar / Neckband (opt)
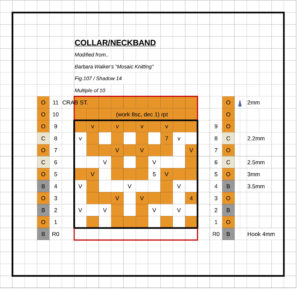
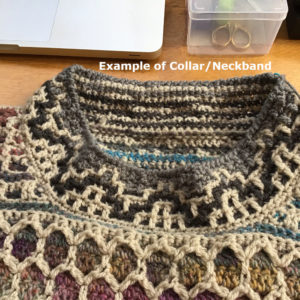
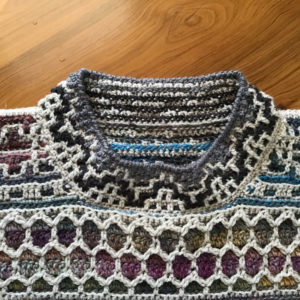
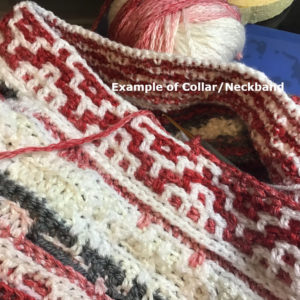
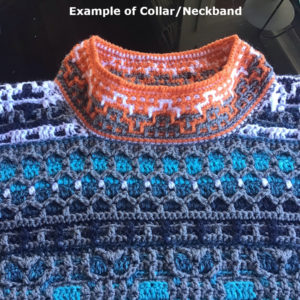
For this pattern, you can finish the neckline however you want to; with or without collar. For myself, I made a tapered collar (more description below).
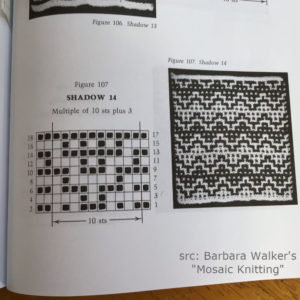
I chose to use this pattern sample from Barbara Walker’s “Mosaic Knitting”, a fabulous library of patterns.
You can see that it is a repeated pattern comprising of a multiple of 10 stitches. You can ignore the 3 stitches for edges because we will be working in the round; not a flat piece.
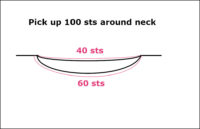
To that end, I picked up 100 stitches around the neckline (which of course, is a multiple of 10).
Preparing and Neatening Front & Back
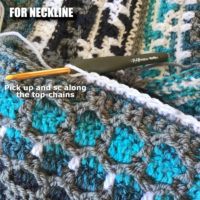
While each of us have our own preferred way of picking up stitches, I will illustrate how I did mine here:
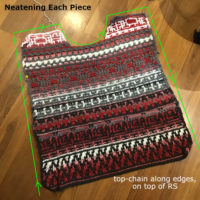
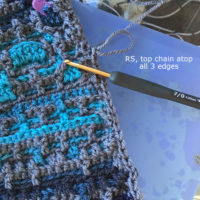
It is a good idea to prepare the neckline before we do the mosaic crochet (MC) pattern. In this instance, I have actually prepared all the edges of both Front & Back (excluding the hem) with top-chaining.
Again I stress that how you neaten edges, join the seams, work the collar is up to you. This is just my preferred way as it gives me clean, neat edges and clear stitches to work with.
- Leave/Reapply the markers for the Armholes
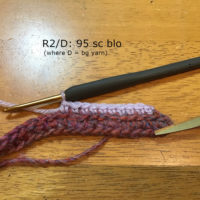
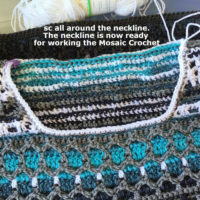
- R0: sc all round
- R0 done. 100 sc all round
The top-chaining makes joining up so much neater and easier. Join the shoulder seams so you can work the collar in the round. Once you have joined the shoulder seams, you can create the tapered collar.
To create the taper in the Collar, change hook sizes as shown in the graph.
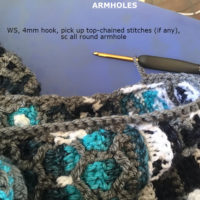
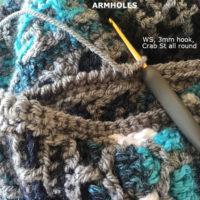
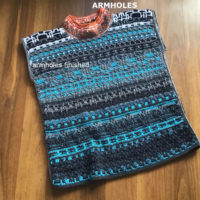
Finishing up the Armholes
How the armholes are finished is also a matter of preference. Here is how I did mine.
Join up the side seams, up to the armhole markers.
- (from another top)
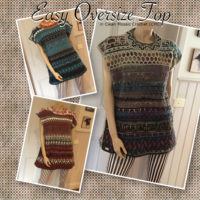
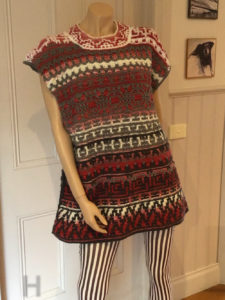
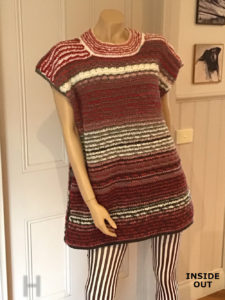
Finished Gallery of Oversize Top in CMC
Thank you for dropping by!

Hi Helena – am going to attempt this lovely top, and was wondering about yarn quantities if using patrons sierra – 2 balls for colour 1? And quantity for Col 2,3 and 4?