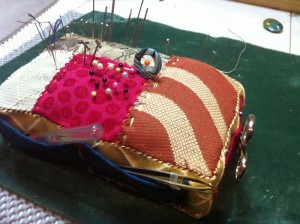
Ah, don’t turn your eyes away because I seem like a lowly and ugly pin cushion. I am only a beta version. I have been on trial for a month or so. And I have made Helena so very happy!
I am a pin cushion which:
- is weighted
- is segmented to be easily organised
- has anti-rust capabilities
- can magnetically hold small work scissors
- and helps sharpen needles
I have been made to please. And I have and I do! Daily!
Helena thinks I am quite amazing (tho she does not, as yet, appreciate my lack of good looks).
The Old Pincushion
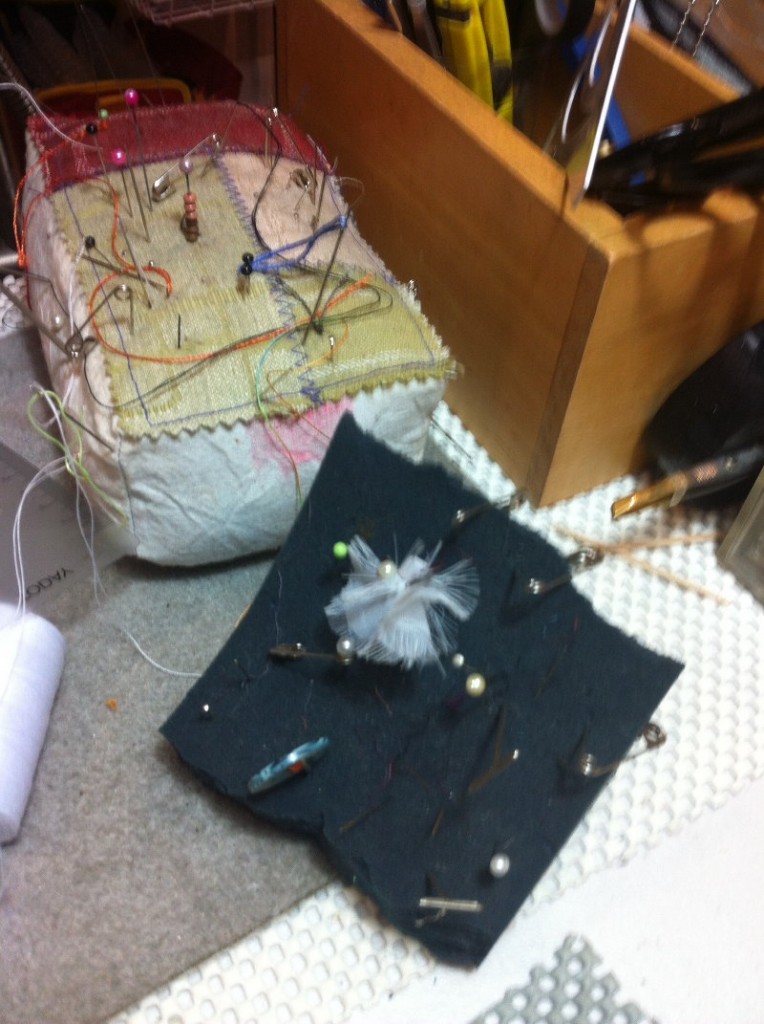
Here is what the ole girl had to deal with before I came along. You should have heard some of the expletives that were uttered in the dead of night when the old, fly weight pin cushion would fly up together with the needle. Or the deadliest of squints that Helena had, trying to locate the right needle on the old, messy pincushion.
The Idea Behind the Organised Pin Cushion
This shows a rough draft made during my gestation period.
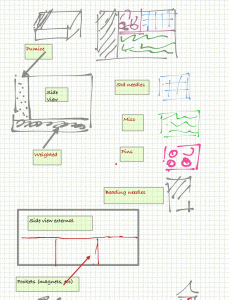
I should not be made too tall. You don’t want needles disappearing into my body.
1) A strip of the requisite length to go all round the body is prepared. Little pockets are machined on.
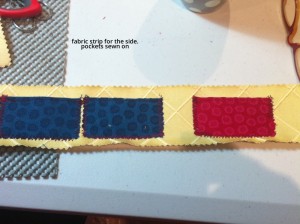
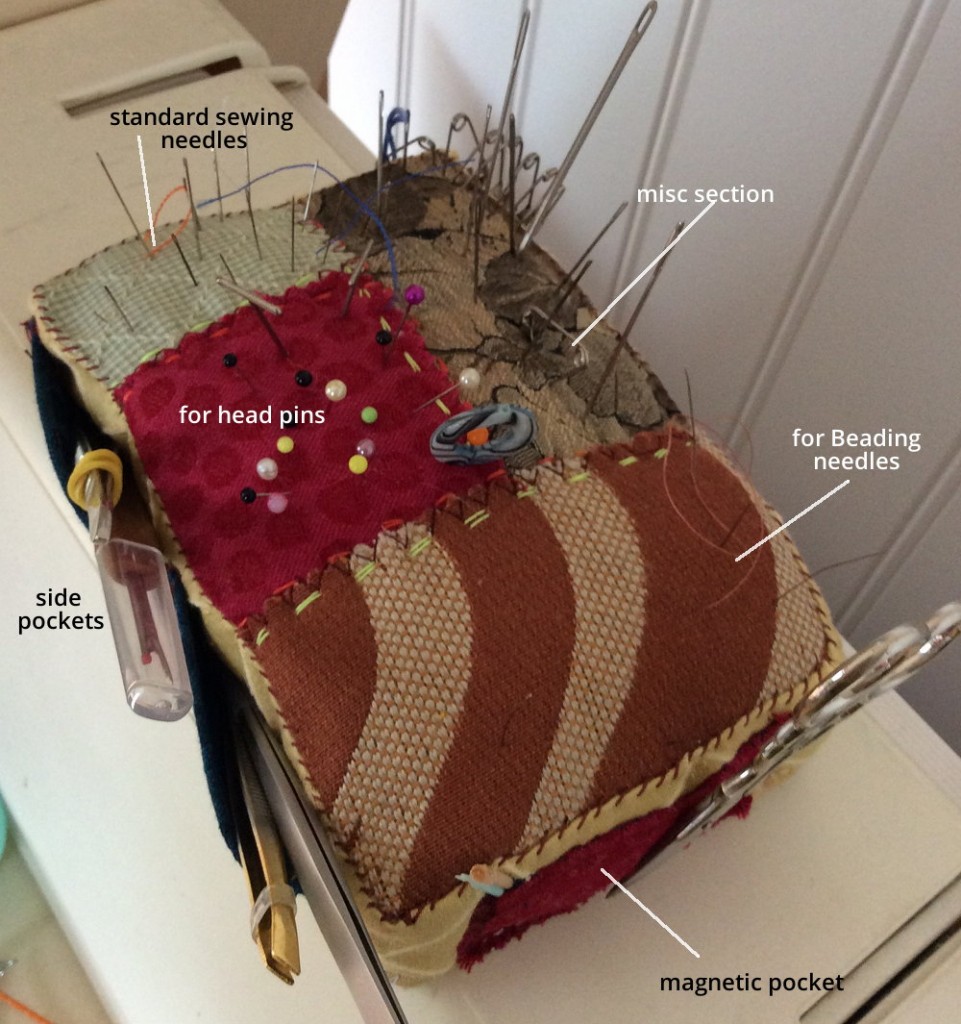
2) The top is “segmented” with different fabrics which will be a visual organiser. Here, different fabrics are sewn onto a top piece of fabric the size of the pin cushion top. Each different fabric is assigned to various needles: pin heads, beading needles, miscellaneous needles, normal needles.
(Sorry. No work-in-progess pics at this stage of the work. So just showing the final item.)
3) The side strip are sewn to the top rectangle and the corners mitred so that they fold down better when turned over. Turn inside out.
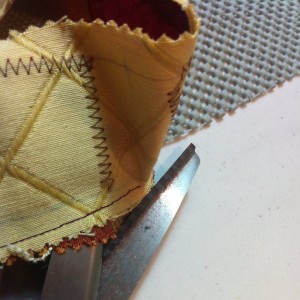
4) Then the pin cushion is stuffed “creatively”. I am sorry that I do not have more pics of my birthing process. There is one section that is filled with a little layer of pumice powder. (That is directly beneath the “Beading needles” section. It will help sharpen needles automatically. Pumice powder is expensive and hard to get. Could not use pumice powder for the entire pin cushion.)
5) Then the next level of stuffing (remember, we are stuffing from top down) is made of thick felted (“fulled”) pure wool layers. The lanolin in pure wool is said to keep rust away. The slightly abrasive nature of felted/fulled wool will also help keep needles sharp.
Then comes the main stuffing. The main stuffing is just ordinary polyester stuffing.
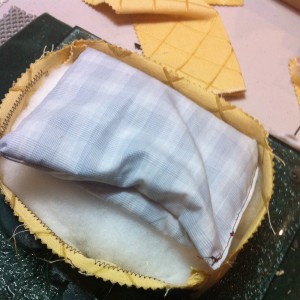
6) And the final layer – a bag of weighted material. (I don’t remember. I think it was excess economy seedbeads I had). This is sewn into a flat pouch and forms the bottom layer. This weighted layer helps to keep the pin cushion from moving around and from flying up when a needle is pulled out. Nothing more annoying that a too-light pin cushion that flys up and knocks things down!
7) Then the bottom is sewn up.
8) The “magnetic pocket” has a magnet inside. The opening is sewn down (otherwise magnet keeps popping out with use). A wee opening is left for small sticks like toothpicks – which is an indispensable tool.
And there you are … or rather here I am – a very organised, effiecient pin cushion. My trial is going very well and Helena is very pleased indeed. But I fear that she has thoughts of “improvements” for the next version …
Suggested Improvements for the next Organised Pin Cushion
- Smaller in surface size.
- Bit deeper so that side tools can sit better.
- Most definitely, a bit prettier!
