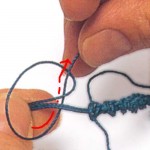
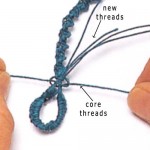
This loop and bead clasp tutorial is an easy way to give your jewelry piece a customized, unique and matching finish. This technique is especially ideal if you have used decorative knotting in your piece.
You can refer to the basic how to tie the reef knot or the beaded jewelry with square knots for a refresher on knotting techniques for jewelry making.
How to Make Your Own Loop and Bead Clasp for a Unique Finish
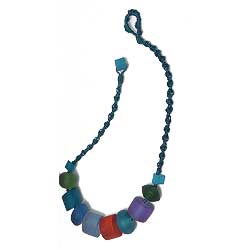
Customized loop and bead clasp
This Loop and Bead Clasp tutorial comes in two parts: the Bead Clasp at one end, and the Loop at the other end.
Part I) Making the Bead Clasp
Though this is not essential, I will assume for this exercise that you have created a band of decorative knots like in the Beaded Jewelry with Square Knots tutorial. So at this stage, you have a decorative band of knots at each end of your piece of beaded jewelry and are looking to finish off with your own customized loop and bead clasp.
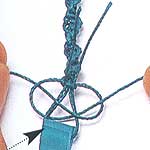
Making the bead clasp
1) End Bead – String on your chosen bead/button that you want to use as your fastener.
1a) 4 strands – If you have been working with 4 strands of cord/thread, you can use the center 2 strands to string on your end bead. Thread the bead so that the 2 center strands go through the bead hole from opposite ends.
Then fixing a bit of distance between your end bead and the knotted band, neatly weave in the 2 working strands into the main knotted band.
1b) 2 strands – If you have been working with only 2 strands of cord, then cut yourself a short length of matching cord. String on your end bead, placing it in the middle of your new cord.
Fixing a bit of distance between the end bead and the knotted band, weave in the two ends of your new cord into the knotted band.
2) Extend Knotted Band – Now using the 2 balance strands which starts at the end of your knotted band, continue with your decorative knotting – covering the distance from the band of knots to the end bead.
Finish off by using a needle to work each end of these cords invisibly into your band. Trim off any loose ends.
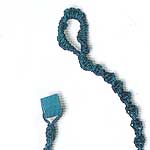
The finished Loop and Bead Clasp
Part II) Making the Loop
Now we will make the loop part of the Loop and Bead clasp. This loop should be just large enough to go over your end bead.
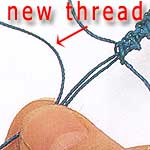
starting loop for Loop & Bead clasp
1) New Cord – Cut a long matching piece of cord. We will be using this to simulate a row of “buttonhole stitches”.
At the end away from you end bead, hold your new cord to the center 2 existing end threads.
2) Begin “Buttonhole” Stitches – With your new thread/cord, make a loop over your 2 inner core threads. Bring the working end of your new thread under the 2 core threads and then through the other side of the loop. Pull tightly.
Slide it towards the original knotted band.
3) Continue “Buttonhole” Stitches – continue in this way, creating a length of “buttonhole” stitches. It must be long enough that when folded into a loop, it will be just sufficient to pass over your end bead (at the other end).
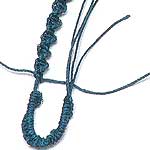
fold back to form loop
4) Form loop – Turn row of “buttonhole” stitches back towards main work. Align along main knotted band.
5) Finish off Loop – Using the 2 side core threads (from the knotted band), continue with your main decorative knotting over all the threads. Finish off by neatly weaving all threads into the band.
That’s it – you now have created your own matching Loop & Bead Clasp.
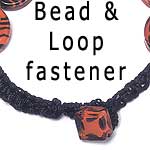
Loop and Bead Clasp
