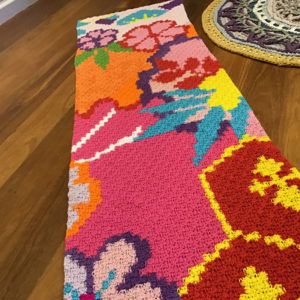
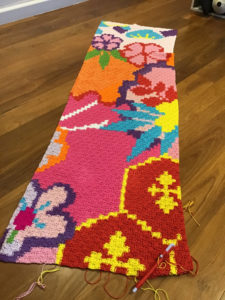
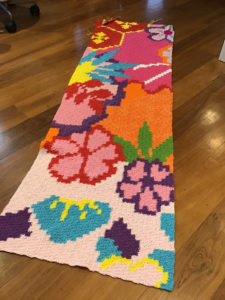
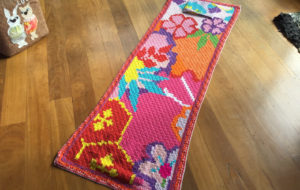
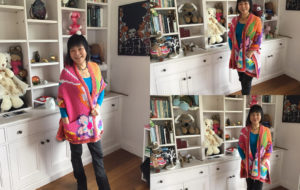
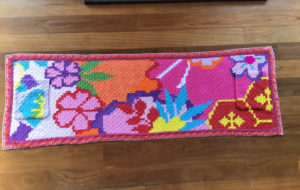
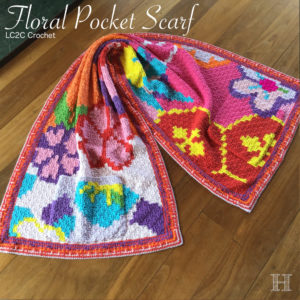
Pocket Scarf seems to be the in thing this season. So I jumped in with my take on the pocket scarf (aka pocket shawl) in this Floral Pocket Scarf. The technique I used was LC2C (Linked C2C) crochet but you can as easily make this using the standard C2C (Corner to Corner) crochet.
Credit: I roughly and partially based the floral design from a Japanese print that I think is named, Sakura Garden of Medallions.
SideNote:
I made this using LC2C (Linked C2C). LC2C is like C2C (Corner to Corner) crochet – except I like my LC2C so much better. Why? Because it produces a nice, dense, drapable, cushy fabric. The standard C2C crochet produces too many large holes in the fabric and worse, the holes keep getting larger with use!!
You can also use the standard C2C crochet to make this. If you are using my graphed pattern (links below) and the same yarn weight & hook size(s), then your resultant item may be a bit larger. That should not be a problem here.
You can find out how to crochet LC2C in my photo tutorial.
Pattern Is Available
WHERE TO BUY THIS PATTERN
- Floral Pocket Scarf pattern on ClearlyHelena webstore
- Floral Pocket Scarf pattern pattern on Ravelry
Status: n/a NNL (xxx)
USEFUL LINKS TO TUTORIALS
- How to crochet C2C
- How to crochet LC2C (Linked C2C, aka No-Hole C2C) – my photo tutorial.
- Overlay Mosaic Crochet Tutorial – (tutorial) method that can be used to crochet the optional border around scarf.
Basic Info on the Graphed Pattern
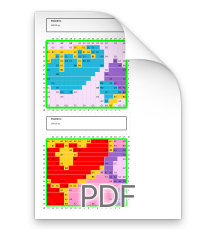
The paid pattern (a 24-page PDF manual) consists of:
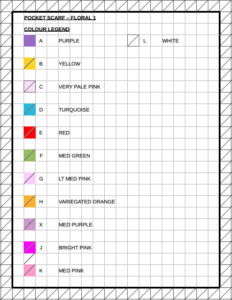
- 3 C2C colour graphs (for the scarf, 2 pockets)
- written colour count for each graph
Size: Free Size
Materials & Specifications:
Crochet Terminology (when used): American &/or pictorial crochet symbols
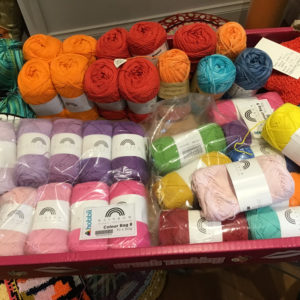
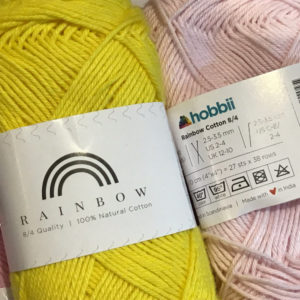
Yarn: Hobbii Rainbow Cotton 8/4 (100% cotton)
Tip: can substitute with yarn that has manufacturer’s recommendation of 2.5 – 3.5mm needles. (The 8/4 yarn I used is a 4ply yarn which is the same as fingering or baby weight yarn.)
Manufacturer’s Recommended Needle Size: 2.5 – 3.5 mm
No. of Colours: 12
Hooks: 2.2mm
Crochet Stitch: No-Hole C2C (aka, holeless C2C, or Linked Corner to Corner)
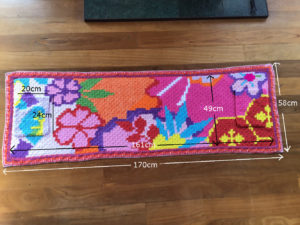
Intended Size (excl borders): 47×142 cm
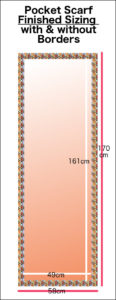
Finished Size (excl borders): 49×161 cm (Note: despite my best efforts, the finished size is never exactly as expected. But the gauge is still essential in being able to plan and design ahead; and for you to gauge if we are approximately in the same ball park!)
Finished Size (incl borders): 58×170 cm (border was 4.5cm all round)
Final Nett Wt: 0.7kg (approx)
Work Time (excl. prep & graphing): approx. 104 hours (13d)
[10×10 sq] = [13×13 cm ] or [10×10 cm] = [7.69 sq]
Floral Pocket Scarf – Preliminary Notes
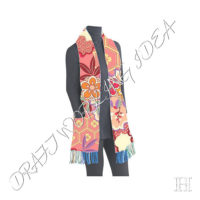 This floral pocket scarf, worked in LC2C (Linked C2C) crochet – can also, as easily, be worked in standard C2C (corner to corner) crochet.
The border is optional. When worked properly, the LC2C or C2C crochet produces very neat edges all by themselves.
The pockets are also optional – it will then be a scarf; not a pocket scarf – but that is ok, isn’t it?
Work Photos
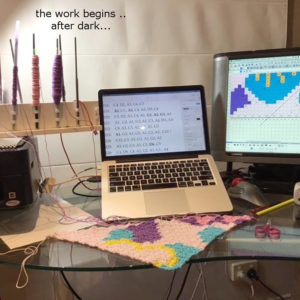
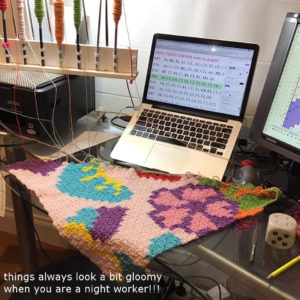
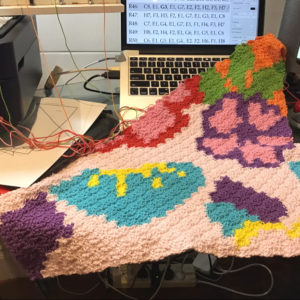
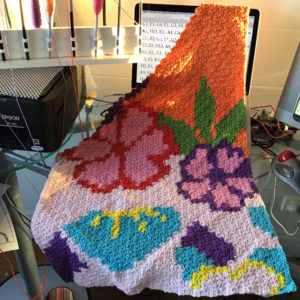
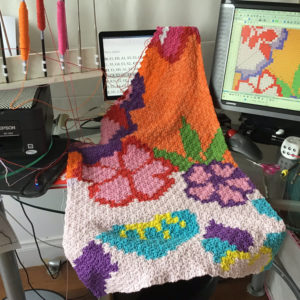
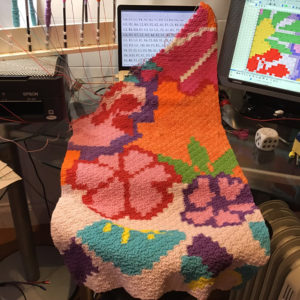
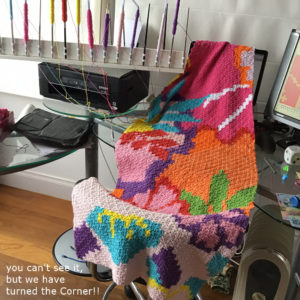
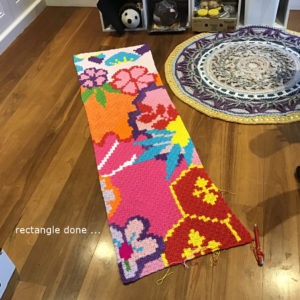
I am including a gallery of WIP (work in progress) photos. This is a pretty straightforward project (basically, a main rectangle). So detailed instructions are not necessary. However the photos might be of interest and can be used as a comparison-check, as you progress in the work.
I shall document the border separately, in the following section after.
- cd#7
- 49x161cm
After this, if you are not intending to do a border, you can neaten the edges and weave in loose ends.
Tip: You can also add pompoms, tassles, or other decorative edging as you see fit.
We shall make the pockets next …
Pockets
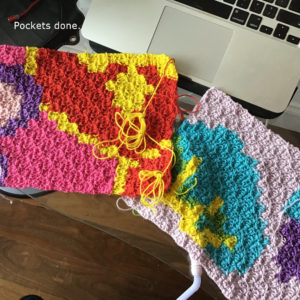
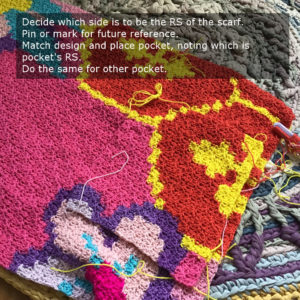
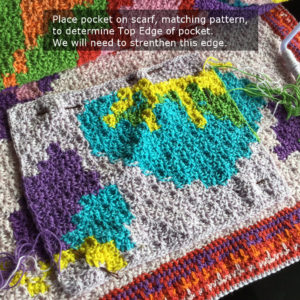
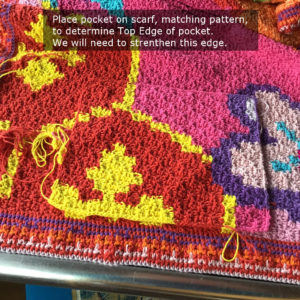
You will need the graphs (from the pattern) for the pockets. The placement of the pockets will be determined by matching the design on the pockets to the design on the scarf itself. The pockets are distinctly different in design.
Now, if you are working a scarf border, I suggest you work your border before attaching the pockets. If you are not making a border, you can carry on finishing and attaching the pockets as follows.
Finishing & Attaching Pockets
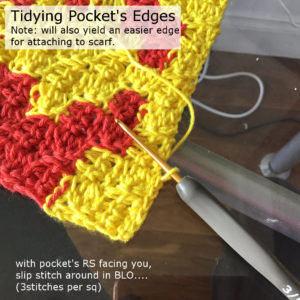
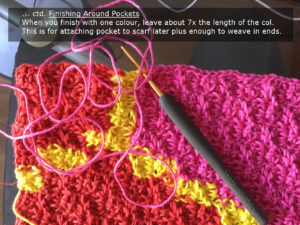
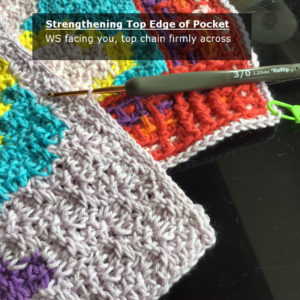
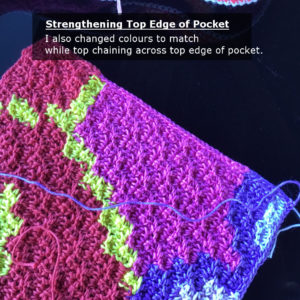
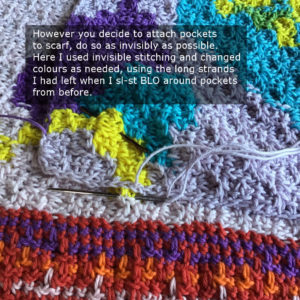
We will firm the top of the pockets (which will endure much strain and wear from busy hands!!!) And then attach the pockets to the scarf, as invisibly as possible.
At this stage, you are pretty much done except for probably some final tidying up. But if you decided to do a similar border as mine, then the following section will walk us through that.
Borders (optional)
 I decided I wanted some borders. These borders turned out to be 4.5cm in width; adding 9cm to the width and to the length.
I worked the border using:
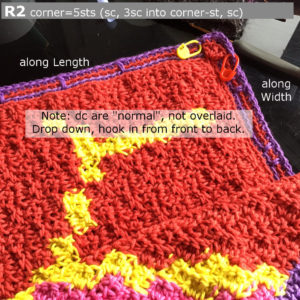
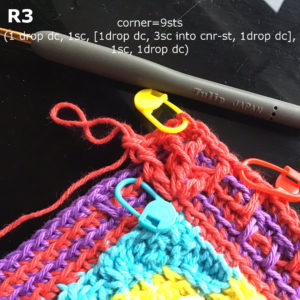
- Technique: (variation of) Overlay Mosaic Crochet; the variation being that instead of overlaying a dropped dc onto lower rows, I just dc down through the appropriate rows below. I wanted to produce a border that looked a bit identical on either side. (Overlay Mosaic Crochet and standard Mosaic Crochet produces the pattern on the RS and stripes of colours on the WS.) But don’t worry – you can ignore my variation here and just use the following Mosaic graph patterns with however you do Mosaic Crochet; … or just work your own preferred crochet border.
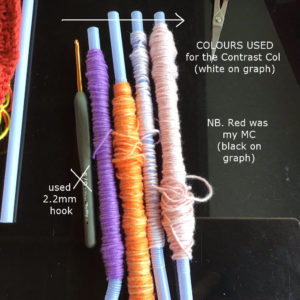
- Colours: one main colour (represented by the black in the mosaic pattern graphs below) and a combo of other colours. (I used red as the main colour and the result is pleasing but not as stark as it would have been if I had used black.)
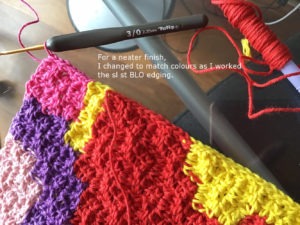
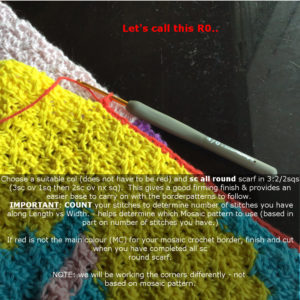
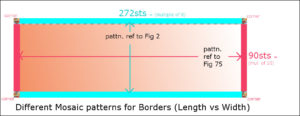
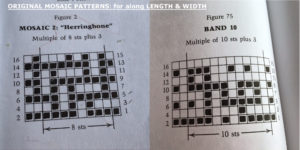
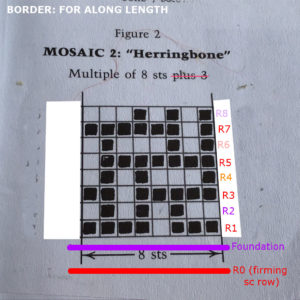
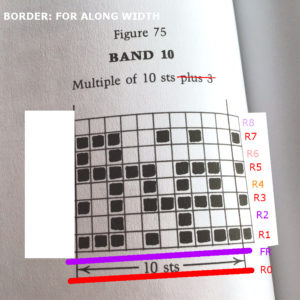
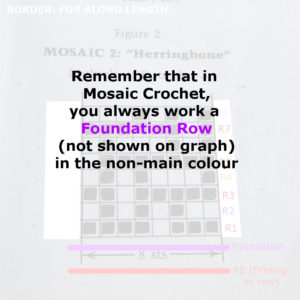
- Mosaic Pattern: I made used of the mosaic graphed patterns from the remarkable Barbara Walker’s book of Mosaic Knitting. You will note (in photos below) that I ended up with 272sts (multiple of 8) along length & 90sts (multiple of 10) along width. I worked separate Mosaic patterns along the Length vs Width. I provide the mosaic graphs I used in the photos below but I will not go into details on the Mosaic Crochet technique, as you will find that easy enough when you know Mosaic Crochet. I will merely show the progress photos.
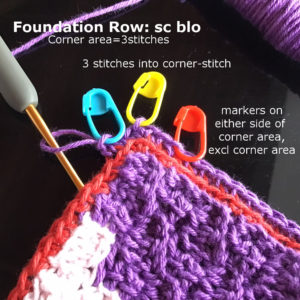
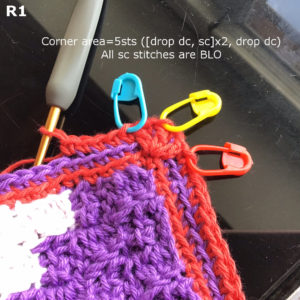
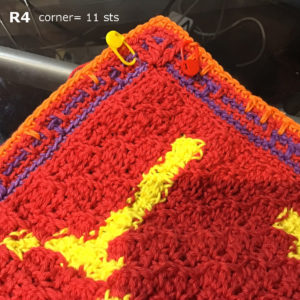
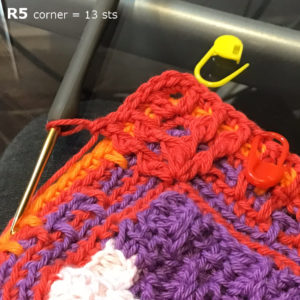
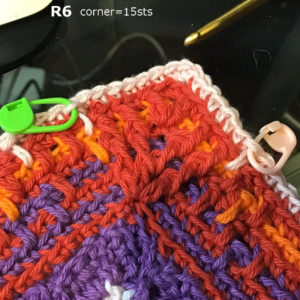
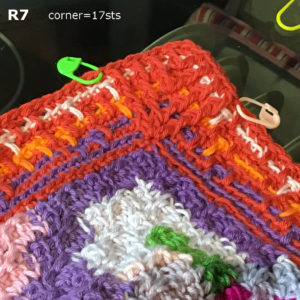
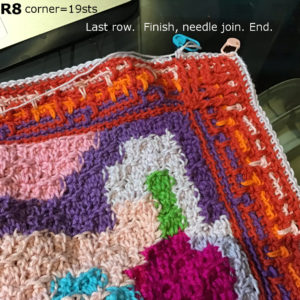
The corners are done differently and photographed in detail below. - Corner Management: in the firming-sc row (R0), add 1ch for the corner. That is the corner stitch and you should put a marker there, which helps corner-identification as you work.
Then for every row after this, you will work 3 stitches into the corner stitch; always moving the corner marker to the new corner stitch.
- chosen based on number of stitches per pattern and numb. of rows
- modified for our use
- modified for our use
- Error: sorry, the red marker should be one stitch up.
Now, if you have followed my sequence, you will attach the pockets as documented above. And you are done!
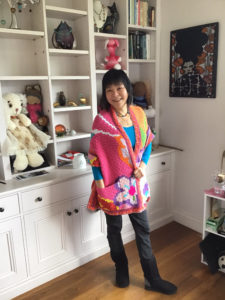
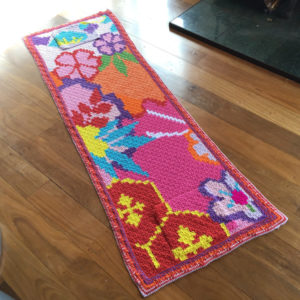
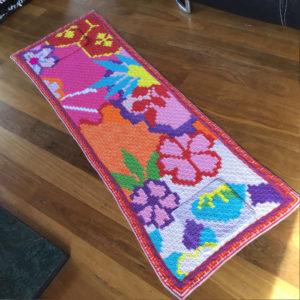
Floral Pocket Scarf in Linked C2C Crochet – Finished (Photos Gallery)
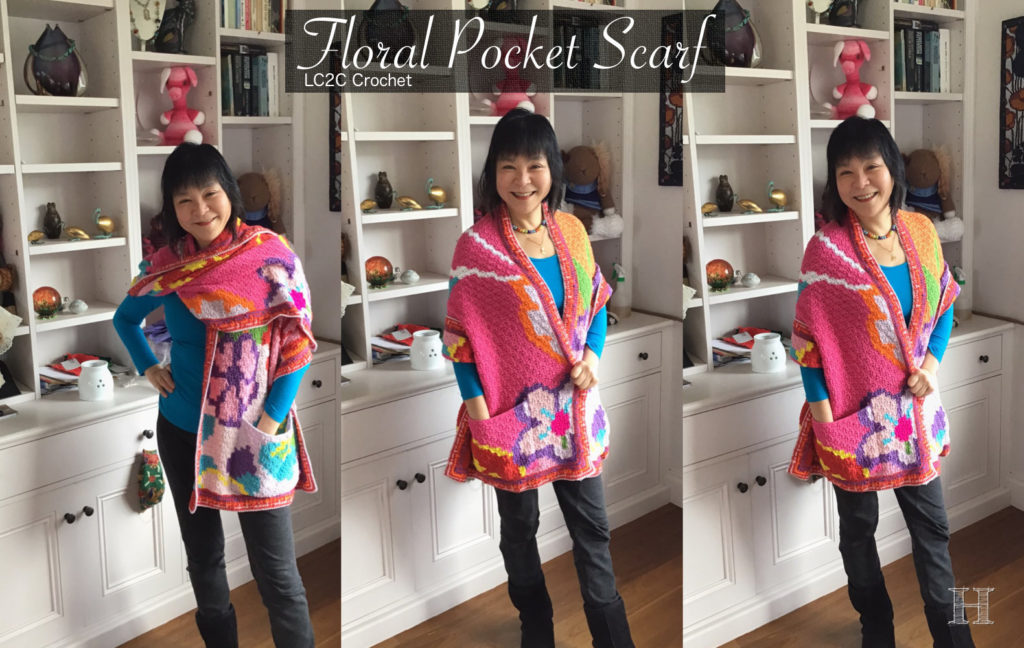
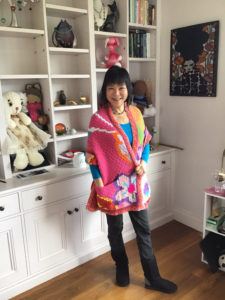

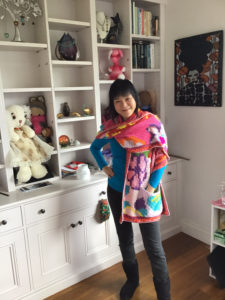

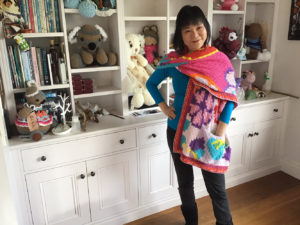

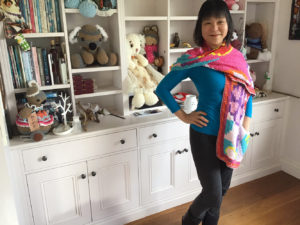


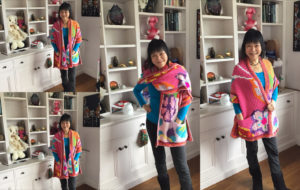

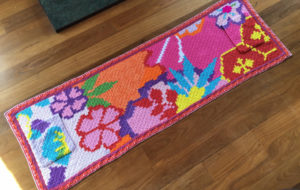
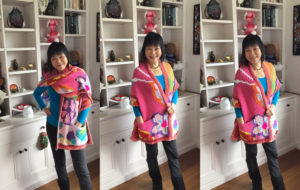
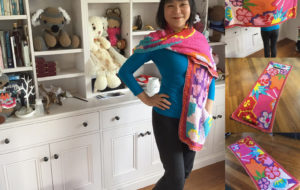

Everything Helena makes is special! This one is soooo pretty! Thank you for sharing your photos with us. Bev
Hello Bevvie! Thank you so very much! You always say the loveliest things about me!!! Thank you!