This article will detail how to filigree bead bezel cab – that is, to use filigree component to augment the stardard bead bezelling technique.
To get a perspective on this custom component, here it is used in the “Warm My Heart” mix media necklace.
How to Make a Filigree Bead Bezel Cab
Lets see how the main focal component was created.
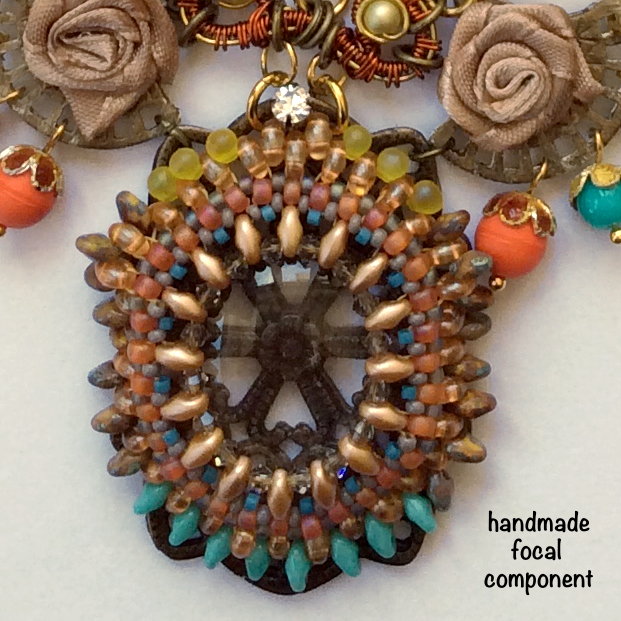
Here, there are 2 detailed photos of the finished component. Photos taken from marginally different angle so to give a better idea of findings and beads used in its creation.
- Bead Bezel with Filigree; How To
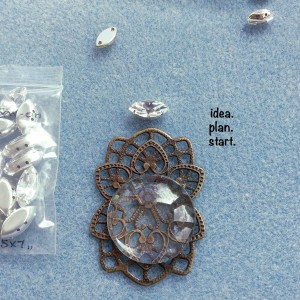
I used a large Greek vintage brass filigree finding as backing. The other 2 main items to come to mind were a clear, round class cabochon. (This will allow the details of the filigree to show through.) And maybe to top off the focal component with some glorious sparkle from Swarovski navette stone.
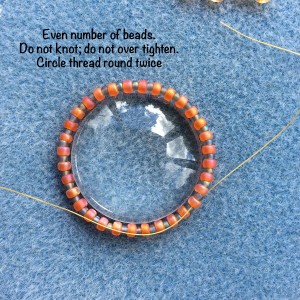
First thing to do is to bead bezel the clear cabochon. I made sure that I had an even number of beads which is virtually essential when planning to do peyote stitch on a round cab. Here I have used size 8/0 and size 11/0 beads for the first round. Do not knot – because you will need some easing when the next row is to include twin (or superduo) beads. This will constitute Row 1 & 2 of the peyote stitch bezel.
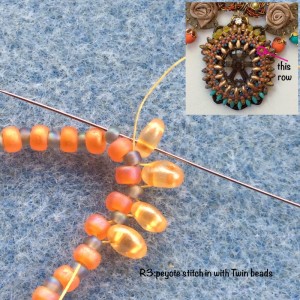
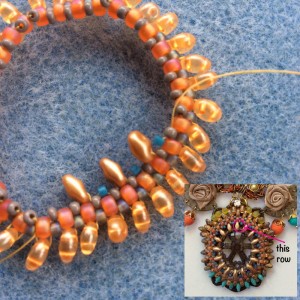
For row 3, I have used Czech twin beads. Bead bezel with peyote stitch.
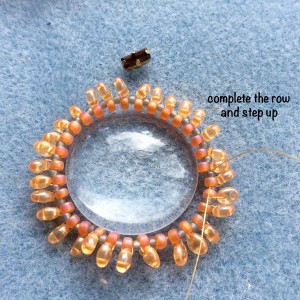
Complete the row and step up.
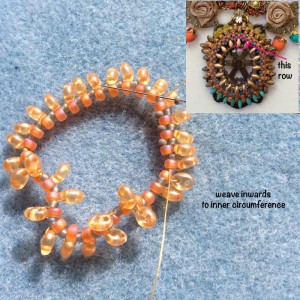
Row 4 (inner circumference): We next work on the inner circumference. So weave inwards to the inner circumference.
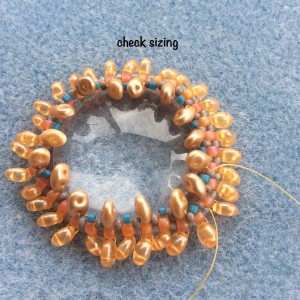
This inner row is done with Superduo beads and 11/0 delica.
Once you have finished the inner row, place over your cab to test sizing.
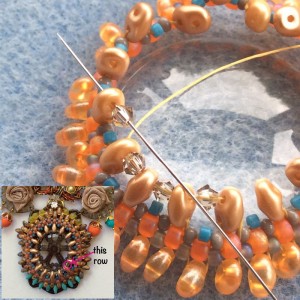
Row 5 (inner circumference): Thread 3mm Swarovski bicones along the 2nd hole of the Superduo beads.
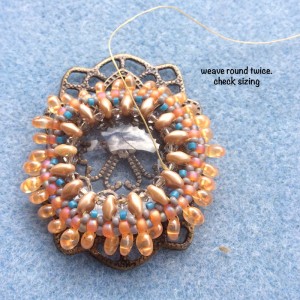
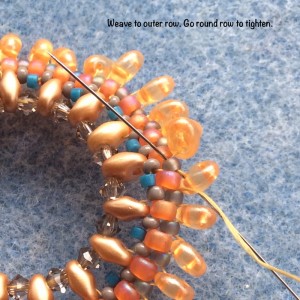
Weave round the row of 3mm Swarovski twice to tighten. Place on top the cab to check sizing and snugness of fit.
Next, weave your thread to the outer circumference. Pass thread through all the beads of the outer row to tighten and make firm.
Gluing Cab onto Filigree
Unlike the normal type of bead bezel, here the backing will not be beaded. Rather, the filigree will be the backing.
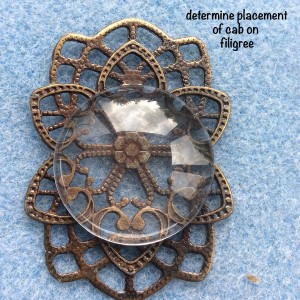
Place the clear cab on top of the filigree to determine placement. Fine marker pen if necessary.
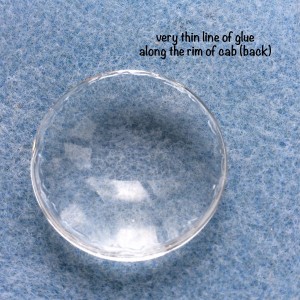
Put a very thin line of glue on the back of the cab. (Don’t worry, this is more to hold it in place so allow you to carry on working. The beaded bezel will be affixed more securely to the backing-filigree later on.)
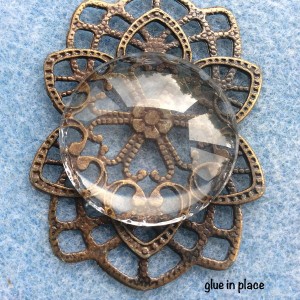
Glue the cab in place as per marked lines.
Attaching Beaded Bezel to Filigree
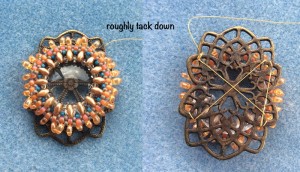
Place your beaded bezel over the glued cab and roughly tack down. (We will be cutting these tacking thread later on.)
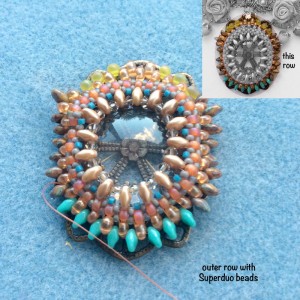
Do one round to the outer circumference with Superduo beads.
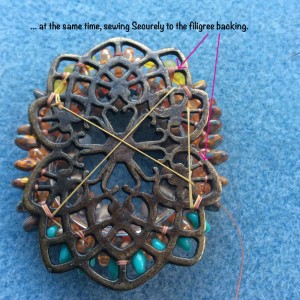
At the same time as you go round, firmly secure the beaded bezel to the filigree backing.
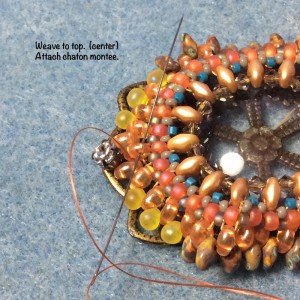
Weave to the top; find center. Then attach a Swarovski chaton montee.
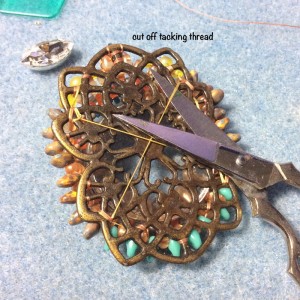
Cut off the earlier tacking thread.
Finish Off the Filigree Backing
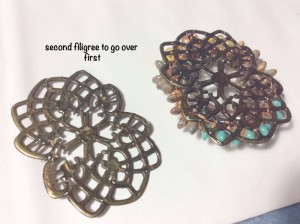
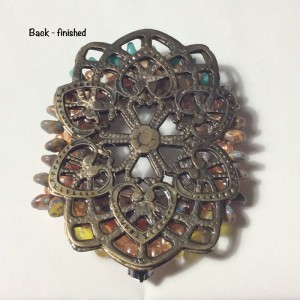
Even tho there is only marginal securing thread showing, I prefer a “clean” backing. So take another identical filigree and glue it to the original filigree. Have the right side of the second filigree face outwards (viz wrong sides of the filigrees are glue together). I have used Araldite glue for maximum and most secure hold.
The finished backing now should be very “clean” and with a professional finish.
