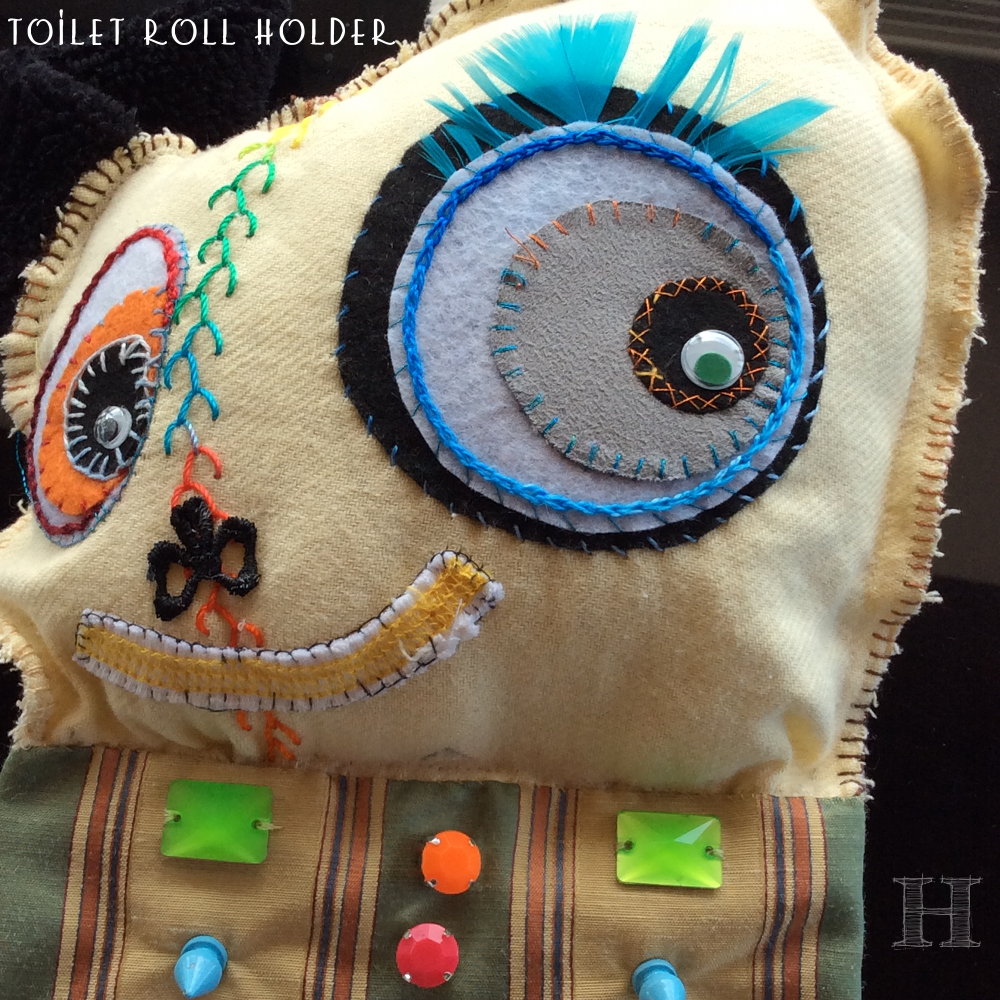
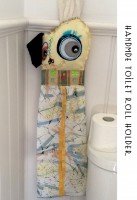
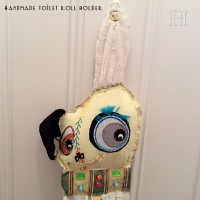
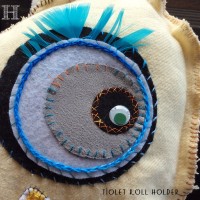
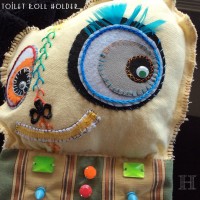
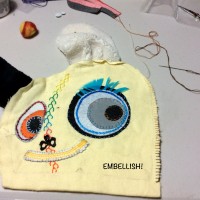
Have been meaning to make a handmade toilet roll holder for some time. So I made one last night. Of course, with me, it is always an “experiment” and lord only knows when I will get round to making the next “improved” version. But this will do for now .. especially with visitors coming by in the next few days 🙂
He now has a name: Loopy Loo (name bestowed by Natalie Fletcher-Jones (from the fabulous clay artist at Peruzi)
How to make a Handmade Toilet Roll Holder
Remember this was an experiment so the shots below are a bit sketchy. Hopefully enough to remind me the next time round. And enough to inspire you.
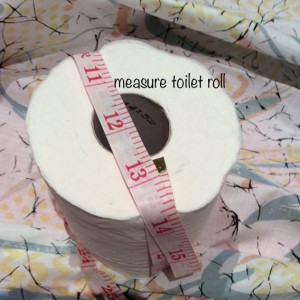
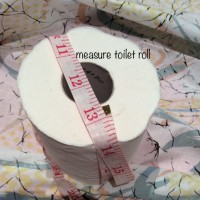
1) Measure round a full toilet roll. Mine looks about 13cm.
2) Get some fabric for the body. Determine the width of the fabric you will need. The fabric width you cut has to be quite a quite a bit more than this measurement. This provides enough space to comfortably put the toilet rolls into the holder. I would say, the fabric width should be about 21-22cm. (Mine was 18cm but ended up a bit tight.)
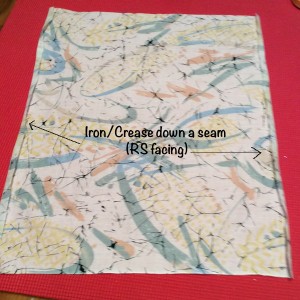
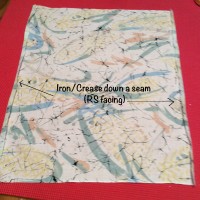
3) Cut the length of fabric. The length will depend on how many toilet rolls you want to hold. Iron/Crease down (about 0.5cm), both sides, along the length of the fabric. RS (Right sides) facing.
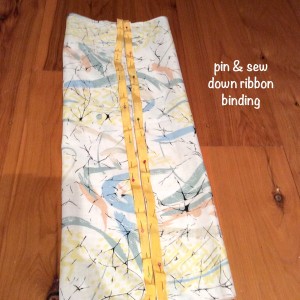
4) Pin and sew down binding along the folded seams. This will from the opening of the toilet roll holder.
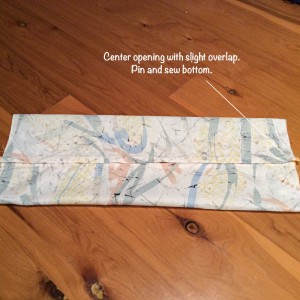
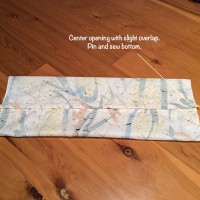
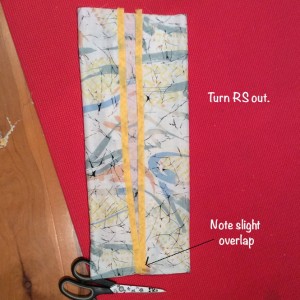
5) Fold your piece inside out (RS facing each other). Arrange so that the bound opening is centered. Make the 2 sides of the opening overlap a bit. Then sew down the bottom.
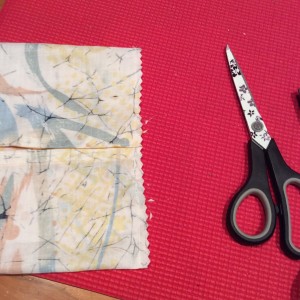
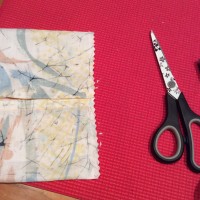
6) Neaten the bottom sewn seam and mitre corners (if you like).
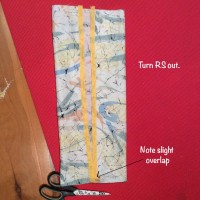
7) Turn right side out. Note the slight overlap.
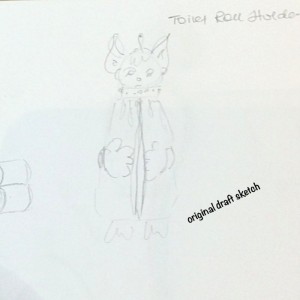
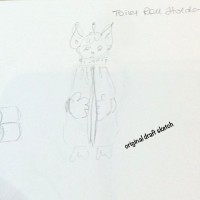
8) This was my original draft sketch. You can see how far the real thing runs from the original idea! That’s the way it goes!
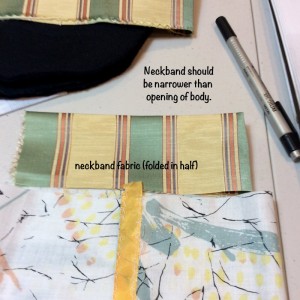
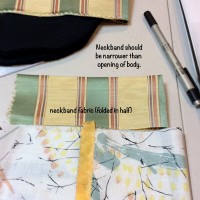
9) That aside was to show I wanted a neckband. The contrasting neckband fabric folded width should be smaller than the top opening width of the toilet roll holder. The top opening will be gathered later.
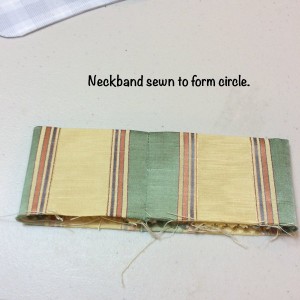
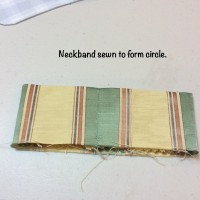
10) The neckband is sewn to form a folded circle.
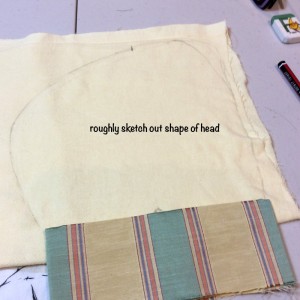
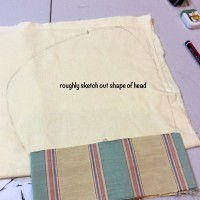
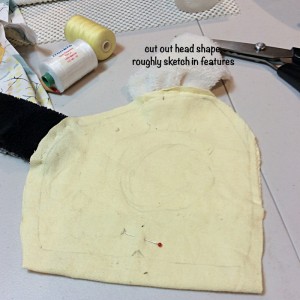
11) Two pieces of fabric are needed for the head. Place it near the neckband to get approximate size. Then sketch out the shape of the head you want.
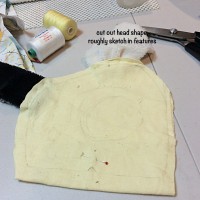
12) Cut out both the head pieces (Mine is RS out as I only intend to blanket stitch around later.) Sketch in the features, etc.
13) Then go for it! Embellish to your heart’s content. Add ears etc. etc.
You might also want to embellish the neckband. (I did.)
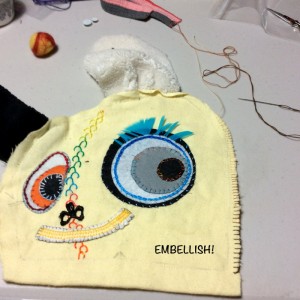
14) When you are done embellishing, gather the top opening of the toilet roll holder. Fit into (bottom of) neckband and sew down. Next, fit the head into the top of neckband and sew down. Stitch around the head, leaving an opening large enough for you to put stuffing in. Put some stuffing into head. Sew up opening. That’s it!
Improvements for Next Toilet Roll Holder
(aka lessons learnt)
- body fabric width should be at least 20-21cm
- maybe add a “pocket” somewhere to put a satchel of lavender scent or something. Maybe incorporate into design and make it “renewable”
- brighter, bolder fabrics! – coz I want something brighter!
Tip
This type of design can also be custom created to hold nappies, kitchen rolls, and the like.
Use gallery below to view all the pics/steps on how to make handmade toilet roll holder.
- Handmade Toilet Roll Holder (ch0341)
