I am going to detail a template or guide to create the shape which will turn into a long or shorter slouchy beanie. This is specifically for a crochet beanie.
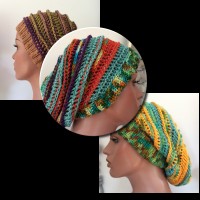
This pic shows how some of these slouchy beanies could look like. For even more details on the specifics of these 3 shown beanies, please see Crochet Slouchy Beanie Hats.
I am finding that writing out detailed steps and over-fussy photos is taking up way too much time which means I cannot get on with other things I want to make, and everything just gets all clogged up with little getting published.
So I am going to do over the top simple. Nothing too fancy or time consuming. Simple drawings and whatever makes publishing easier. I have often found inspiration from the work of others even when they only provided one drawing or one photo. So I am going to trust that this will also work for you.
Basic Beanie Shape
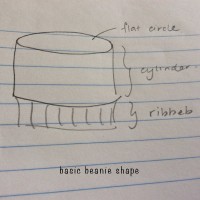 The basic beanie shape is just a cylinder with one flat circle piece at one end, and ribbing at the other.
So,
1) create a flat circular piece
2) carry on the sides to create the cylinder shape. The length can be varied to yield a longer/shorter slouchy beanie
3) end of by tightening via a ribbed brim
Create Flat Circular Shape
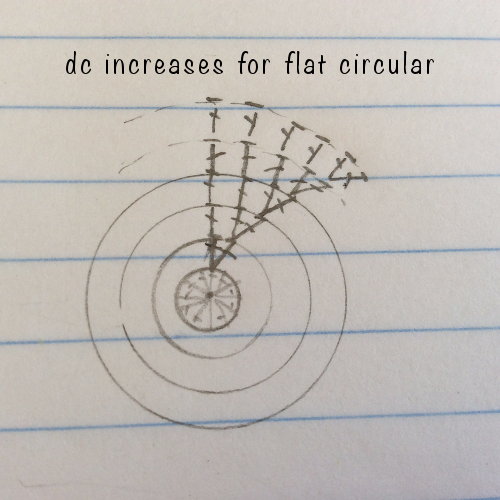
There are various ways to do this. But I will present the following as a basic template. You may have to vary rows and stitches a bit (e.g. when checking if the work is progressing flat) or you can use different crochet stitches to give you a different look.
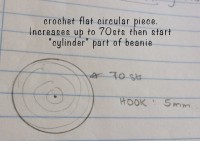 Using the Crochet Slouchy Beanie Hats, the crochet hook I used was 5mm and yarn that would do well with the crochet hook size.
Based on that appropriate yarn thickness and 5mm crochet hook size, as a quick guide, the number of stitches I end up with on the outer rim before commencing the cylinder part of the beanie is 70sts.
Of course if your yarn thickness and hook size is different, you will have to vary this. But as a first guide, if your hook and yarn size is pretty similar, this will just make things faster and easier for you. At any rate, the basic steps of construction and the logic behind it all is going to be of service to you.
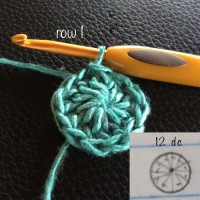 Start with a Magic Circle, and crochet 12dc. Pull tight and sl st (slip stitch) to close.
R1: ==> 12 sts
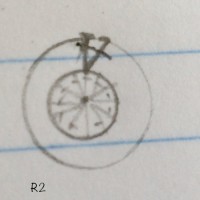
R2: 1st | +1st | => 24 sts
(Read this as: for every 1st of prev row, inc. 1 st. End up with 24 sts at end of row)
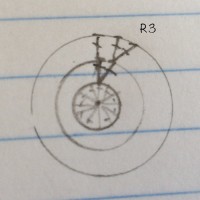
R3: 2st | +1st | => 36sts
(Read this as: for every 2st of prev row, inc. 1 st. End up with 36 sts at end of row)
Note: depending on how flat the circular increases are shaping, you might consider doing a “straight” row – i.e. a row with no increases. You have to check the circular flatness of your work as you increase. For ease here, I will not show these “straight” rows.
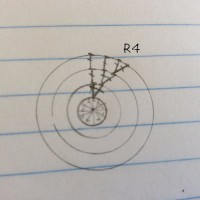
R4: 3st | +1st | => 48sts
And so the pattern of increases go till (for this gauge and yarn/hook size), we get to 70sts
R5: 4st | +1st | => 60sts
R6: 5st | +1st | => 70sts
