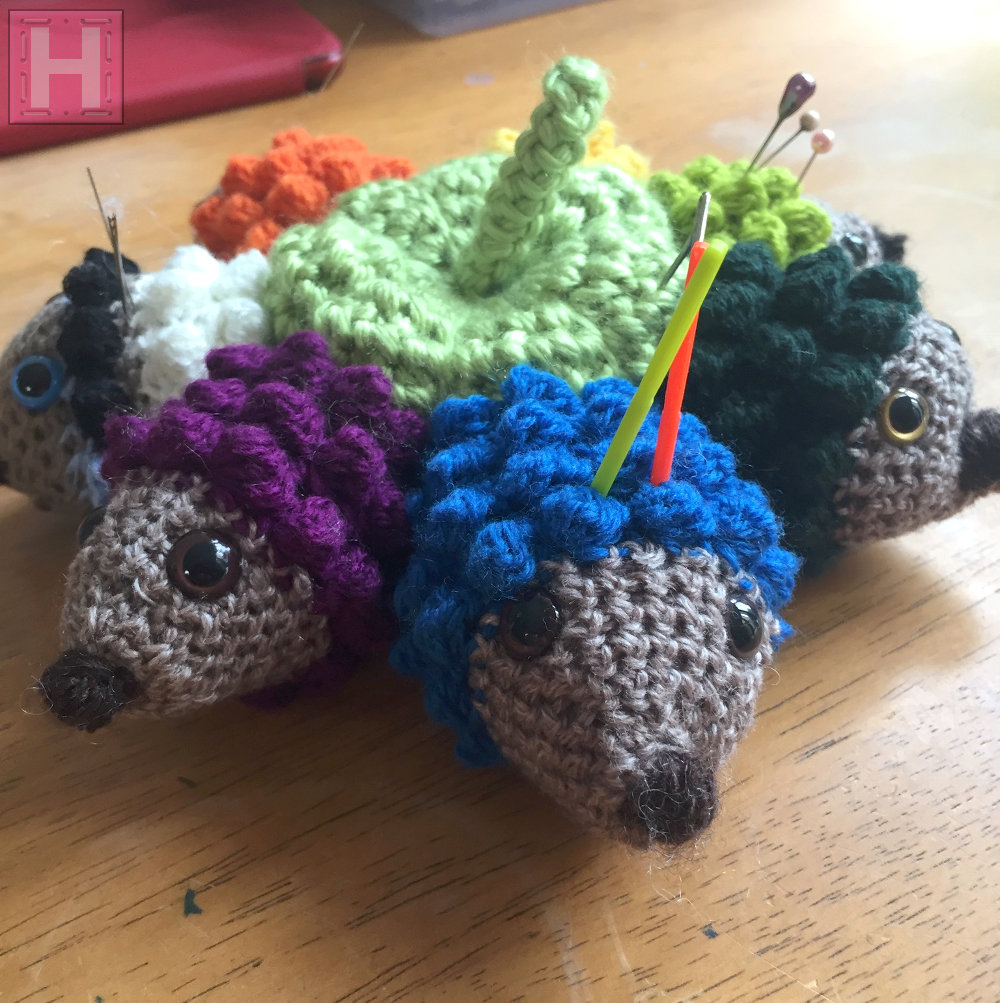
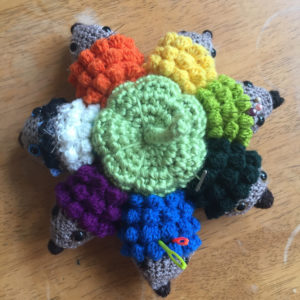
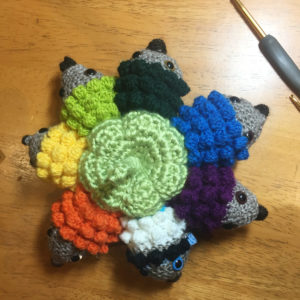
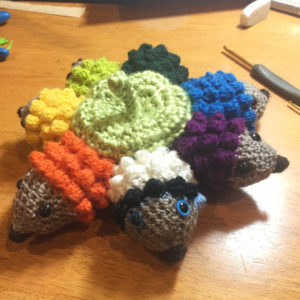
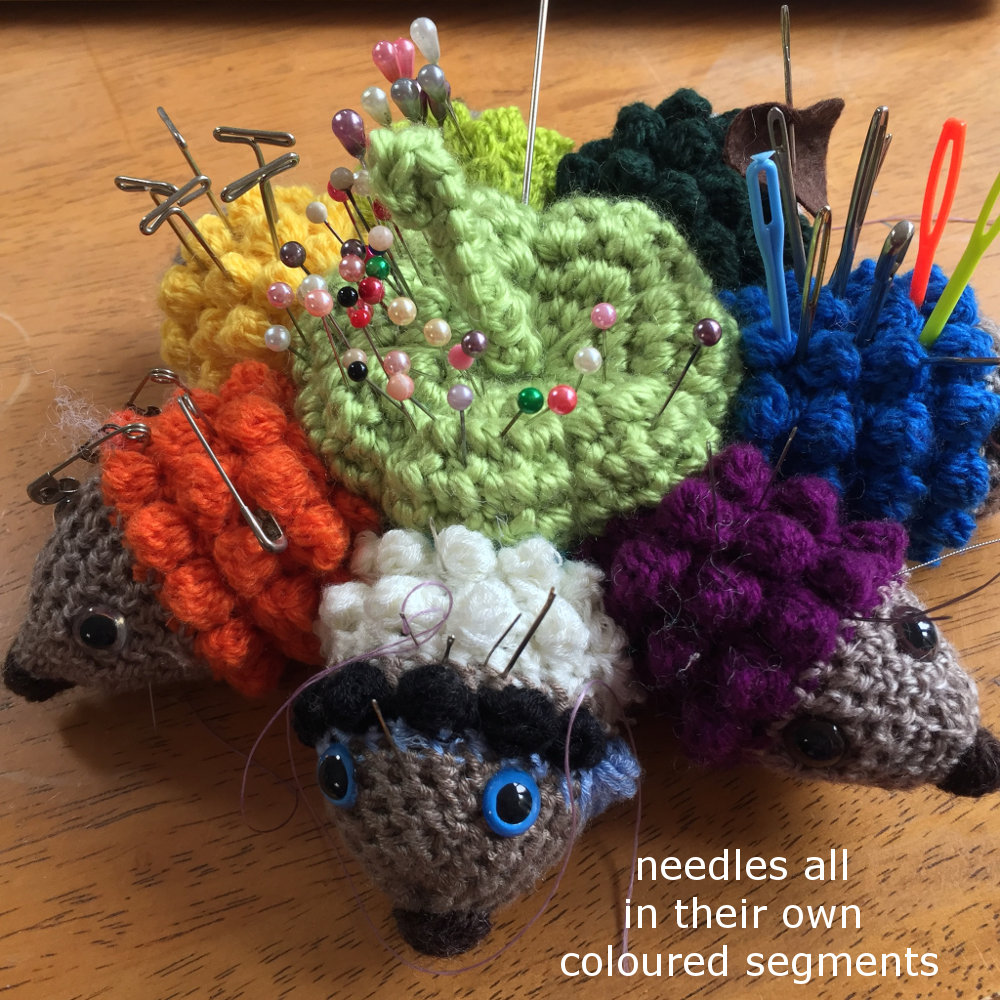
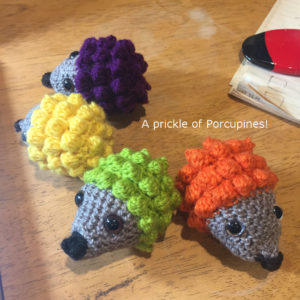
This Crochet Porcupine Pincusion consists of a prickle of porcupines, and they can be pretty cute. But perhaps more importantly, they are very useful, very practical. They accommodate needles of many sizes and they help organise them most efficiently.
GALLERY
Even if I do say so myself, these crochet, segmented pincushions are mega handy. Here’s why ..
Features of Crochet Porcupine Pincushion
Yours doesn’t necessarily have to be made of a pickle of porcupines of course, but you will soon get the idea when I tell you why I love these so much more than the standard pincushions.
- They can accommodate needles of various sizes.
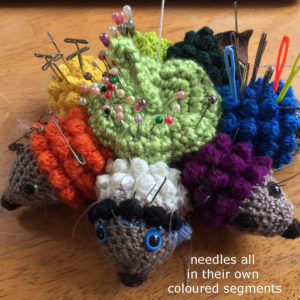
If you are like me and indulge in a variety of crafts, you will realize that you might also use needles of hugely differing sizes. The normal pincushions normally only cater for the smaller, sharper needles and not the thicker knitting needles. Mr Porcupine Pincushion here can! - The different coloured segments give you better organisation.
Once I have assigned my different needles to different colours (headpins, beading needles, knitting/tapestry needles, safety pins, etc) – with just a look I can easily place my hands on the needles I need. - One porcupine for sharpening your needles.
Especially if you make your own segmented pincushions, you can fill one of the segments with materials that will help sharpen you needles as you poke them into the pincushion – an inbuilt needle sharpener.
How To Make a Crochet Porcupine Pincushion
I don’t have any photos showing the WIP of making the crochet porcupine. I will refer you to Hedgehog Pattern Video by CrochetStitchWitch to get the instructions. I did make some adaptations to her instructions. Mine is written out below and you are welcome to it if it makes sense to you.
For simplicity, the instructions below are written as if you were using the normal sc stitch.
BO – make Bobble Stitch, or (opt) Popcorn Stitch [refer. to Crochet Stitches Library]
I have not specified yarn and hook size. You can use whatever works.
PORCUPINE BODY
- MC (magic circle), 5sc, BO (6sts)
- [inc] x6 (12sts)
- [sc, BO] x6 (12sts)
- [inc] x12 (24sts)
- [sc, BO] x12 (24sts)
- 24sc
- [sc, BO] x12 (24sts)
- 24sc
- [sc, BO] X12 (24sts)
- 24sc (cut and change col to begin snout)
SNOUT (Note: can start stuffing and add on as you see fit) - 24sc
- [dec, 6sc] x3 (21sts)
- [dec, 5sc] x3 (18sts)
- 5sc, dec, 4sc, dec, 5sc (16sts) NOTE: INSERT EYE
- 5sc, dec, 3sc, dec, 4sc (14sts)
- 5sc, dec, 2sc, dec, 3sc (12sts)
- 5sc, dec, 1sc, dec, 2sc (10sts)
- 5sc, [dec] x2, 1sc (8sts)
- 4sc, [dec] x2 (6sts)
- [dec], cut yarn with long length. Thread needle and go through the remaining 4 stitches.
* Check sufficiency of stuffing. Pull to close. Push needle all the way through to the other end and wiggle to shape nose. Fasten off yarn as invisibly as you can.
TIP OF NOSE
Take dark yarn and embroider the nose.
* You can go directly to this part of the work by clicking on CrochetStitchWitch’s video below:
Make 7 porcupines in different colours (or not). You may choose to make one porcupine with a different filling as I did.
PORCUPINE WITH DIFFERENT STUFFING – NEEDLE SHARPENER
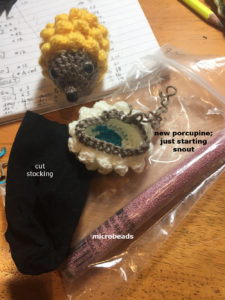
I stuffed one of my porcupines with micro beads. They would help sharpen needles being poked into them. Just like a pincushion stuffed with emery sand. You can use emery sand or even beach sand and they will do the same thing. Just remember that you need to enclose them in a fine weave material to prevent them from falling out. I cut up some stockings and used that.
Centre of Crochet Porcupine Cushion
I won’t go into the instructions of making this. Just brief notes in the expectation you will know how to do them anyway. And pictures of course.
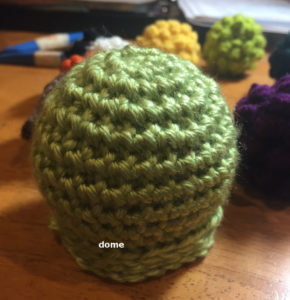
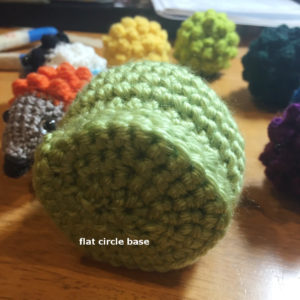
The centre consist of a crocheted flat circle as base. And a dome crocheted like you would a ball and stopping to match the circumference of the flat circle. If you make the dome first, then crochet the flat circle to match the opening you leave in your dome. Fill with stuffing and crochet/sew close.
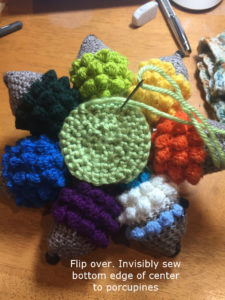
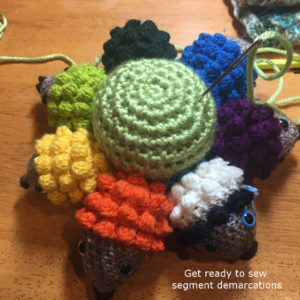
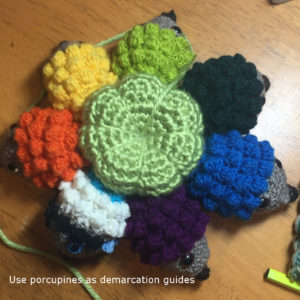
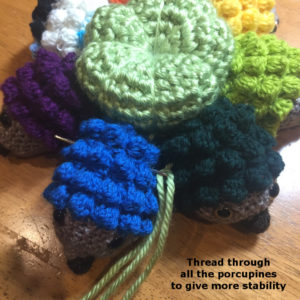
Putting Porcupine Pincushion Together
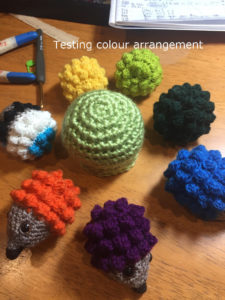
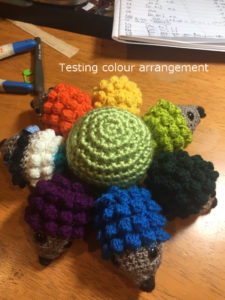
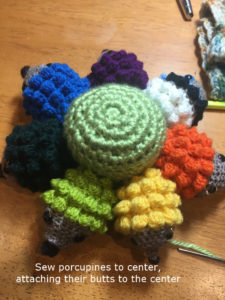
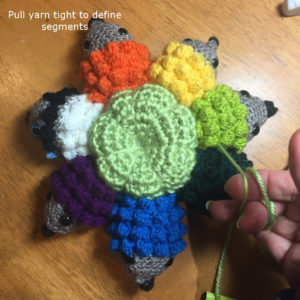
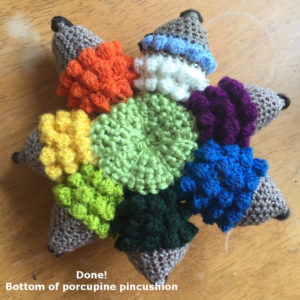
I have included notes in the photos below.
I didn’t show adding a stem for the center part. That is optional. You can choose to add one if you like.
ORIGINS OF THE IDEA
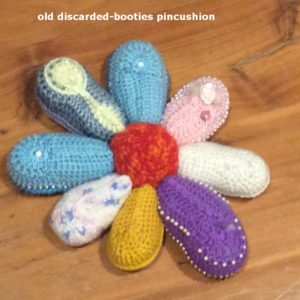
Once upon a time I was making a batch of baby booties. And as you know, there are always discarded experimentations along the way. In my case, single, lonely bootie and not pairs. One day, I thought I would just roughly sew them together and make a pincushion. So that was another of my little experiments. And I have lived and worked with it for quite a long while now. Recently I decided to upgrade and Mr Porcupine Pincushion came along.
This is the old one.
The new Crochet Porcupine Pincushion – already put to good, hard use!!!
References:
- CrochetStitchWitch.com: Hedgehog Pattern Video – (or you can go directly to her video on YouTube: Crochet hedgehog part 1)
