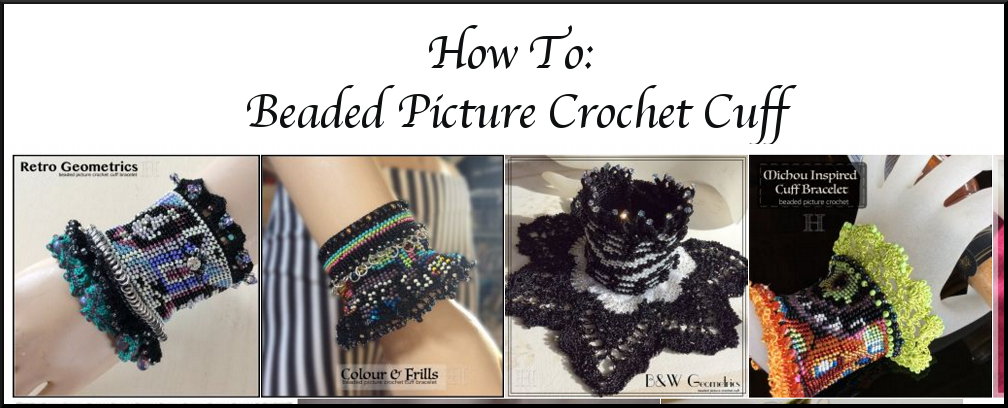
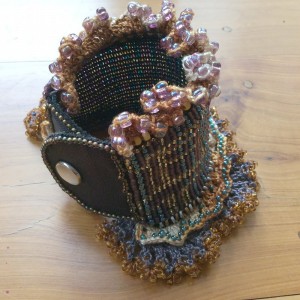
“Picture Crochet” (my term) is crocheting with beads to form specific images or pictures. Here I will go through some of the how-to and suggestions in using picture crochet to create cuff bracelets.
I will only be going into as much detail as will give you an idea as to the process. And I will be using photos from different crochet cuff bracelets to illustrate. So lets start shall we?
Gauge: Choose Image and Materials
You can choose any image that inspires you.
Choose the yarn and beads that you will use. Select the crochet hook size that will work best.
Thread on a good selection of beads onto the yarn. (You can use just one colour if most of your work will be in that bead size.)
Then crochet a swatch of beaded (one colour) crochet so you can determine the gauge.
Graph your Image
Once you have the gauge, you can begin graphing your chosen image onto some graph paper (physical or digital graph) from which you will later work off.
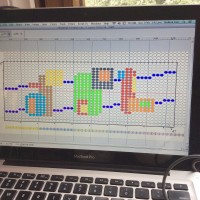
On the left here, is an example of digitally graphed image.
This is one of the tedious parts of creating Picture Crochet pieces. I used a digital graph paper, originally for bead weaving (square stitch). Then determine the number of rows and columns needed (on the graph) that will give me the resultant bracelet size.
Next, place the chosen image in a layer above the graphed paper. (Gimp was the software I used). Lower the opacity of the image layer. Then individually (bucket) paint in each “stitch” on the graph paper.
[lenght of cuff] MINUS [the clasp-band]So make sure you graph the correct length needed.
See illustrative image given here to see what I mean about the clasp-band.
Thread on your Beads
Once you have your coloured graph, use that to start threading on your beads.
If your image (and hence your bracelet) has a top and bottom, then it is good practice to thread your beads from top (of graph) to bottom. The last row you thread for your beads will be the first crochet row when you start crocheting.
Crochet in the Round
When you crochet with beads, the beads will be on the other side from that which is facing you. So working in the round will ensure that every row is a beaded row.
There are 2 main hurdles to overcome when working in the round to create a Beaded Picture Crochet cuff bracelet:
- a bracelet is not a bangle – which means that at some stage, you have to be able to “open” the round (so you can attach clasps, etc.)
- it is very fiddly and fraught with errors when you create a large circle for crocheting. The foundation (chain) row tends to twist. And to make this work, there must be NO TWISTING of the foundation (chain) row when you join the first and last chain to create the circle.
So let’s look at some ways to start the crochet rounds that will hopefully make work easier.
It’s Not a Bangle!
First I will show you how I create a cuff and not a closed bangle.
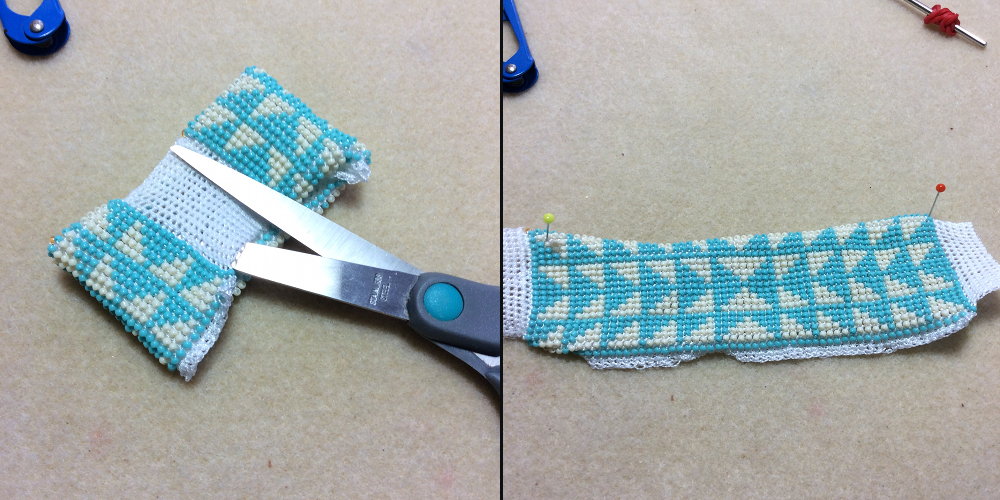
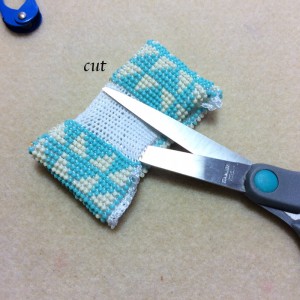
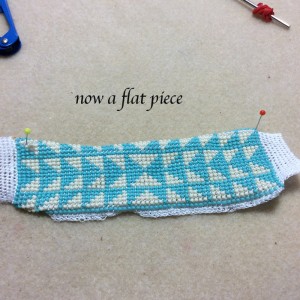
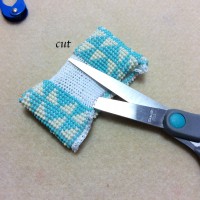
For my beaded picture crochet cuffs, I have bead crocheted in the round. Then I have cut them apart. Yes! Cut!!
You can see that there are “spare” (unbeaded) stitches that goes beyond the beaded part. I normally have about 10-12 spare, unbeaded stitches. It is through thes “spare” unbeaded section that I will make the cut.
But won’t the crochet stitches unravel and/or fray when you cut them?
Yes, definitely!
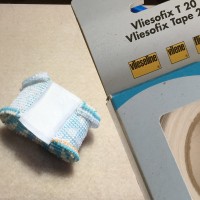
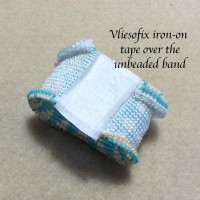
So to prevent that, I have used iron-on Vliesofix tape over both sides of the unbeaded stitches, ironed them on. Then cut.
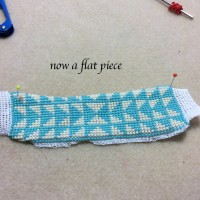
Now that we have explained how to get a flat piece from the finished crochet-in-the-round, let’s go back to the beginning …
Note: Don’t worry. I will go into more detail about this cutting business later on. Carry on and you will come to it. 🙂
Alternative Ways to Begin your Crochet in the Round
Any of the following can be used as a way to start the picture crochet cuff. All of them are primarily aimed to make the beginning easier and to not have to deal with too much twisting in the foundation row as you try to join first and large stitch into a circle.
Method 1: Start Flat
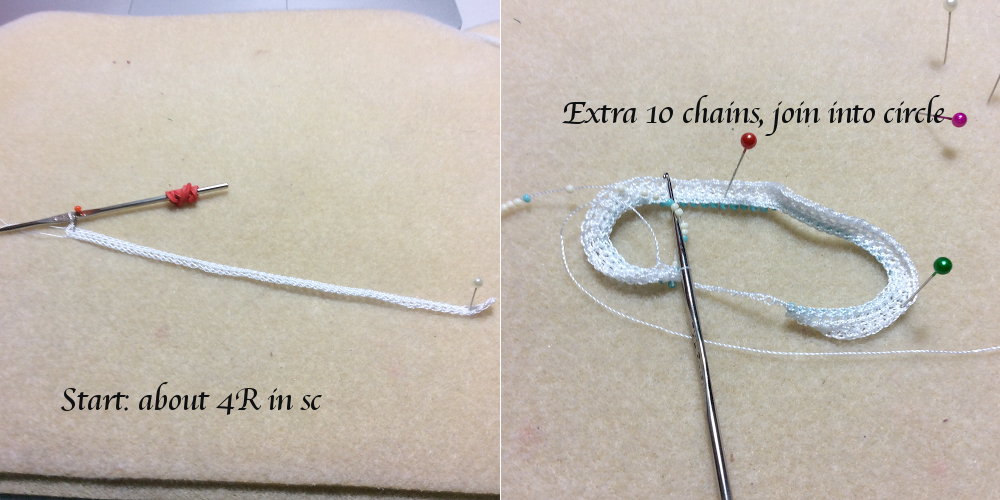
Instead of joining first and last chain (of foundation row) to make a circle, work a few rows of flat (sc: single crochet) crochet. No beading yet.
Then after about 4 rows of sc, make about 10 chain stitches and join to other side to create the circle. You might want to pin down the work a bit so that it is easier to ensure that the stitches are not twisting when you join.
After joining into a circle, you can begin the beaded picture crochet, following your graph.
Method 2: Chain on Beads in Foundation row
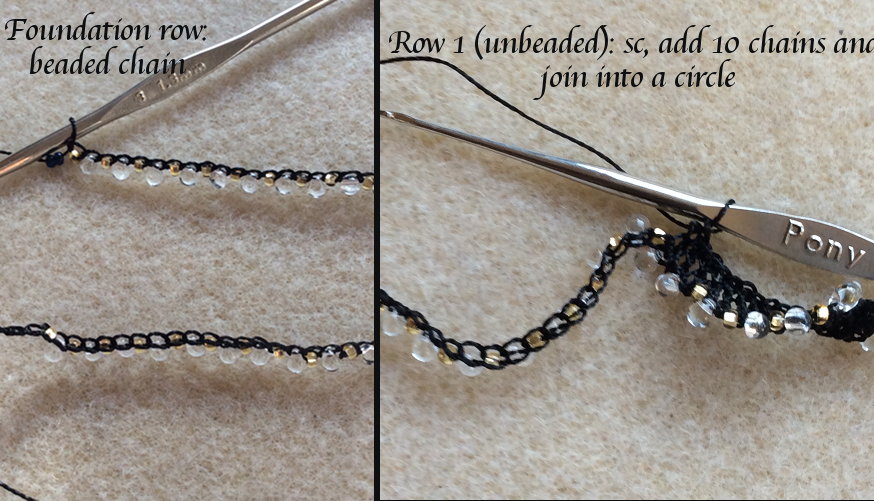
You can start the foundation chain row with beads. You just have to decide the beads you want on the starting edge, thread them on and then start your foundation chain row, chaining on the beads as you go.
Then on Row 1, create one (unbeaded) sc or dc (double-crochet) row. Also create 10-12 chain stitches at the end of this row and join other end to form circle.
The foundation row of chained beads makes it easier to ensure the work does not twist when you join to make a circle.
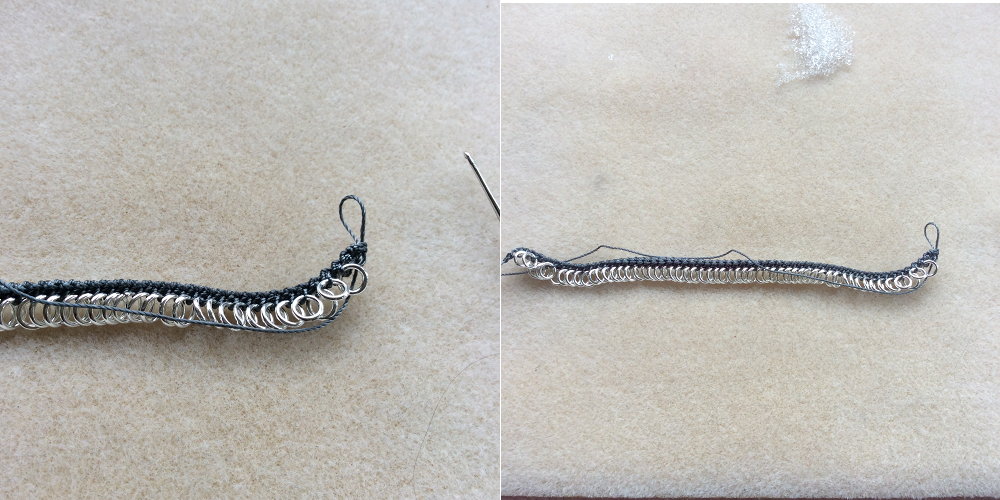
Method 3: Start with Finger Crochet Cord
Starting with a finger crochet cord means that it is much easier to ensure there is no twisting when you join both ends to make a circle.
Note: as mentioned above, you must remember to include the 10-12 (chain) stitches which is to remain unbeaded and will be stabilized and cut through at the end.
Here I have added (closed) jump rings to one edge of the finger crochet cord. That of course is optional or will vary depending on your design.
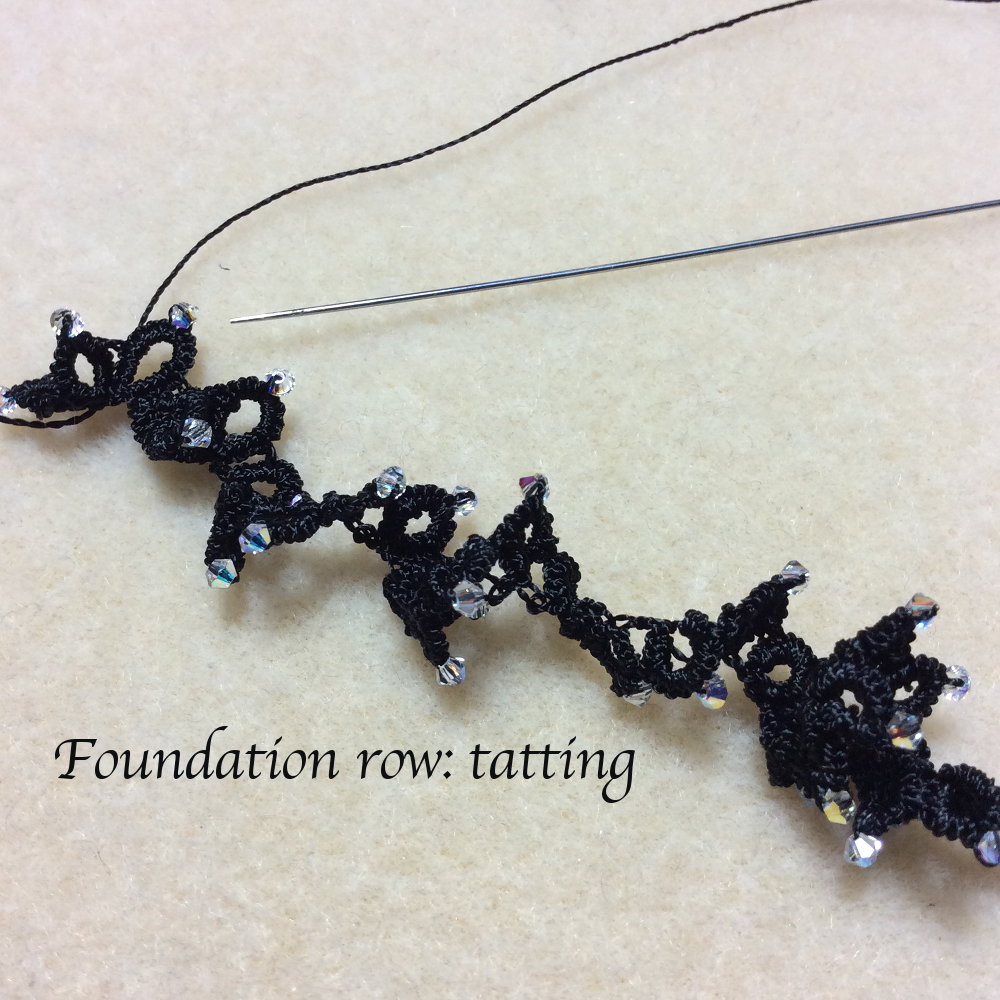
Method 4: Tatting as Foundation Row
Below here, I have used needle tatting to start the foundation row.
The next row (Row 1) can then be done in sc (single crochet). And always remember to include the “spare” unbeaded 10-12 stitches before joining to form circle.
The beads are optional.
I am sure that over time, I will have other ways of starting the picture crochet cuff bracelets. But for now, I think that will suffice.
Clasps for the Picture Crochet Cuff Bracelet
When you have completed all the beaded crochet needed for the cuff bracelet and your work is still a closed round (like a thick bangle), how do we add a clasp?
We have covered some of this above but now I will go into a bit more detail.
For my cuff bracelets here, I am going to finish off with a band of buttons (magnetic or otherwise).
OK, let’s say here is a completed picture crochet cuff – beaded in the round.
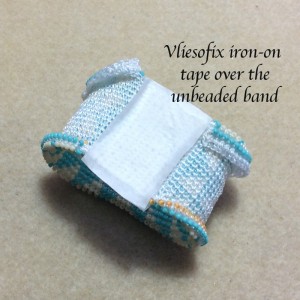
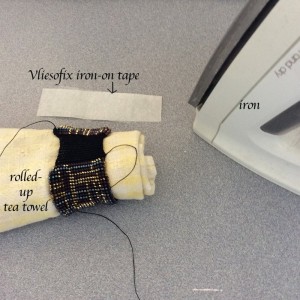
Next, iron-on the Vliesofix.
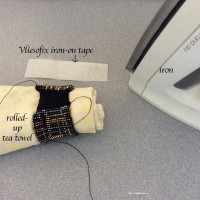
Tip: roll up some material (like a cotton tea towel) and insert it into the round crocheted piece. This will make it easier to iron on the tape.
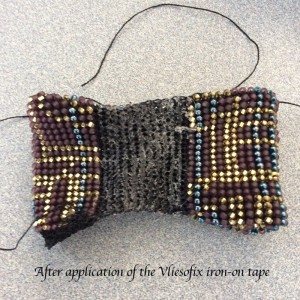
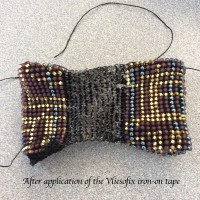
It may look a bit unattractive and messy after you ironed on and remove the paper backing (of the Vliesofix tape). Don’t worry about it. The glue (from the tape) will prevent your crochet piece from unravelling when you cut it. And the messy looking part will be covered up.
Next, cut through the center of the unbeaded band so that your work can now be a flat piece.
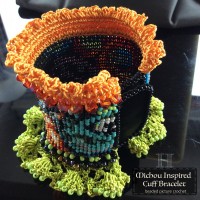
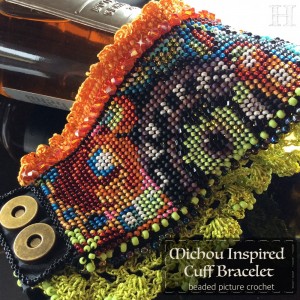
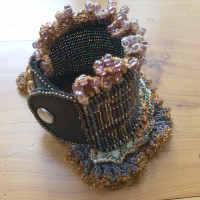
Before we carry on to the next stage, it would be appropriate to be able to visualize the end result we are aiming for. Below are 2 examples of the kinds of banded-clasp we hope to end up with.
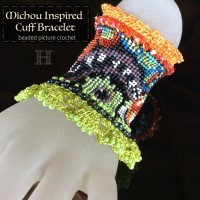
- Michou Inspired Cuff Bracelet (CH0363) – beaded picture crochet
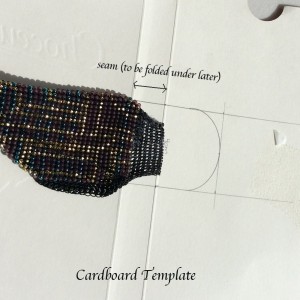
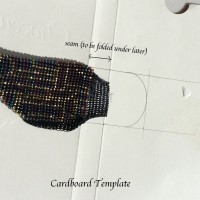
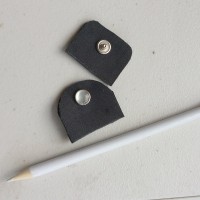
I used come cardboard to create the template for the clasp-band that I want to create. Create a seam allowance as well (where the clasp-band is to meet up with the crocheted work).
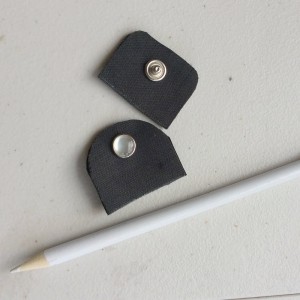
You will need to use strong, NON-FRAY material for the clasp-band. Using the card template, cut out 4 pieces. Each end has 2 pieces (top & bottom). So if your material has distinctive front and back texture, you will need to cut your material accordingly.
Next, apply stud or magnetic buttons that you will be using. To give your material some body, you might want to have stiff interfacing inbetween the top and bottom pieces of the fabric.
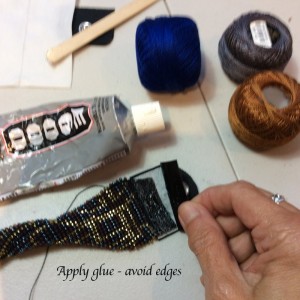
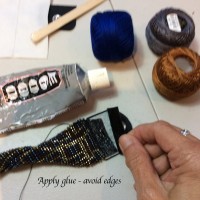
Fold under the seam allowance. Glue onto your beaded crochet work (the cut unbeaded section) – securing the beaded cuff in-between the top and bottom layer of the clasp-band material.
Tip: Avoid applying any glue to the edges (as we will be beading around the edges and having gummy needles would not be fun).
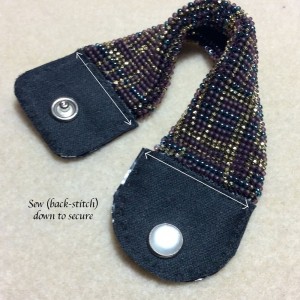
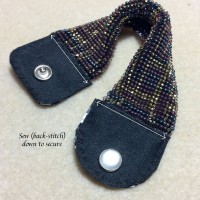
To further strengthen the join, sew a line securing beaded work between the top and bottom layer of the clasp-band material.
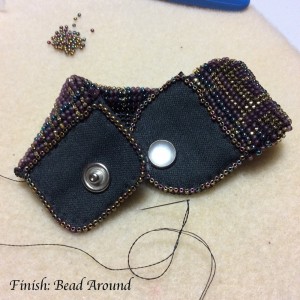
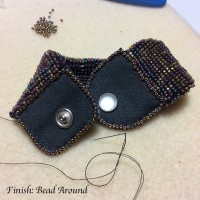
To finish, neatly bead around all the edges around the clasp-band.
Summarised: Clasp Band
I have been all the steps to the clasp band in the thumbnails below. Click for full image and go through each step.
Tip: Prevent Curling
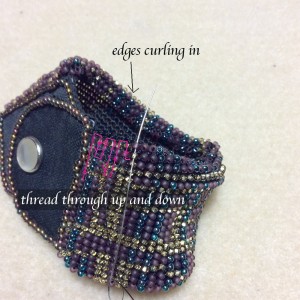
Here is an additional tip. Beaded Crochet work tends to curl.
For the cuff bracelets, that is not really a problem as they are designed for a nice, snug fit. So when it is worn, the curling is straightened out.
However if you are a bit finicky (like me) and would like the edges not to curl so much, then you can strengthen the (curling) edges by threading through an uneven number of beads along the length of the cuff; up and down as shown in the pink lines below.
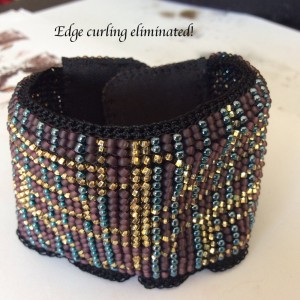
This will yield a better structure and firmer body to the edges. As shown below – curling edges have been eliminated.
I hope this article has provided you with a well of ideas which you can use to create your own fabulous Picture Crochet Cuff Bracelets.
Feel free to sign up for our free newsletter (only sent out when there are new creations, tutorials, or articles. I am very spasmodic with my blogging!). Or just let me know what you think in the comments box below.
Thank you for visiting! I hope it has been fruitful!
