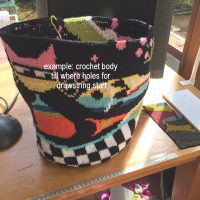
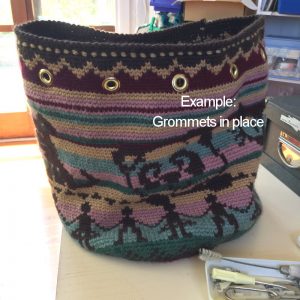
So far, we have made the base for the Wayuu bag. And from that, we know the number of stitches we need to graph the pattern for the body of the bag.
Holes & Grommets for Drawstring
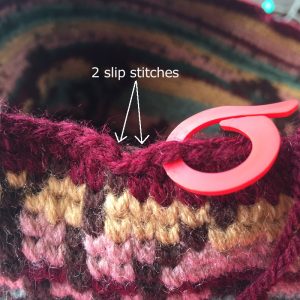
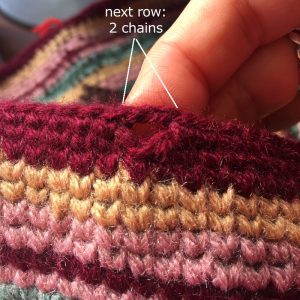
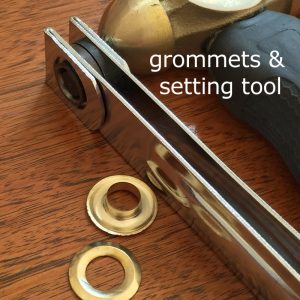
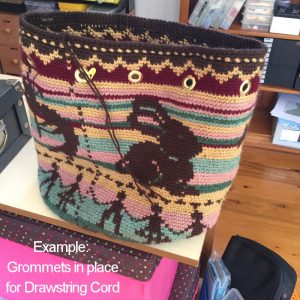
Continuing from the base, crochet according to graphed pattern till you get to height of where the holes of the drawstring are to be. In the traditional Wayuu Mochila bags, the holes are just holes worked as part of the crochet. However I do love bits of hardware. And they do add something professional and delicious to any piece of work. So instead of just crocheted holes, I add grommets (large metal eyelets) for the drawstring (to be made later).
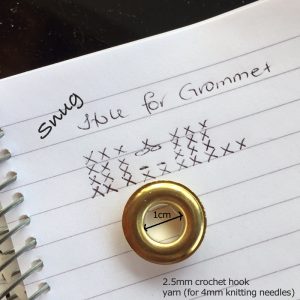 First determine the size of your grommet. In this example shown below, the inner hole diameter is 1cm. I am using yarn suited for 4mm knitting needles (but I am using 2.5mm crochet hook). Those figures will give you an apporximate idea of the sizing here.
I made the crochet hole along the rows. I made appproximately 10 holes along a 160st circumference.
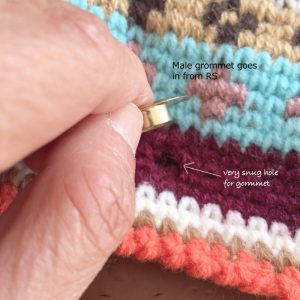
The important thing to remember is that the hole you leave in the crochet fabric must fit VERY SNUGLY around the grommet.
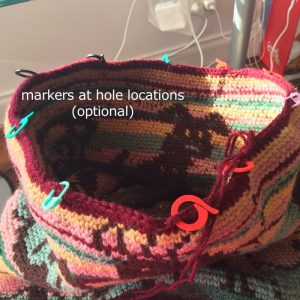
It might also help to use markers at holes as the holes can seem to “disappear” because they are rather small. Leave the markers in place till you do the grommets. You can easily find the holes that way.
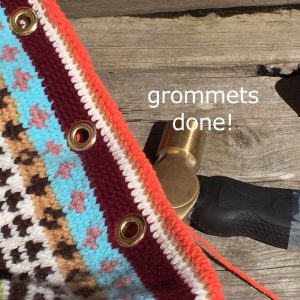
After you have made the holes in the crochet, carry on crocheting till the end. Fasten off. You can add the grommets when that is done.
We will next make a crocheted drawstring for the Wayuu bag.
Return to the index in How to Make Mochila Wayuu Bags.
