This is not a full tutorial on how to make a beaded cross in Right Angle Weave (RAW). Rather it is an overview with brief descriptions which is meant to provide avenues of possibilities. It does have enough description to provide technique ideas and how to guide on making a beaded cross.
RAW Beaded Cross (i)
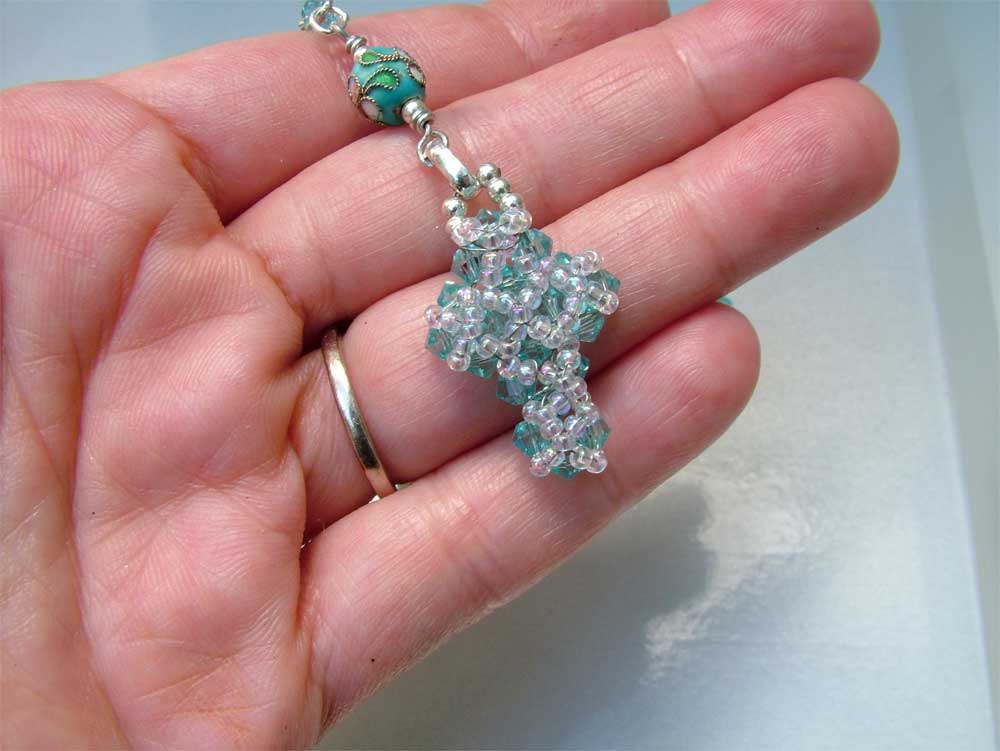
This handmade cross is done in RAW (Right Angle Weave). I have used light blue 4mm bicone crystals. Once the RAW beaded cross is done, then the seed beads are sewn in a “X” structure over the surface of the cross.
Create Strength and Rigidity
Instead of using beading thread, I have used thin wire (0.25mm gauge) to do the RAW as well as to sew the seed beads with. This gives more strength and rigidity to the overall cross. I then finished off with a simple beaded bail, using the same thin wire.
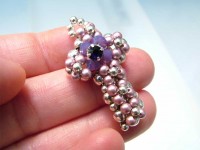
The Left photo below shows a close up of the RAW handmade cross. The Left photo shows the front of the cross.
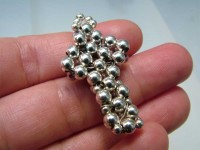
The Right photo show the underside of the cross. No “X” seed beading has been done on the underside. In this (right) photo, you will be able to discern the RAW structure clearly.
- Front
- Back
RAW Beaded Cross (ii)
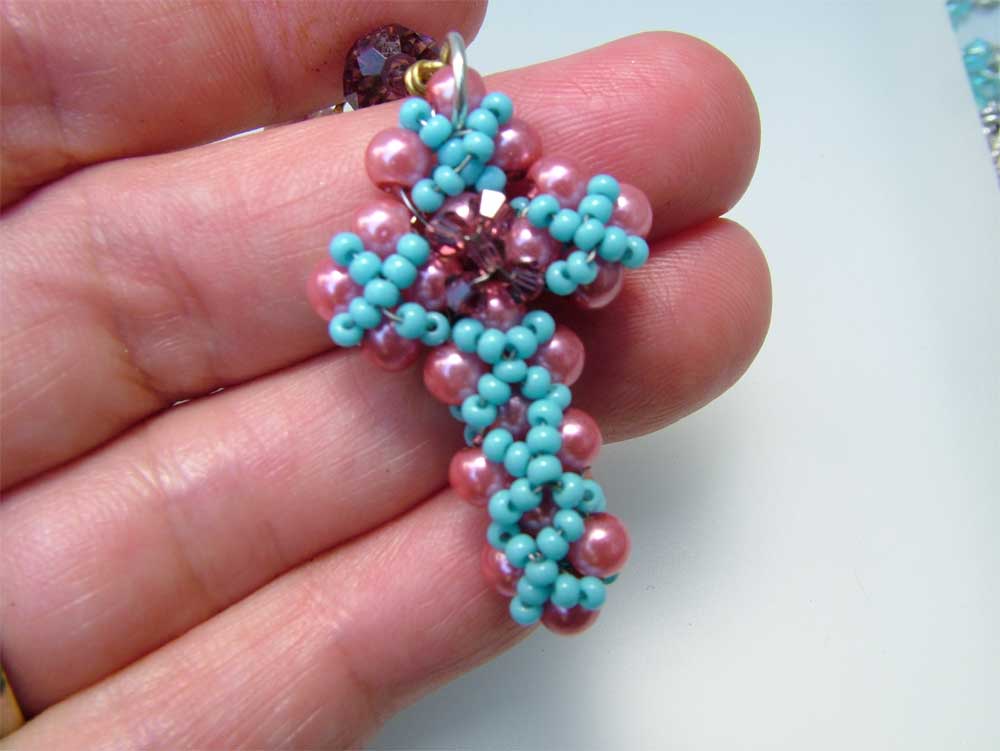
Another one of the handmade crosses done in RAW.
I have obviously used different types of beads and different colors. There are also other differences from the handmade beaded cross above:
- the bail here is a closed jump ring. This is worked into the cross while beading the RAW.
- the center of the cross has been beaded over with a contrasting “X” color for contrast.
May not be so clear here but it really does add something extra to the cross.
Note: the RAW technique for making handmade crosses offers many options to vary the final appearance of the cross.
RAW Beaded Cross (iii)
This next is one of the simple handmade crosses I really like.
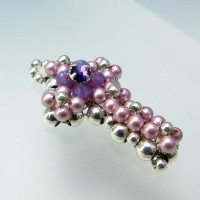
The base is as for the handmade crosses above – made with RAW beading. For the RAW, I have used:
- seamless metal beads (4mm; silver plated over brass. Lead free. Nickel free.)
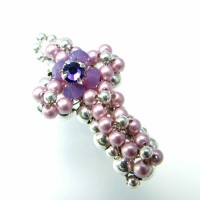
This was still part of my experiments, so it is not as neat as I would like it to be. Click on the photos to see the details. Once again you can see the RAW clearly by viewing the back of the beaded cross.
- Front
- Back
Overlay with Swarovski Beading (Front):
- Swarovski XILION bicone (4mm, Cyclamen Opal)
- Swarovski Crystal Pearls (3mm, Powder Rose)
- Swarovski Rose Monte (Purple Velvet) – center
- seamless metal beads (2.5mm)
Note: The bail is made at the same time as the Swarovski overlay. Again instead of using beading thread, I have opted for thin wire (0.25mm) to do the base RAW, the bail, and the Swarovski overlay. Gives a much stronger and sturdier form.
- RAW Beaded Cross
Related Articles:
I hope you emjoyed this short article on some of the how to steps in making a beaded cross. Have you got your own preferred method of making a beaded cross? Please do share with us in the comments below. And don’t feel shy to let me know if you find any errors. I proofread everything I write multiple times. But after a while, the errors enter into the blind Twilight Zone spot and I can’t see them. So let me know if you are a good error spotter 😀
