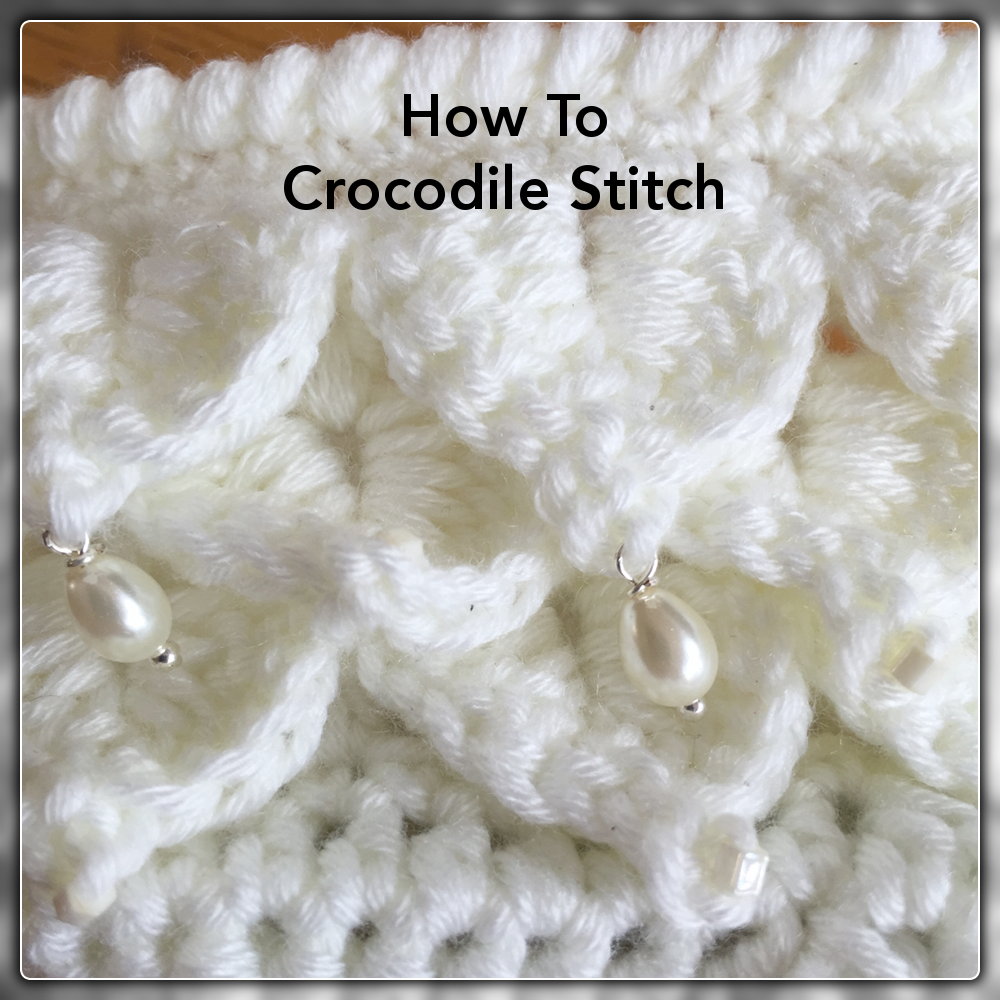
There are various variations on how to crochet the Crocodile Stitch. The following is what I like the best. It also seems the easiest to me.
The Crocodile Stitch is worked over a background row, followed by the crocodile stitch, then another background row, then another crocodile stitch row.
It often is the background row that will change from crocheter to crocheter. I like the alternating “V” and vertical stroke background. The crocodile stitch is made over “V” stitches.
Let’s go …
Crocodile Stitch
 You will need a multiple of 6 +1 chain stitches to begin.
 Row 1: as per graph shown here.
 Row 2 (crocodile): This row is worked around the posts of the “V” stitch. 5dc down, 1ch, 5dc up. Then sc or slip stitch to top of vertical post. (Sorry, I forgot to include this in the graphs.)
 Row 3: another background row. Note that the “V” and “|” stitches alternate from the previous background row (R1)
 R4 (crocodile): Same as R2 – working around the posts of the “V”, working up and down each post.
Graphical Crocodile Stitch – Summary
Once you are used to this and just need a reminder, just click on the gallery below and go image to image, step by step.
Reference:
- Crocodile Stitch – in Spanish but with good graphics. Also shows how to increase and decrease using Crocodile St.
Please leave me feedback/comments/suggestions or feel free to sign up to the free email newsletter for notifications on new articles. Happy Crocheting!


