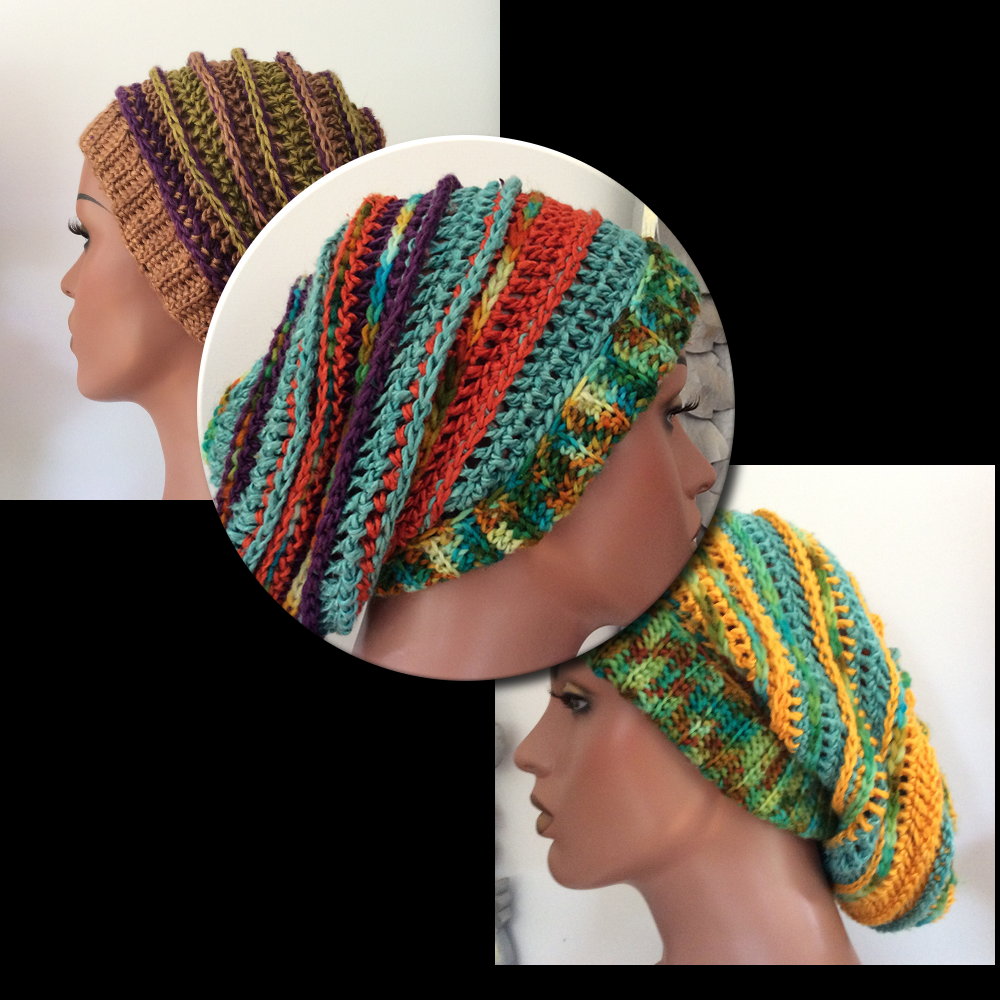
I am about to start my chemotherapy. I have been told that in all likelihood I will lose my hair. While I have never been a beanie, hat kind of gal, I decided it is time I had a little venture into making some beanies. They might prove useful!
First of all I would like to give credit to Tamara Kelly of moobly blog. Tamara has a free crochet pattern “All Grown Up Striped Slouch Hat“. I used that as my starting basis and then adapted from there.
I would highly recommend the above pattern as the instructions are very clear. Also, Tamara clearly explains how to make the “securing stitch” – which is a neat, useful way to work the ribbed brim to the body of the hat.
I will show the photos of the slouchy beanies in the order they were completed. For the last and third one (in this group), I will include more step-by-step pictures. These will include the number of stitches, when to increase etc. in case they should be of help to you. Plus useful adaptations I made to Tamara’s “securing stitch” as well as an adjustment to the stitches forming the brim so that the other edge is firmer and more secure.
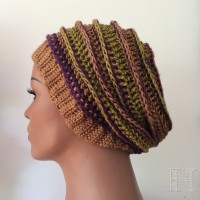
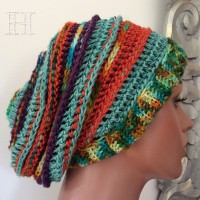
Slouchy Beanie 1
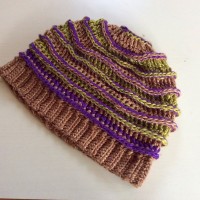
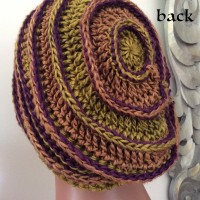
This beanie is made with 100% viscose yarn (from Tibet). Worked on 5mm crochet hook and smaller 4mm hook for brim. The viscose makes this beanie luxuriantly soft.
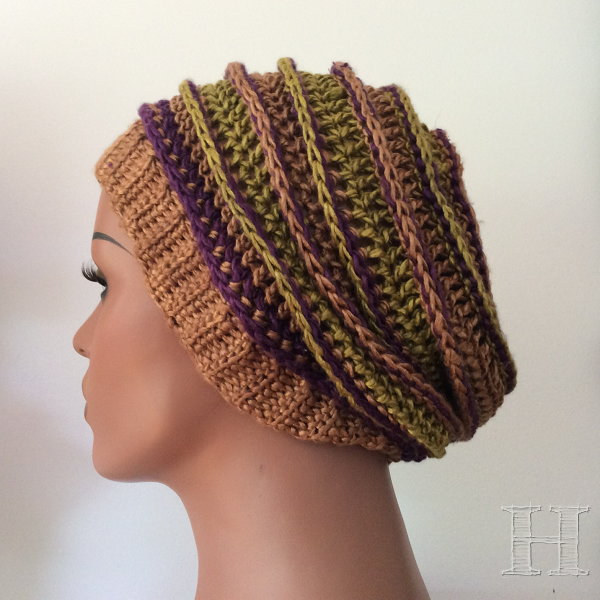
Slouchy Beanie I (CH0369A)
- Slouchy Beanie I (CH0369A)
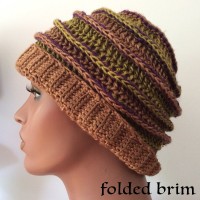
The brim (or rim) of this beanie, as with the next two, can be worn flat or folded over.
[Gifted to clpa, 2015]
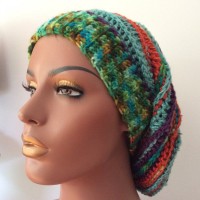
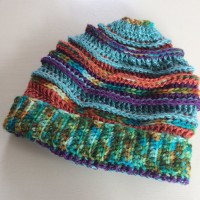
Slouchy Beanie 2
Slouchy Beanie II is made from 100% viscose yarn (from Tibet) and 100% hand dyed wool (from Turkey). Worked with 5mm crochet hook for body; 4mm crochet hook for brim. As with previous beanie, the brim can be worn down or folded up. I made this slightly longer in the body than the previous beanie.
- Crochet Beanie II (CH0369B)
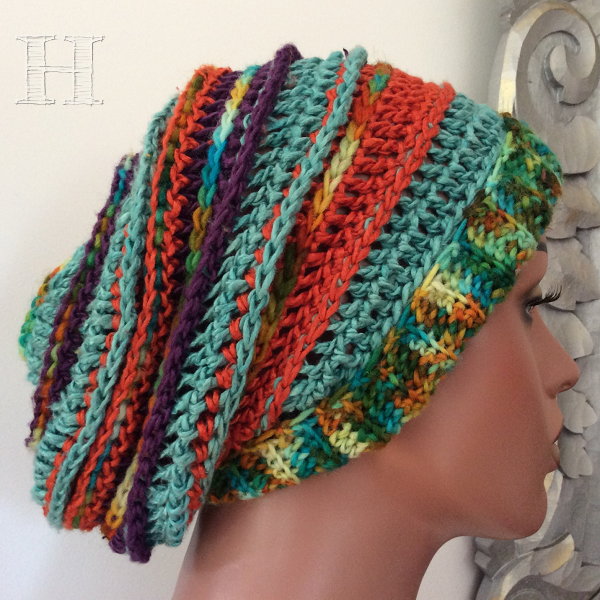
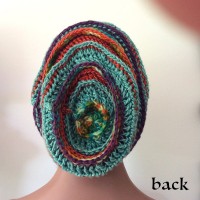
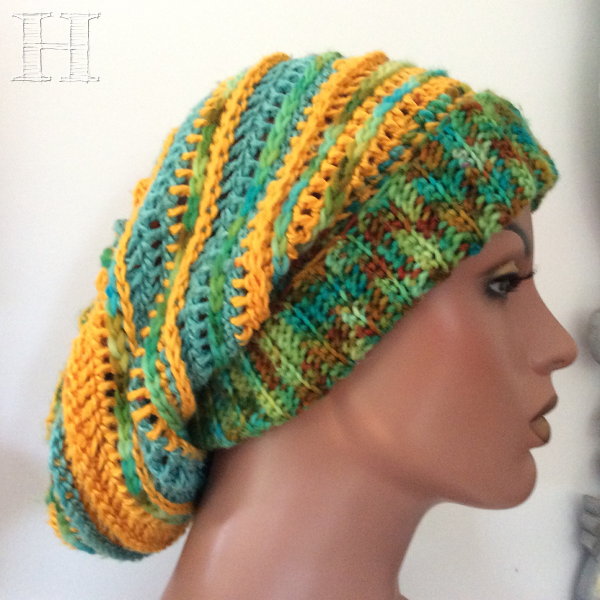
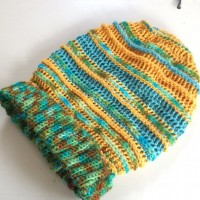
Slouchy Beanie 3
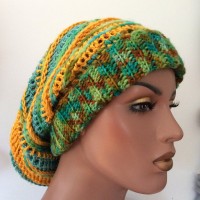
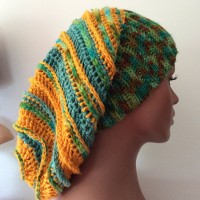
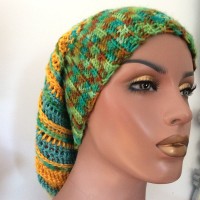
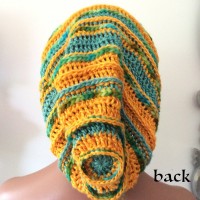
This is the longest slouchy beanie so far. The body is longer than the previous two. I have also made the rib brim extra, extra long/wide. Once again, it can be worn flat or folded up.
This beanie, as with the previous, is made with 100% vicose yarn from Tibet, 100% wool, hand dyed, from Turkey. It has been worked with 5mm and 4mm (for brim) crochet hook.
- Crochet Slouchy Beanie (CH0369C)
Making the Crochet Slouchy Beanie 3
The following photos shows the precise steps in making (most) of Beanie III. I am assuming you will know the basics of crochet so I will not be going into the explanation of the shorthand crochet terms.
Later I will be writing up about the underlying construct for these types of beanies. In that tutorial, I will detail the shape that you have to create to make these types of beanies. Once you have the how-to “blueprint”, you can then easily vary colours and types of stitches to create your very own customized beanies.
But for now, I will go through the steps here for this specific beanie.
Materials
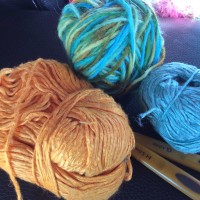
- 100% viscose, from Tibet
- 100% hand-dyed wool, from Turkey
- crochet hook 5mm and 4mm
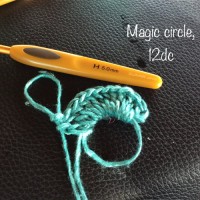
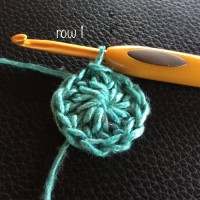
R1: Start with a magic circle and make 12dc (double crochet). Pull tight and sl st (slip stitch) to close the row.
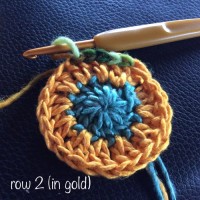
R2: Work 2dc into each stitch from previous row. (Ending with ==> 24 stitches)
R3: (opt.) With third colour, chain stitch on top of previous row (==> 24 stitches)
Note: I call this row optional because it does not contribute to building the round shape. It is for decorative purposes (to add bands of color).
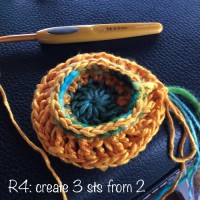 R4: (in gold) 2dc into next one stitch (from previous row); 1 dc into next stitch (==> 36 stitches)
Note: You can used dc or bpdc (dc into back post). The latter (used here in this beanie) helps create the effect of raised rows, as seen here:
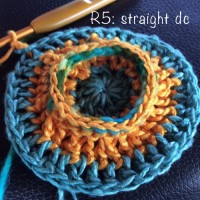 R5 (in blue): work straight (no increases) one row of dc (==> 36 stitches)
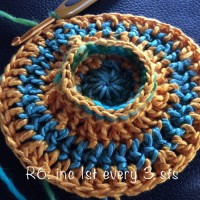 R6: [2dc into next st (of prev. row), 2dc into next 2sts]. Rpt. (==> 48sts)
In other words, inc. one st for every 3 sts from the prev row.
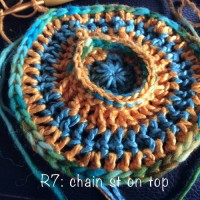 R7: (opt.) As with R3, this is for color decoration. With third colour, chain stitch on top of previous row (==> 48 stitches)
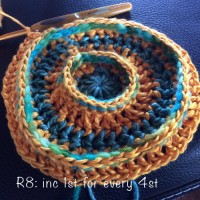 R8: [2dc into next st (of prev. row); 3dc]. Rpt. (==> 60sts)
viz. inc. 1st for every 4 sts from prev. row
Note: here I have used bpdc to create the raised ridge effect. You can dc or bpdc, as you like.
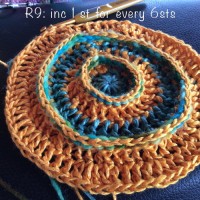 R9: [2dc into next st (of prev. row); 5dc]. Rpt. (==> 70sts)
viz. inc 1st for every 6st from prev. row
For these beanies, with this yarn thickness, hook size and gauge, when you have reached a flat circle of 70 sts, you can work straight. Like making a cylinder. The length is up to you.
Ribbed Brim
I am not going to detail how to make the crocheted ribbed brim here.
Instead I refer you to the clear how to video by Tamara Kelly of Moogly blog.
If you prefer reading the instructions, hers can be found at Crochet Ribbing: Brims and Cuffs
Note: I will say that I did make some modifications to Tamara’s how-to instructions re. the crochet brim. I will write down the detail instructions when I can. But if it is of any use to you, the gist of the brim modifications were:
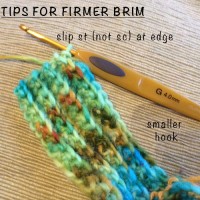
- the last row before the commencement of the brim section, I decreased the number of stitches from 70st to 60sts. This gave me a firmer brim and everything still worked perfectly.
- I worked the ribbed brim with a smaller (4mm) crochet hook. Again, for added firmness for the brim.
- when making the crochet sc brim, the last stitch (at the edge away from the body of the hat), instead of working a sc into the back loop of the previous row, I slip-stitched that last stitch. This created yet a firmer edge to the brim.
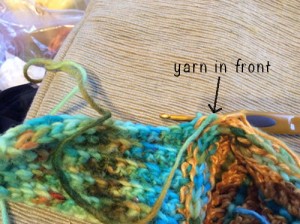
- after working the “securing stitch” (as per Tamara’s instructions) and turning to start the next row, remove the hook and reinsert so that the yarn is in front. In her video, Tamara mentions how the last stitch (when working from edge towards securing stitch) tends to “hide” a little. So you have to dig a bit to get that last stitch. But if you follow this tip of putting the yarn in front as you start a row (from body to edge), then on your return row (from edge to body), the last stitch will not be “hidden” and you don’t need to dig around to find that last stitch. This tip is not vital to the overall look of the beanie but it sure makes it easier and hence, more pleasing to work.
I apologize if these instructions are not very clear. When I get the time, I do intend to write a clearer and more generalized set of instructions. Generalized so that it can be used as a basis or template (rather than a specific pattern) on which you can modify and create your own customised variations.
Till then,
Namaste and Happy Crafting!
