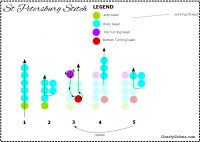
St Petersburg stitch is something that I learnt before and then promptly forgot, much to my chargrin. So this time, I have drawn up a simple pictorial.
Single St Petersburg Stitch
- Single St Petersburg Stitch (diagram)
- Single St Petersburg Stitch
I specifically named the beads used as “Top Turning Bead”, “Bottom Turning Bead”, and “Body Bead”. This helps to understand and remember the construction of the St Petersburg stitch.
Construction Things to Remember
- The St Petersburg stitch is made up of top and bottom turnings to create the stitch: hence the “top” and “bottom” turning beads.
- The “body beads” denotes the number of beads used to make up each column. In the example above, I have used 3 “body” beads to make up a 3-beaded-column St Petersburg stitch. You can easily vary the number of “body” beads but the x-number of body beads will be a repeating number of beads that you pick up, over and over again, as you bead this stitch.
Once you get the basic construction of St Petersburg stitch, then the variations you can ply on them will be pretty endless.
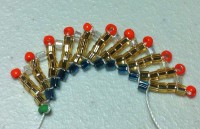
Samples of Single St Petersburg Stitch
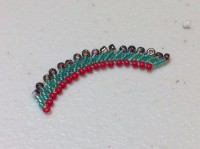
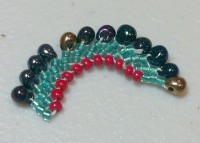
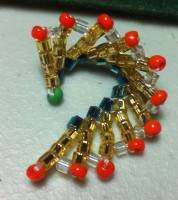
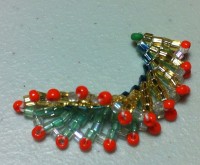
Here are some samples. Because the stitch has tendency to curve (towards bottom-turning beads), one can effectively use larger beads for the top-turning beads (as per photo 2).
- Single St Petersburg Stitch
- with Larger Top-turning beads
As you can see, the St Petersburg Stitch has a natural tendency to curve downwards (towards the bottom-turning beads). You can use this tendency to good advantage in various projects.
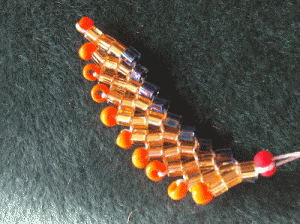
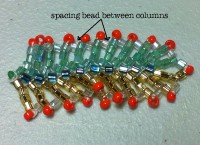
Here is another of the Single St Petersburg. It shows a single-bead spacing between each of the rows. And it remains very flexible.
- Single St Petersburg Stitch with Spacing between columns
- Single St Petersburg Stitch with Spacing – Still Very Flexible
Characteristics of the Single St Petersburg Stitch
- tendency to curve towards “bottom-turning” beads
- very flexible (along the columns)
Double St Petersburg Stitch
The double St Petersburg Stitch is also very popular and is easier to weave than on first impressions. If you get the basic construct of the stitch firmly in your head, it is even easier. You can then see ahead and know where you are going instead of blinding following along a 1-2-3 instructions.
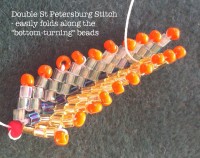
The double St Petersburg Stitch is usually made of 2 separate pieces. The first is just the single St Petersburg, as per above.
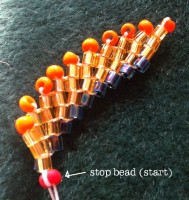
Then you start the next piece at the same starting point (where you stop bead is). And you use the first piece’s “bottom turning beads” as the bottom-turning beads for your second piece – thereby joining them together to form a double St Petersburg.
(The video tutorial in the later section of this article covers how to make the Double St Petersburg Stitch.)
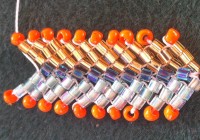
Samples of Double St Petersburg Stitch
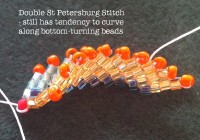
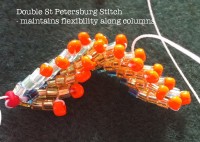
The double St Petersburg can also be done with in-between spacing beads. And it remains fully flexible.
Characteristics of Double St Petersburg Stitch
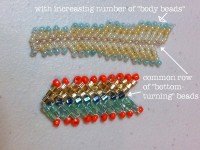
- can fold along common “bottom-turning” beads
- tendency to curve towards “bottom-turning” beads
- very flexible (along the columns)
Tutorials
Learn basic St. Petersburg Chain (from BeadAndButtonMag)
Shows both the single and double St Petersburg chain stitch.
Miyuki St. Petersburg Stitch (from JohnBeadCorp)
Presented by Leslie Rogalski. I like her videos. Especially the first part of the video when she uses graph paper and draws thread lines to demonstrate the beading. Very clear way of doing things.
Single St. Petersburg Stitch (from FusionBeads.com)
Link above is a written step-by-step instructions with clear illustrated images for each step.
Some Ideas & Experimentation
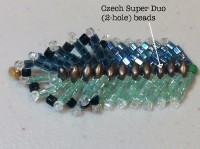
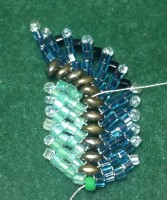
This here shows how it is possible to use Super Duos (or any 2-hole) bead as the common bottom-turning beads in the double St Petersburg.
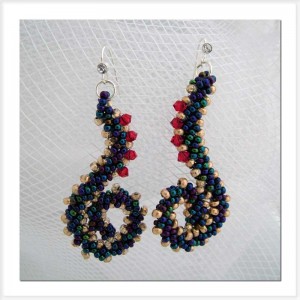
And you can make use of its tendency to curve for various other interesting variations.
Here is an example of using taking advantage of the curving characteristics of St Petersburg Stitch.
Reference
- pinterest.com: Beading: St. Petersburg Stitch
