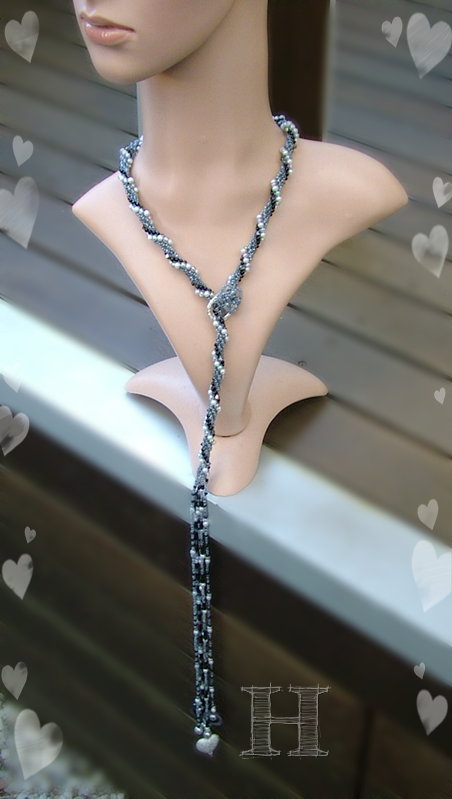
Since I am in the mood for crochet (and always for beads), I have done me up some crochet rope necklaces or lariat necklaces.
This article covers 3 variations of bead crochet lariats and guides on how to create them.
I don’t know that there is much that I can tell you about how to crochet beaded ropes. Bead crochet ropes are not really hard to make. It is more a matter of getting used to working with beads in the round with a crochet hook. You have to be a bit more careful coz dropping a stitch can easily mean losing that stitch (very hard to find dropped stitches) and that could result in having to unravel the whole thing and begin again!
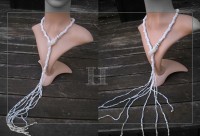
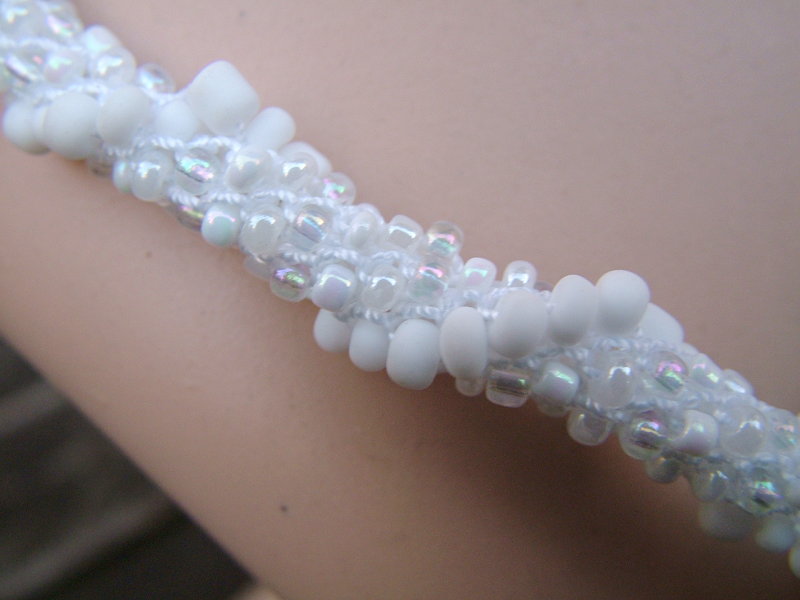
White Crochet Rope Lariat Necklace (ch0316a)
Steps to Make Bead Crochet Rope Lariat
Let’s start nearer to the beginning …
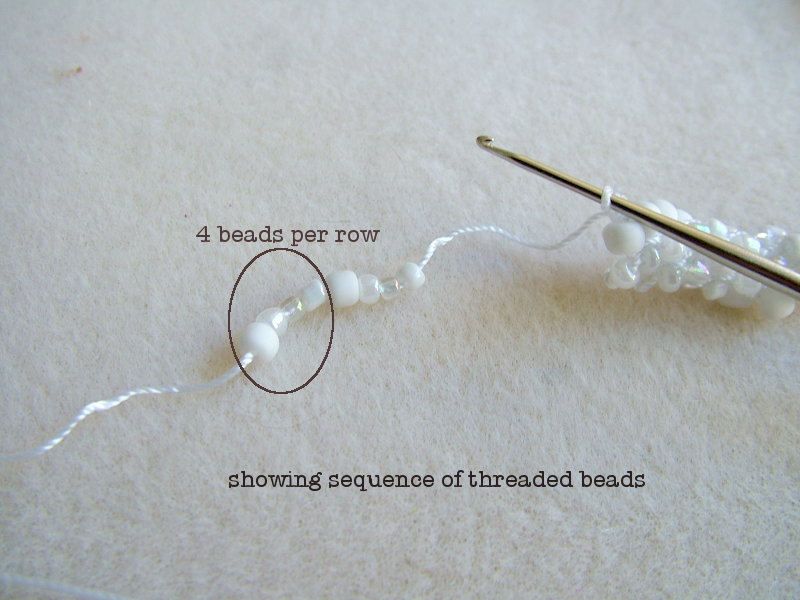
Remember that you have to thread your beads before you can start crocheting.
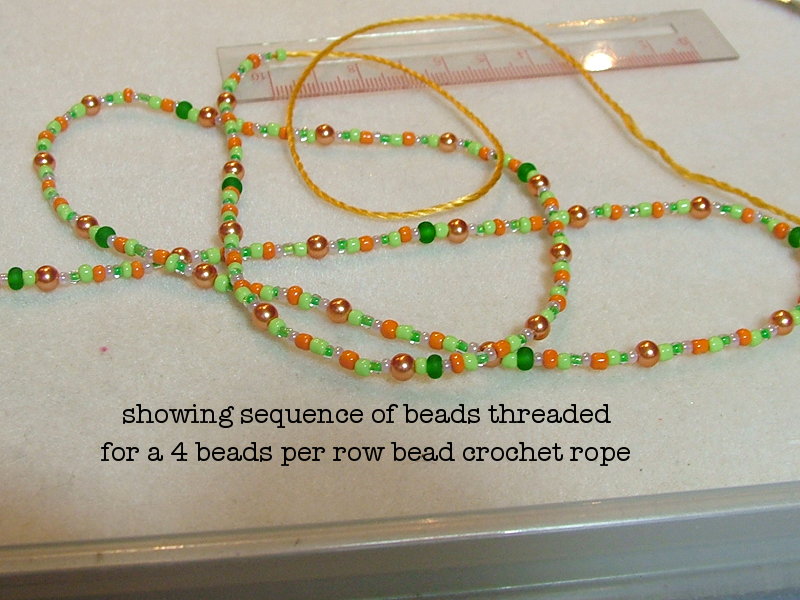
Here I decided to have 4 beads per (circular) row. Image to the side shows the sequencing of the threaded beads.
(FYI: see how to calculate the number of beads needed for bead crochet rope).
Once the rope is done, fiinish off.
Beaded Loop-Clasp
Go to the start of the rope.
It would have been handy if a long length of yarn was left at the start of the rope, before the beaded crochet part began. However, it is possible to just neatly join working yarn to the start of the rope (sew in and hide excess yarn).
Thread in beads (in correct sequence) for about 2-3 rows. Join working yarn (from cone or ball) to start of bead crochet rope.
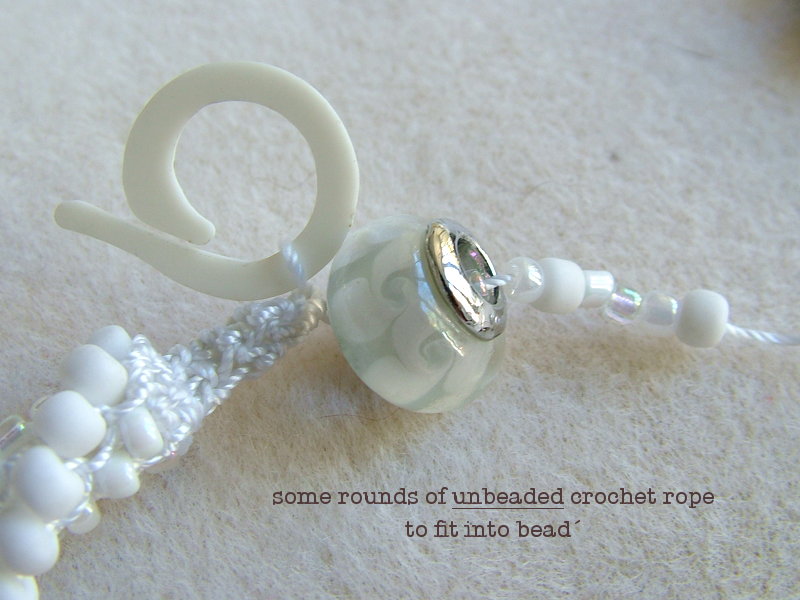
Work a number of unbeaded crochet (single crochet) rows so that that unbeaded rope portion would go through the large hole in the Pandora-type lampwork bead.
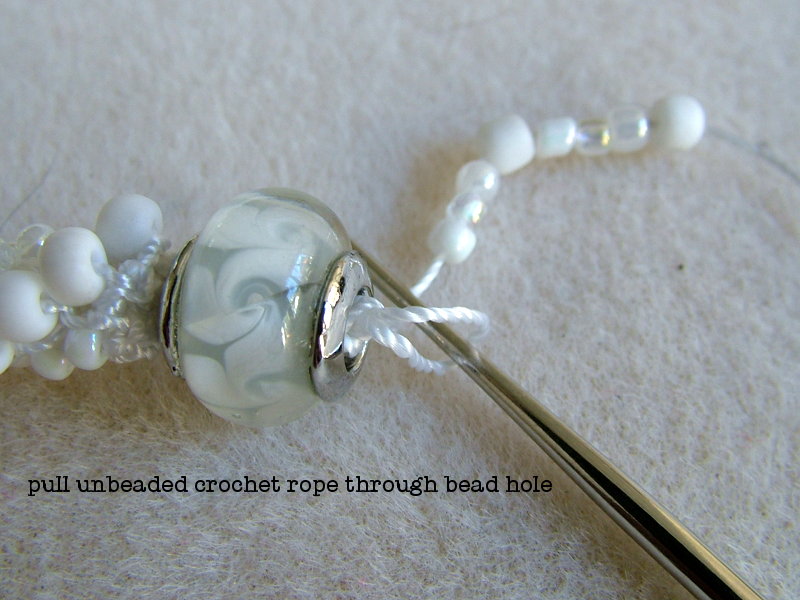
Without finishing off your rope, pull the unbeaded crochet rope through the hole in the bead, making sure not to drop the stitch.
Next we will continue with beaded crochet rope on the other side of the bead using the beads you have just threaded on for this section.
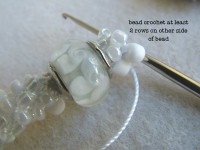
A little bit fiddly but try to make the unbeaded rope portion just long enough to go through the bead when slightly stretched, but without going outside of the bead. Then bead crochet a couple of bead crochet rounds.
Work at least 2 rounds of bead crochet on the other side of the bead. Then finish off – leaving a length of yarn to work with (about 12inches).
Here comes more experimentation from me. (I just can’t help myself!)
I wanted a loop that had a bit of stretch in it and I also wanted to attempt a loopy-beaded kind of appearance (something I saw on a hair barrette).
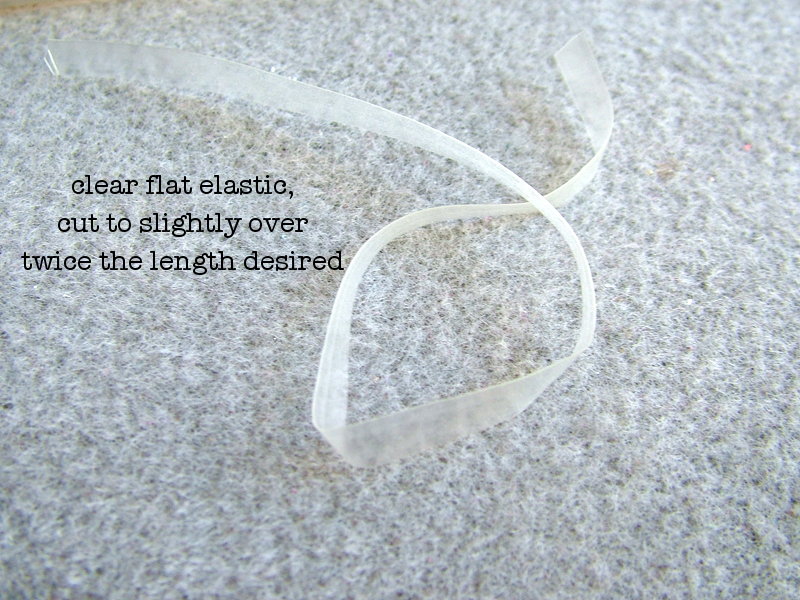
I ingeneously (??!) thought of some flat clear elastic I bought some time ago. Using that, I cut it to about just over twice the length needed to make a suitable loop.
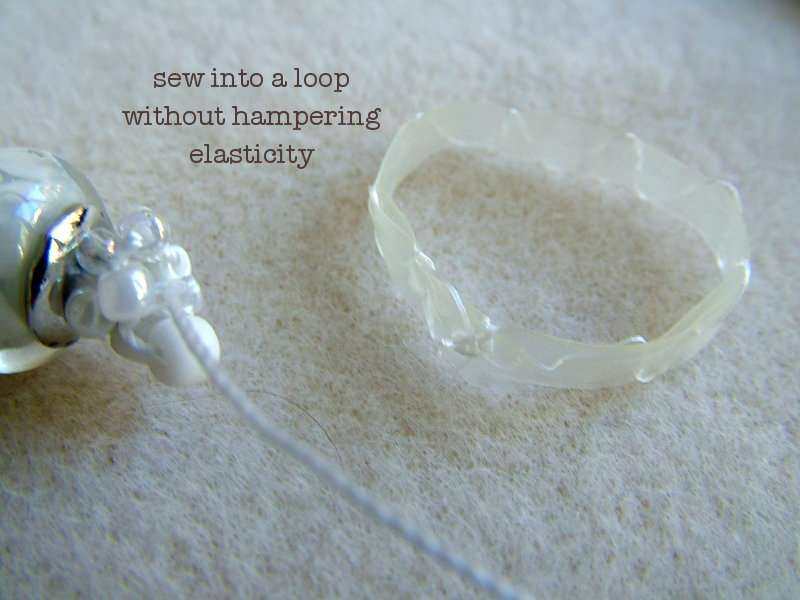
I then sewed the flat elastic ribbon, double layered (for strength and durability) – without hampering the elasticity of the tape.
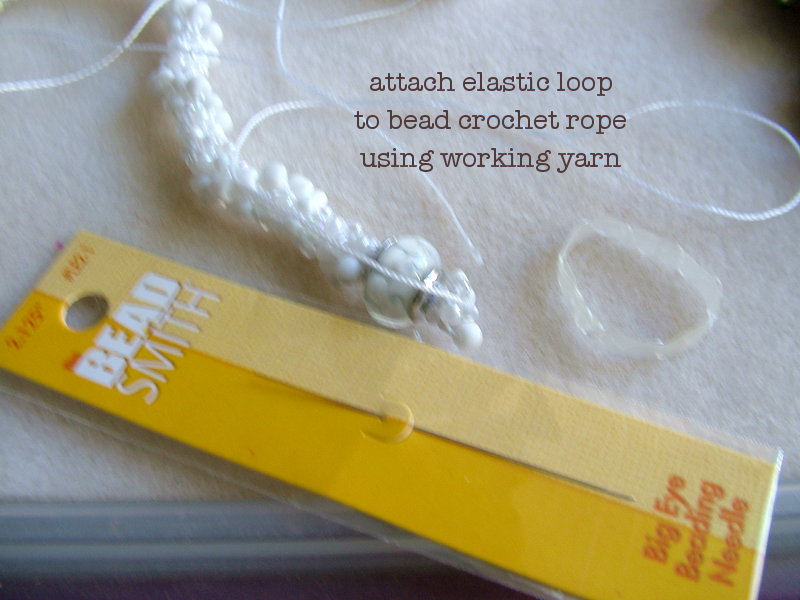
Next, sew elastic loop neatly onto the bead crochet.
I used a big eye needle from Bead Smith to attach the elastic loop to the bead crochet rope, using the excess yarn purposely left over. The big eye needle is good coz it is stiff enough to penetrate the double-layered elastic loop, with ability (of its big eye) to thread in the thickish working yarn. And still fine enough to go along the bead crochet rope to tidy up the excess threads.
I am sorry I don’t have any more photos to show you about the loop clasp in progress from hereon in. Basically I took a fine beading needle and a long strand of fine beading thread (fine but strong), and I sewed the beads onto the double layered elastic loop, So now, we have completed the loop end.
Adding The Tassles
At the other end of your bead crochet rope, attach long (strong) strings and thread on beads to create the tassles. You can make them any length you want to. Mine are all about 12 inches. I ended these tassels with little bells to add not just movement, but a little bit of cheery chimes for the wearer 🙂
- tips on tassels for bead crochet
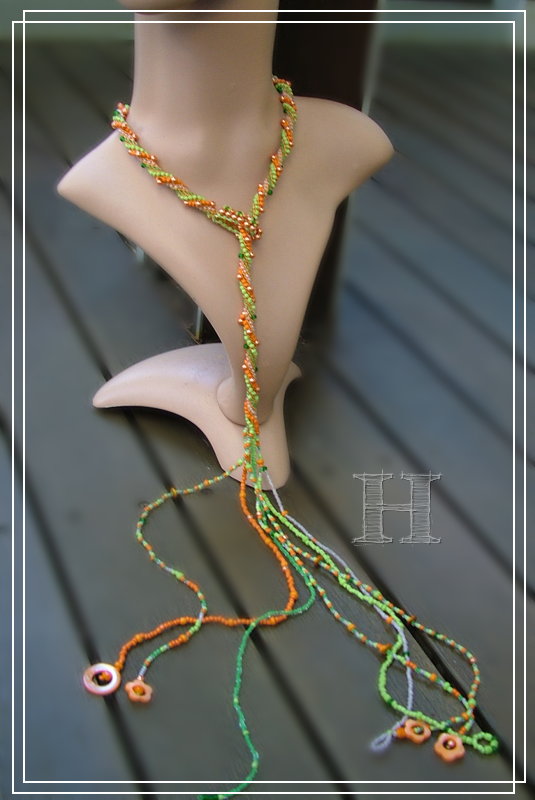
Retro Coloured Crochet Rope Lariat Necklace (ch0316b)
The basic concepts for making this retro lariat is like the white lariat above. I will only point out some variations for this and the following (Shades of Gray necklace).
Quick shot to show how the beads are strung in sequence before starting the crochet.
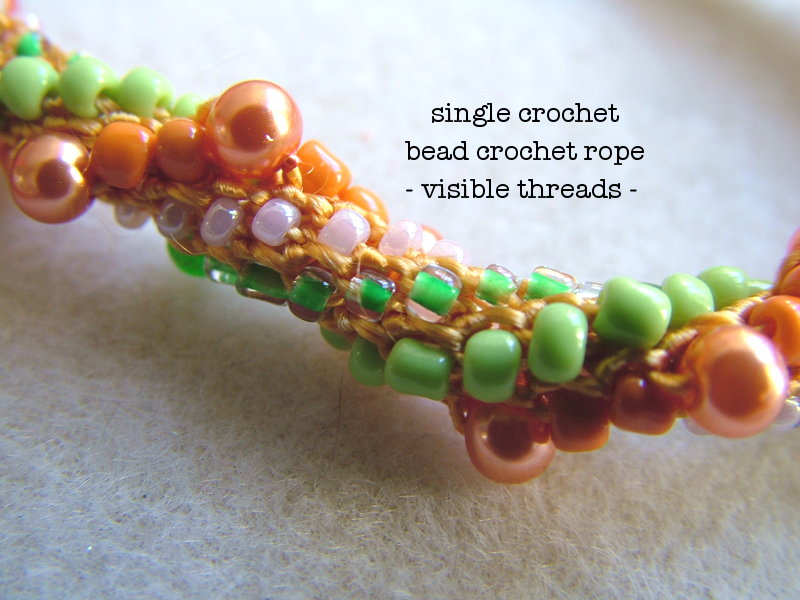
The beaded crochet rope is worked in Single Crochet (sc) rather than the normal Double Crochet (dc). This causes the threads to become more visible – allowing you to use the thread itself to form part of the design.
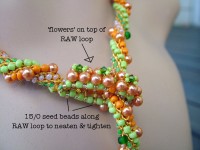
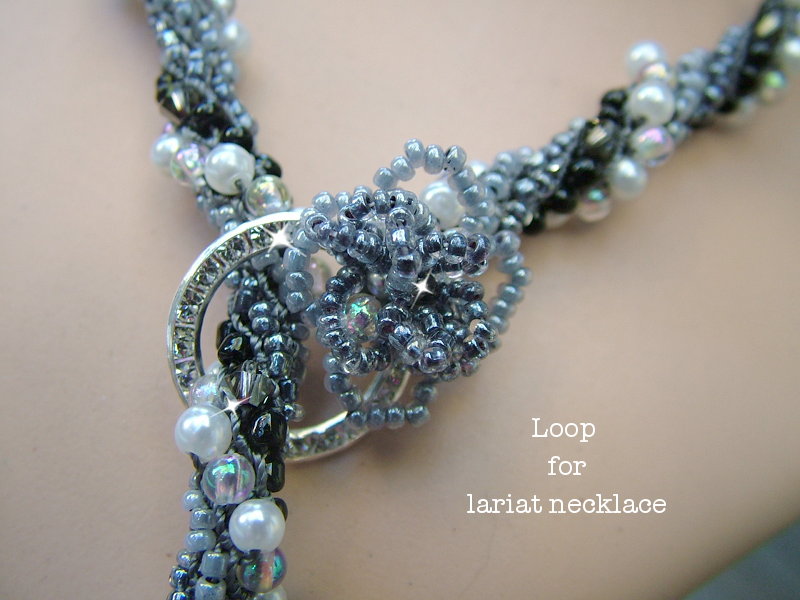
The loop clasp here is done by creating a loop in RAW (right angle weave), topping with beaded ‘flowers’ with Swarovski center.
The beaded ‘flowers’ extened just over half of the loop. This will be the front. The RAW loop itself is neatened and tightened with small 15/0 seed beads.
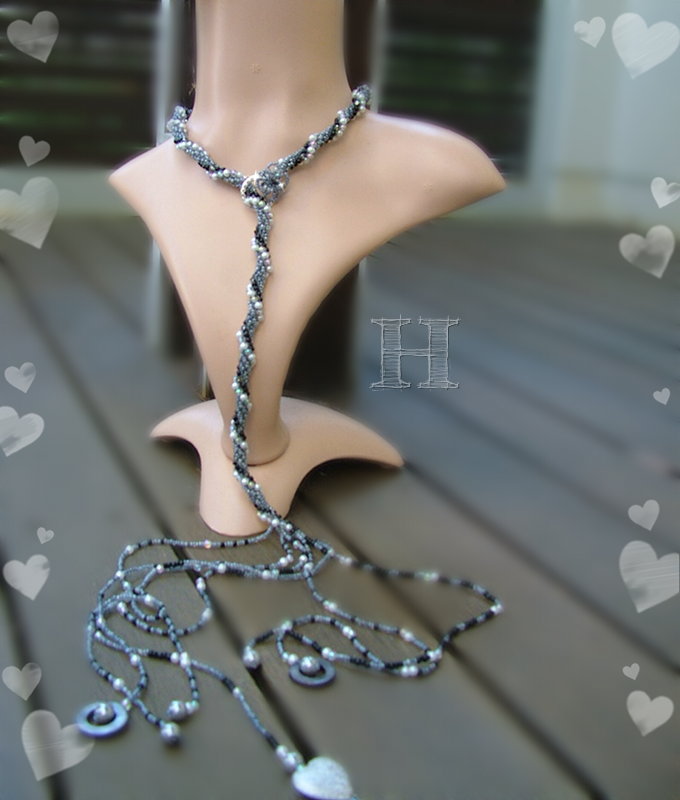
Shades of Gray Crochet Rope Lariat Necklace (ch0316c)
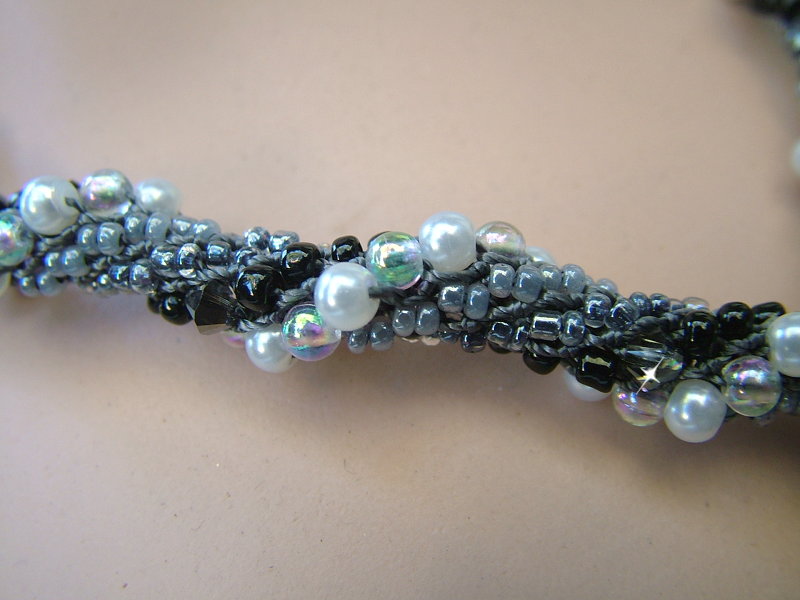
The photo below shows the details of the beaded crochet rope in this lariat.
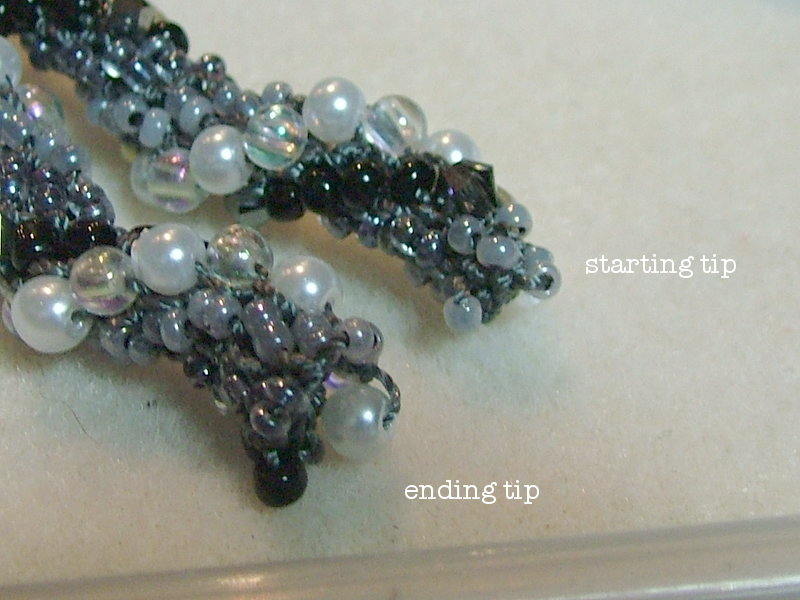
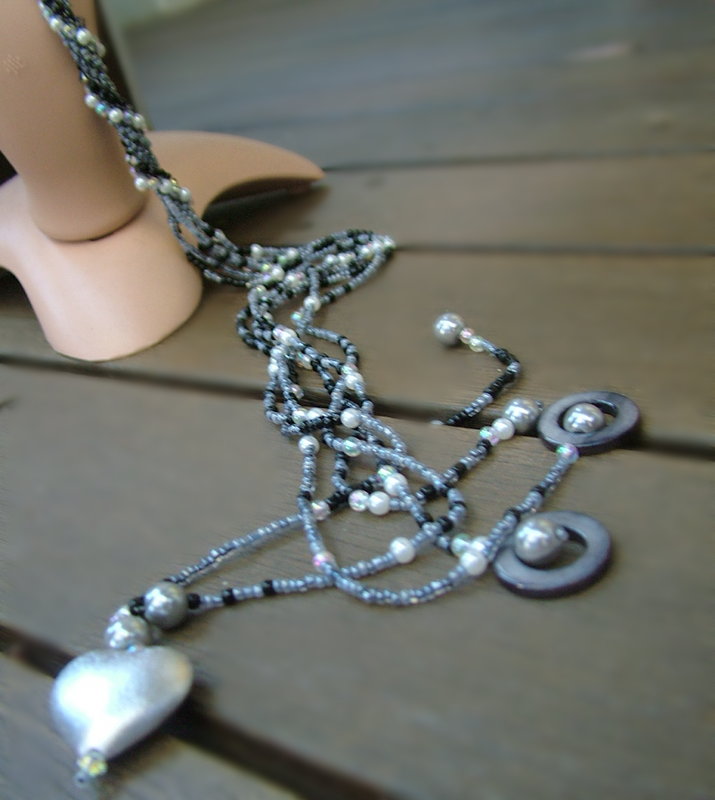
The photo below shows the 2 ends/tips: the start and the finish tip. Note that the starting tip is tighter and the finish tip is looser. Please refer to Tips re Tassels and Loop for a Lariat Necklace with respect to optimising the use of these 2 differing rope ends.
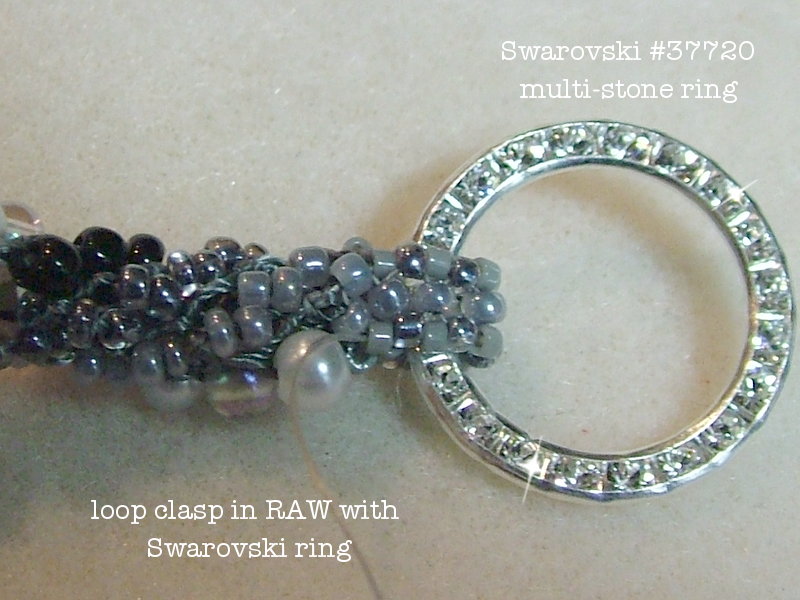
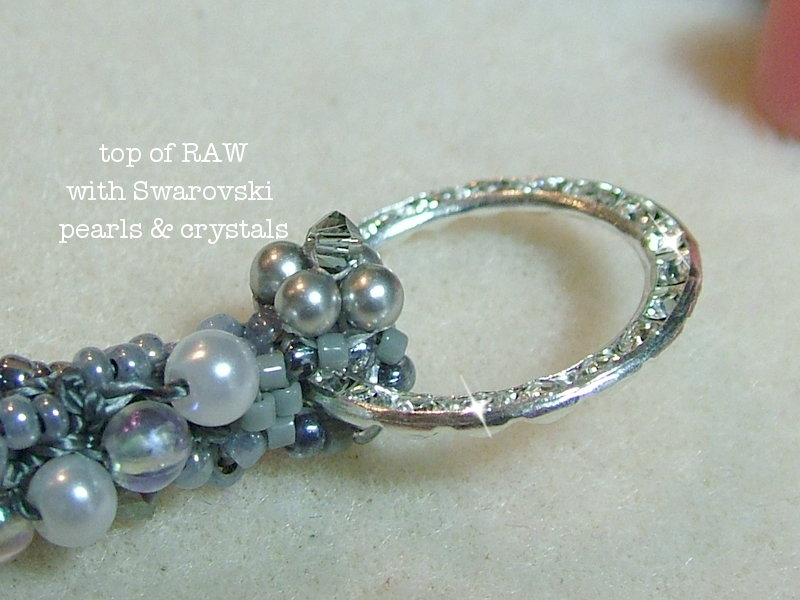
Here I am making use of a Swarovski 37720 multi-stone circle for the lariat’s loop. It is seamlessly attached to the lariat body using a band of RAW stitch, which is neatened and tightened with Miyuki delicas.
The RAW band is topped with Swarovski ‘flower’ (4 crystal peals and 1 bicone).
It is then further embellished with petals of seed beads in shades of gray.
Finish off with desired tassels.
And so, that comes to the end of this particular phase of crocheting ropes and lariats with beads. I am now ready to move on to another kind of project. Yes, yes, I know …. low attention span. Ciao!
Orignally published at blogspot.com on 4 Jun, 2013

